Like any worthwhile hobby, astrophotography is full of jargon. In this article we’ll look at some common terms which get thrown around when discussing astrophotos.
What are Subs in Astrophotography?
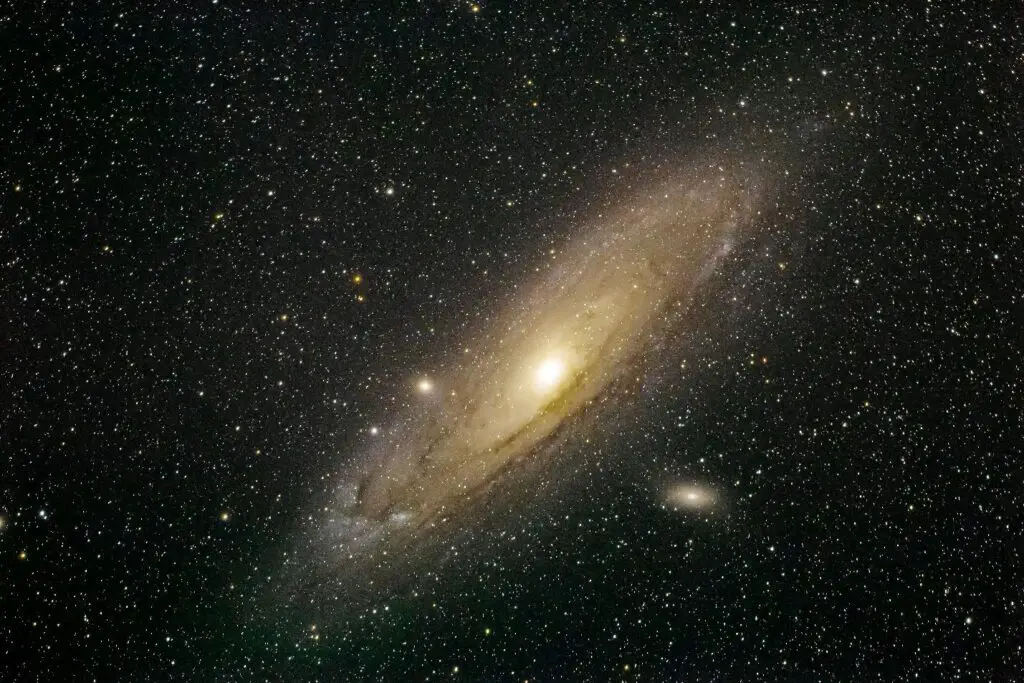
This term is shorthand for sub-exposure, and it refers to the individual photos we use to create astro-images. Most deep-sky photos are made up of dozens, or even hundreds, of sub-exposures which are combined using a technique called stacking.
There are a lot of misconceptions about how stacking works, and I won’t pretend to understand it completely, but the basic idea is that stacking your subs reduces the noise in your image, and the more subs you stack, the more you reduce the noise.
To pick up enough signal (light) from space, you need either a long exposure or a high ISO value, and either way this will lead to an image with a grainy background sky. If you try to enhance the photo with editing software, you will also enhance the noise. Stacking even a dozen subs will lower the noise enough for you to pull more detail from your image.
This doesn’t just provide a cleaner image; it also allows you to “stretch” the image (there’s that jargon again), pulling faint detail out of the background which would have normally been lost in the digital noise.
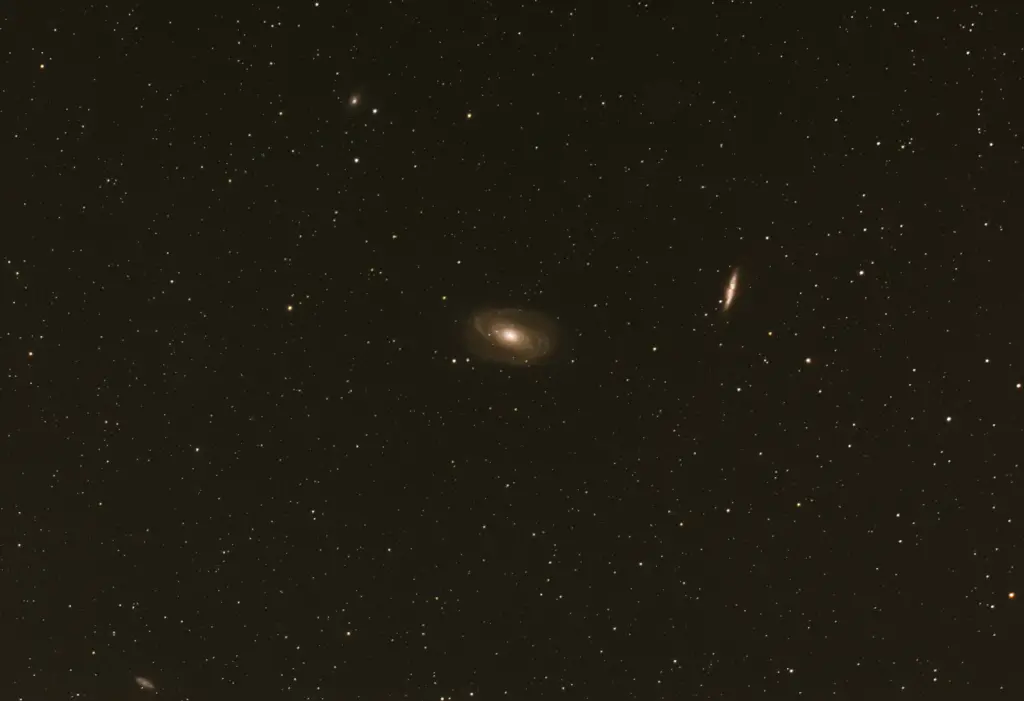
The difference is dramatic.
What are Lights in Astrophotography?
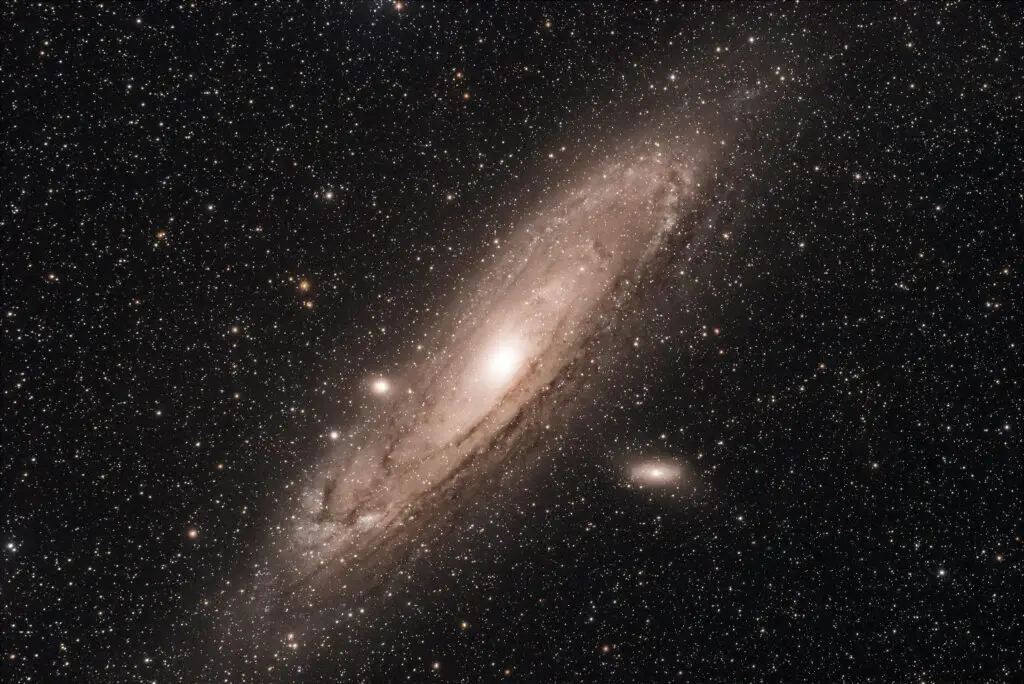
In astrophotography, a “light” is the same as a sub. The terms are interchangeable, with “sub” often serving in informal situations such as discussion forums, while “light” tends to appear in stacking software and in the image details of published photos. They are called light frames because these are the photos which your signal comes from.


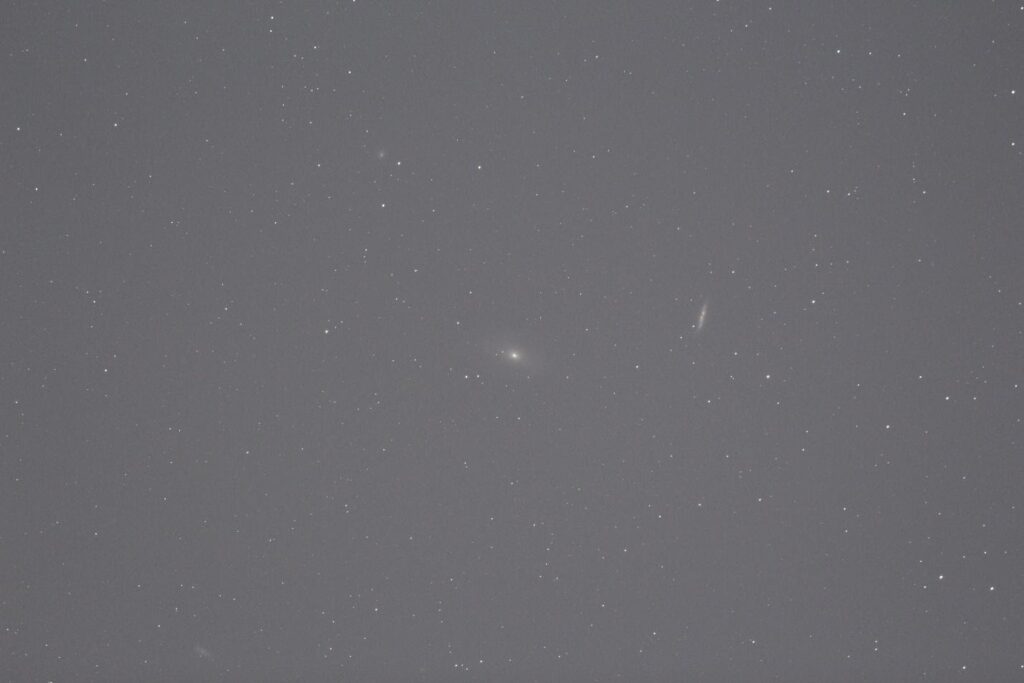
Light frames are usually not much to look at.
The desired signal may be very low, or almost invisible, compared to the background sky. This is especially true if you’re shooting from a light-polluted area. Part of the magic of astrophotography is seeing hidden details emerge during post processing.
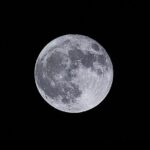
Take, for example, the above image of the Crescent Nebula. None of that glowing hydrogen was visible in the subs, and I was ecstatic to see it appear while stretching the image.
What are Darks in Astrophotography?
Darks are a type of calibration frame used by stacking software to calibrate the lights.
The idea is that your software will stack the dark frames to create a master dark, which is an average of the thermal noise and hot pixels on your camera sensor. Then the software subtracts this unwanted signal from each of your light frames to prevent them from being stacked.

Darks are shot with the lens cap on (hence the name) and must be at or near the same temperature as the light frames to reproduce the noise correctly.
What are Flats in Astrophotography?
Flat frames are another type of calibration frame which newbies often try to avoid because they seem troublesome to take, but they are at least as important as darks. Flat frames are images that are illuminated as evenly as possible from corner to corner.
The main idea of shooting flats is to correct vignetting of the image, which results when your camera sensor isn’t fully illuminated by the image circle from your telescope. Vignetting causes dark corners in your photos, which doesn’t sound like such a big deal, but it gets out of control once you start stretching the image in post-processing.
Flats require an even source of illumination and an exposure of around half your camera’s maximum ADU (brightness) value.
Many people use the early morning sky for this purpose, stretching a white tee shirt over the aperture of their scope to better diffuse the light. I use an iPad with a white screen.
There are even illuminated flat panels you can buy.
What is Integration in Astrophotography?
This is the total exposure time of an image. You simply add up the exposure times of all light frames to get your integration time.
It is often said that integration time and exposure time are equivalent, so that six 10-second exposures will provide the same result as one 60-second exposure, but in my experience the longer exposure will pick up fainter details which the stacked short exposures will have less noise.
The Takeaway
So how much integration time is enough?
How long should your lights and darks be?
What’s the best way to take flats?
These questions are impossible to answer, as they will depend on the equipment you’re using, the target you’re shooting, your sky conditions, and many other variables.
I find it is a process of trial and error, figuring out how to get decent results and then making small changes to see what works better. It is easy to get overwhelmed with terminology and technical details in this hobby. Start simple and get the hang of the basics. The rest will come with time and experience.
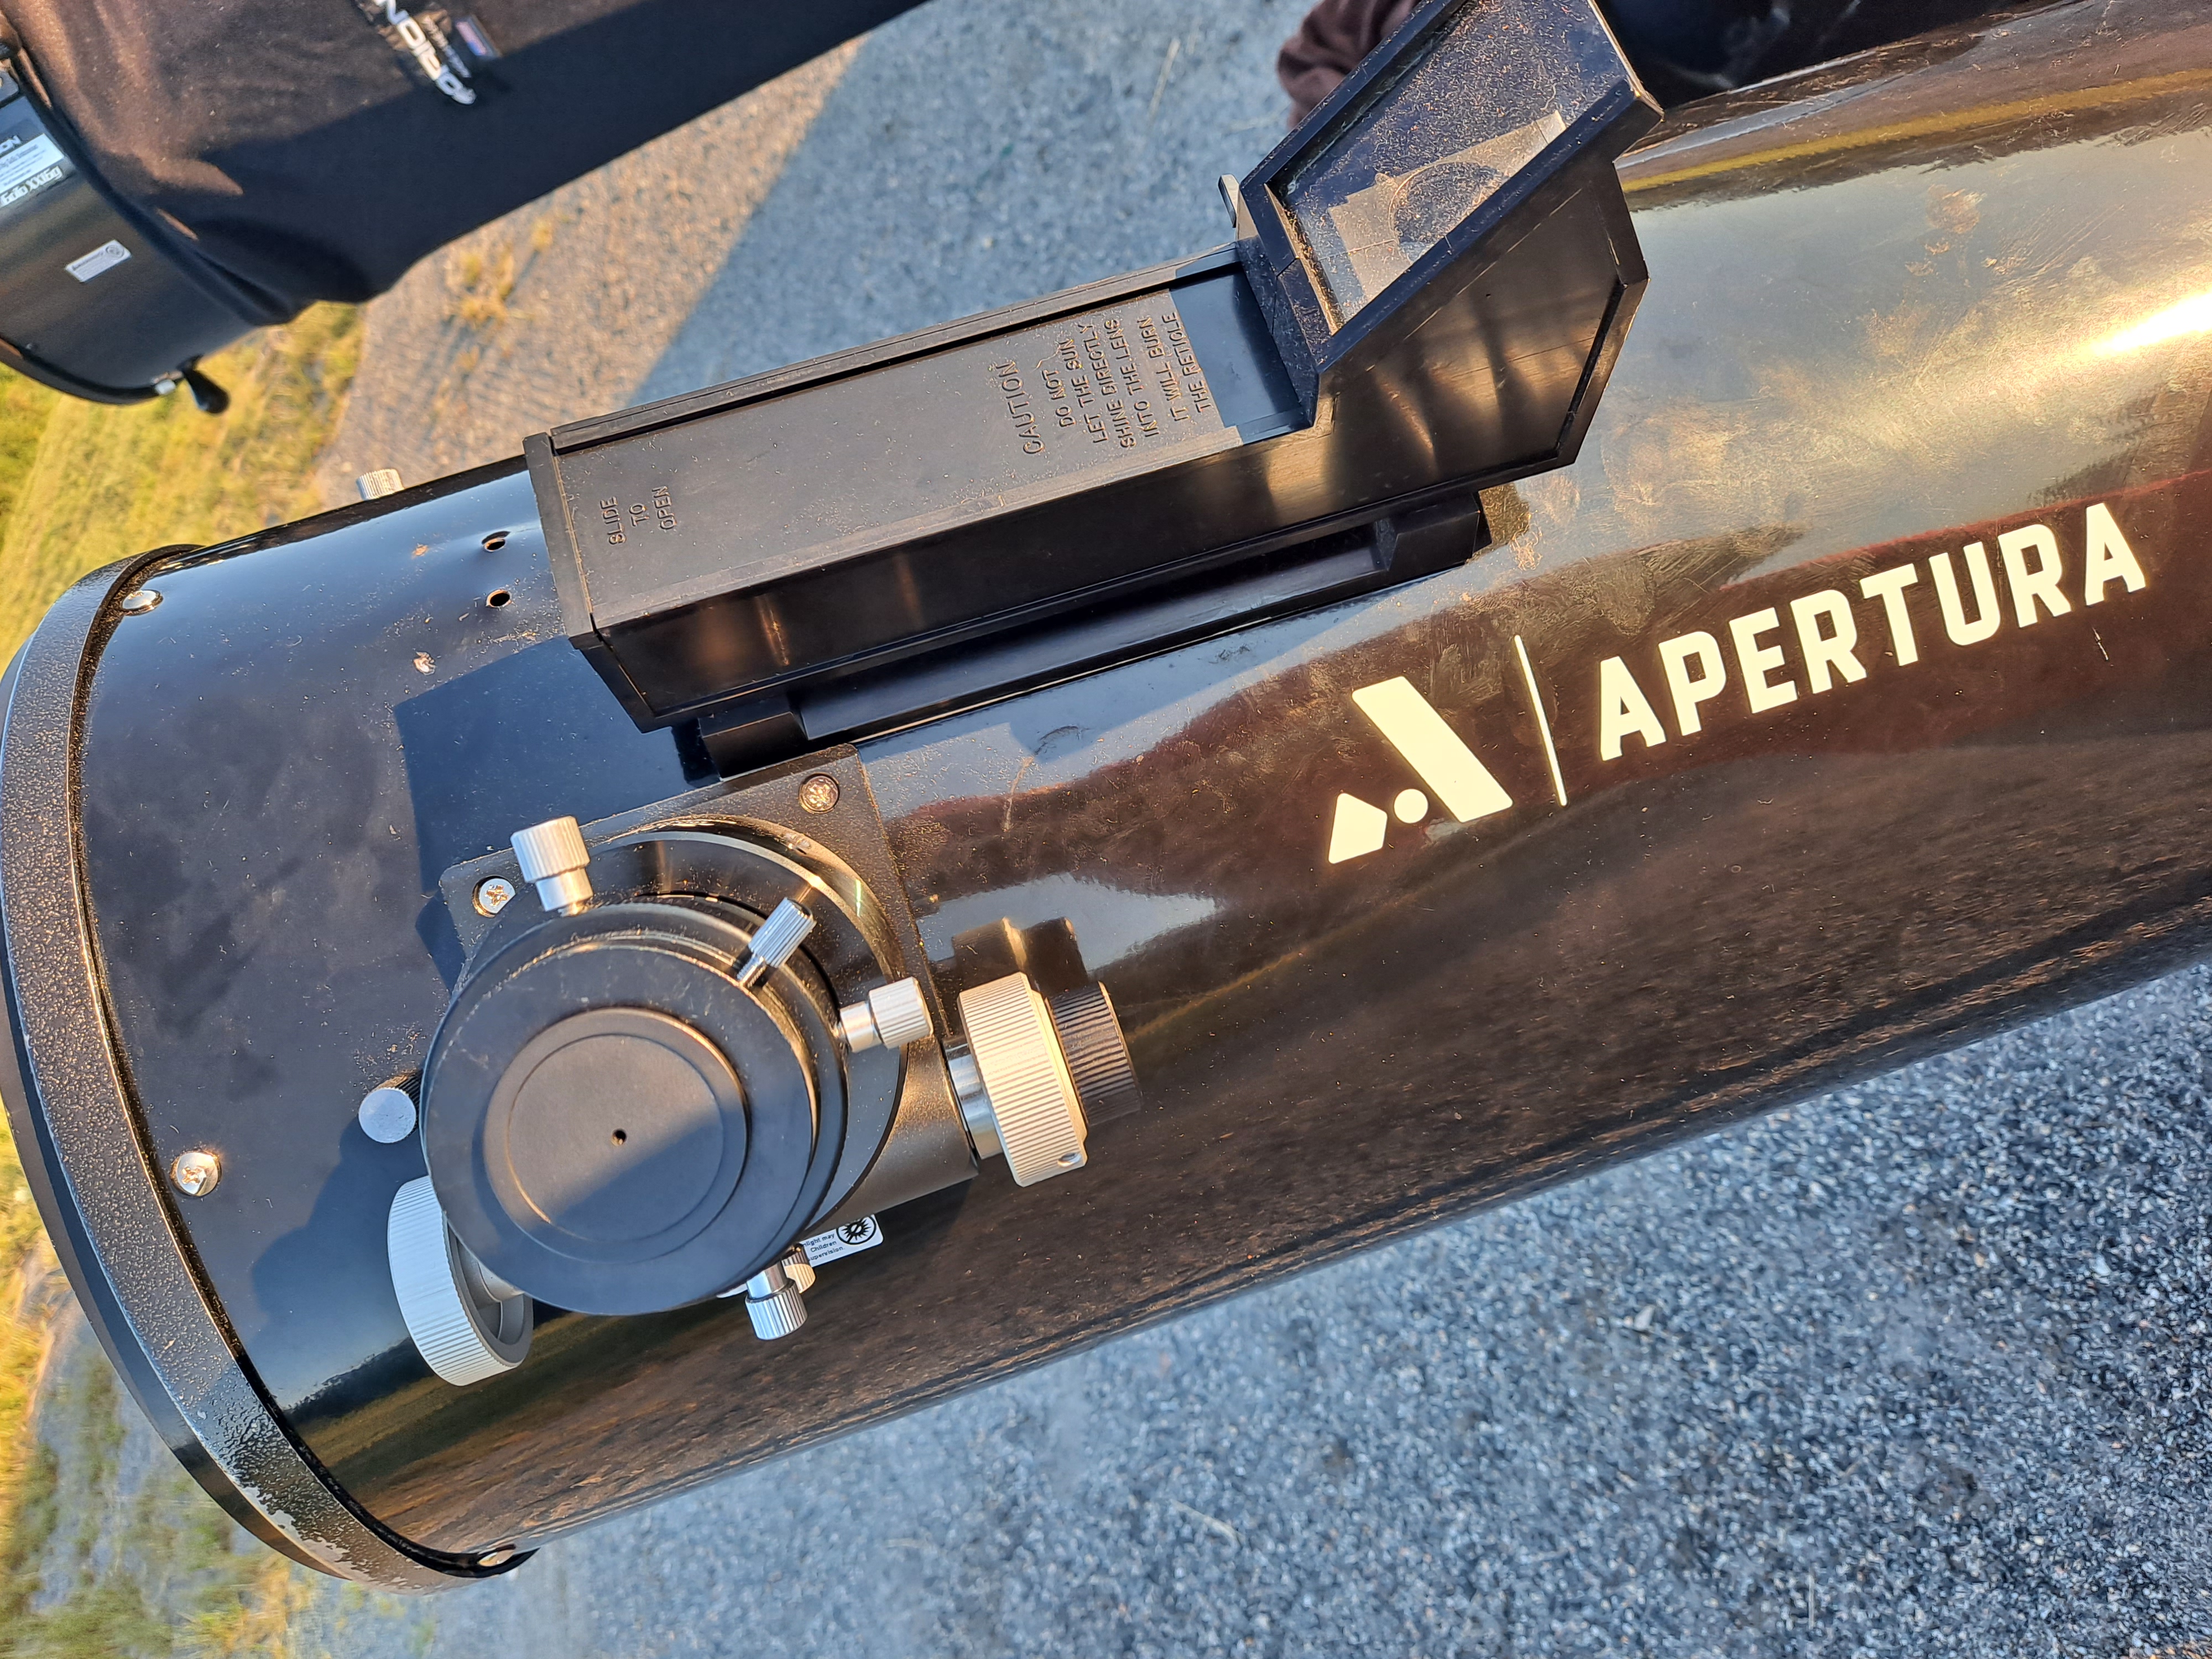
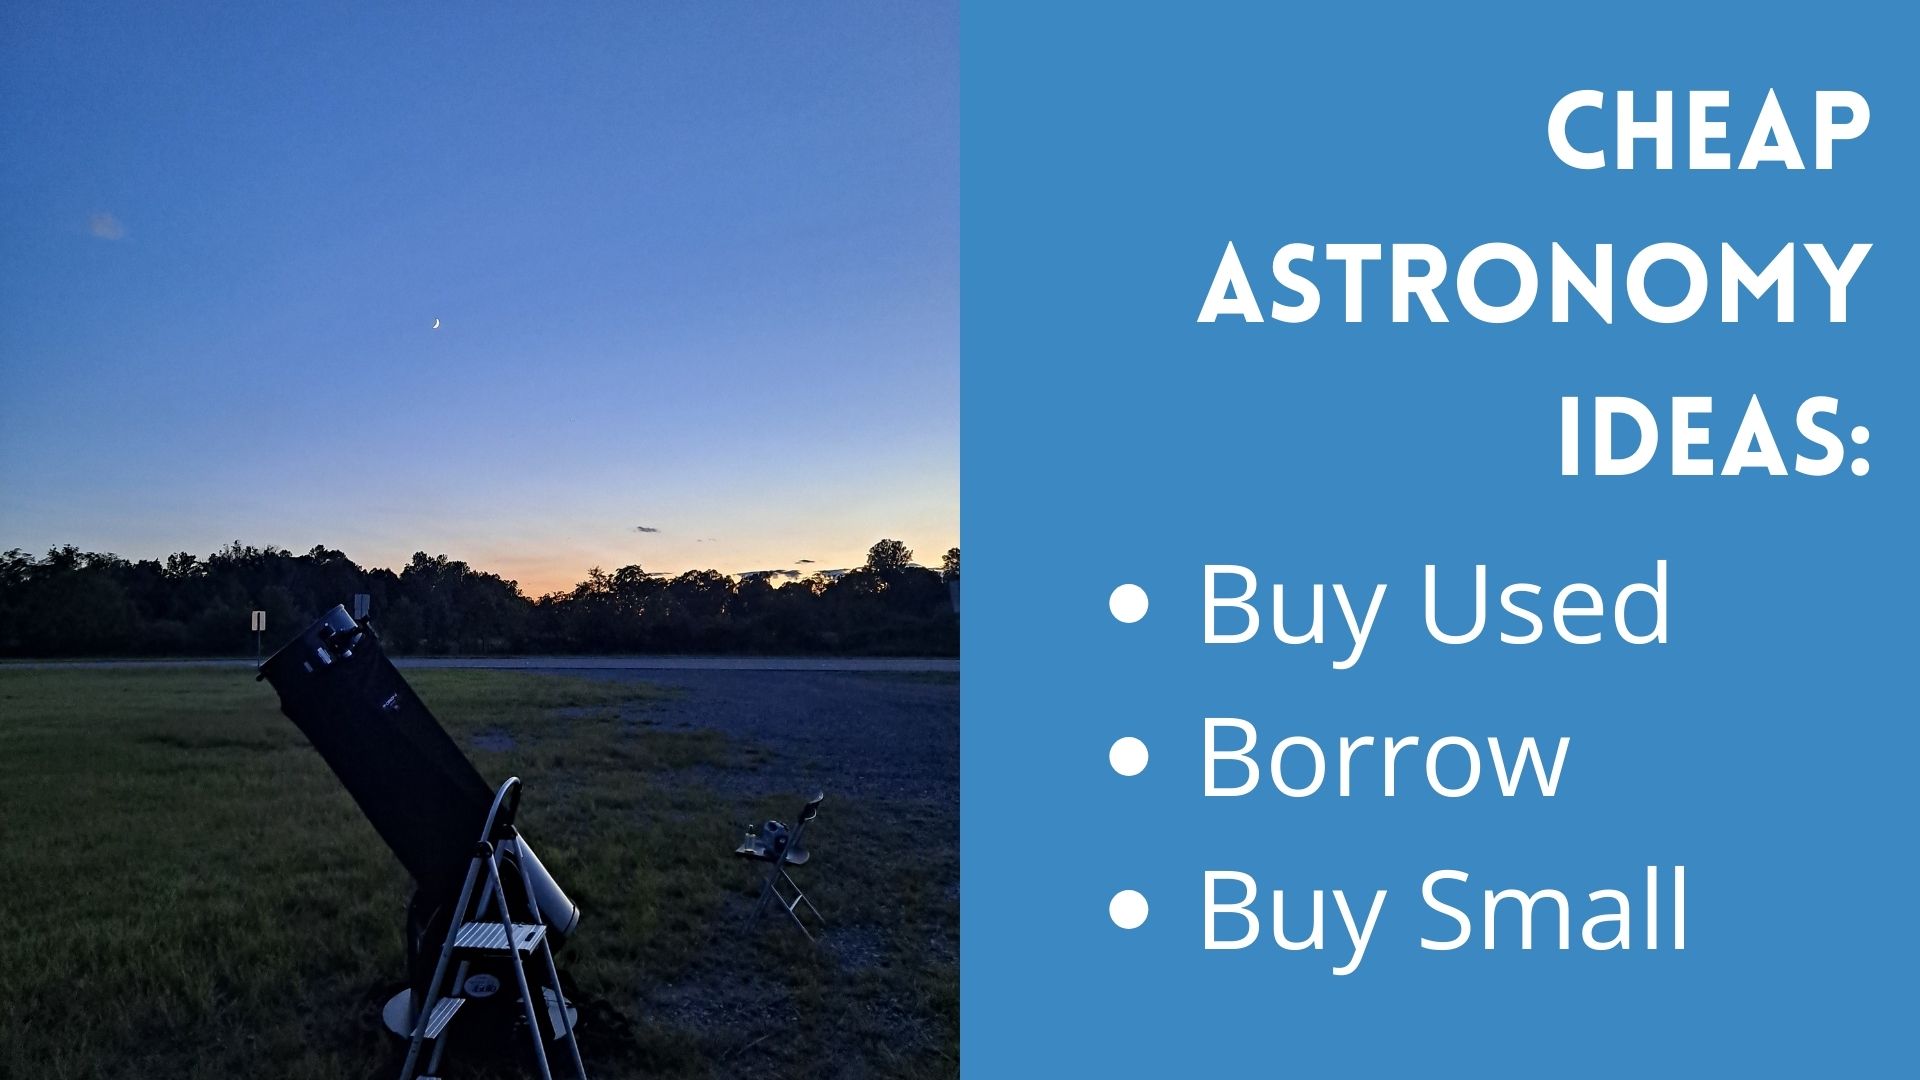
Corey uses his Dobsonian for Astrophotography and you can read more about his progress in the linked post.