One of the things we often hear about Dobsonian telescopes is that they are no good for astrophotography. In this article we’ll find out what Dobsonian telescopes are, how they are limited for astrophotography, and how you might work around those limitations.
About Dobsonians
The Dobsonian reflector is one of the most popular telescopes for serious beginners, and many experienced amateurs swear by them.
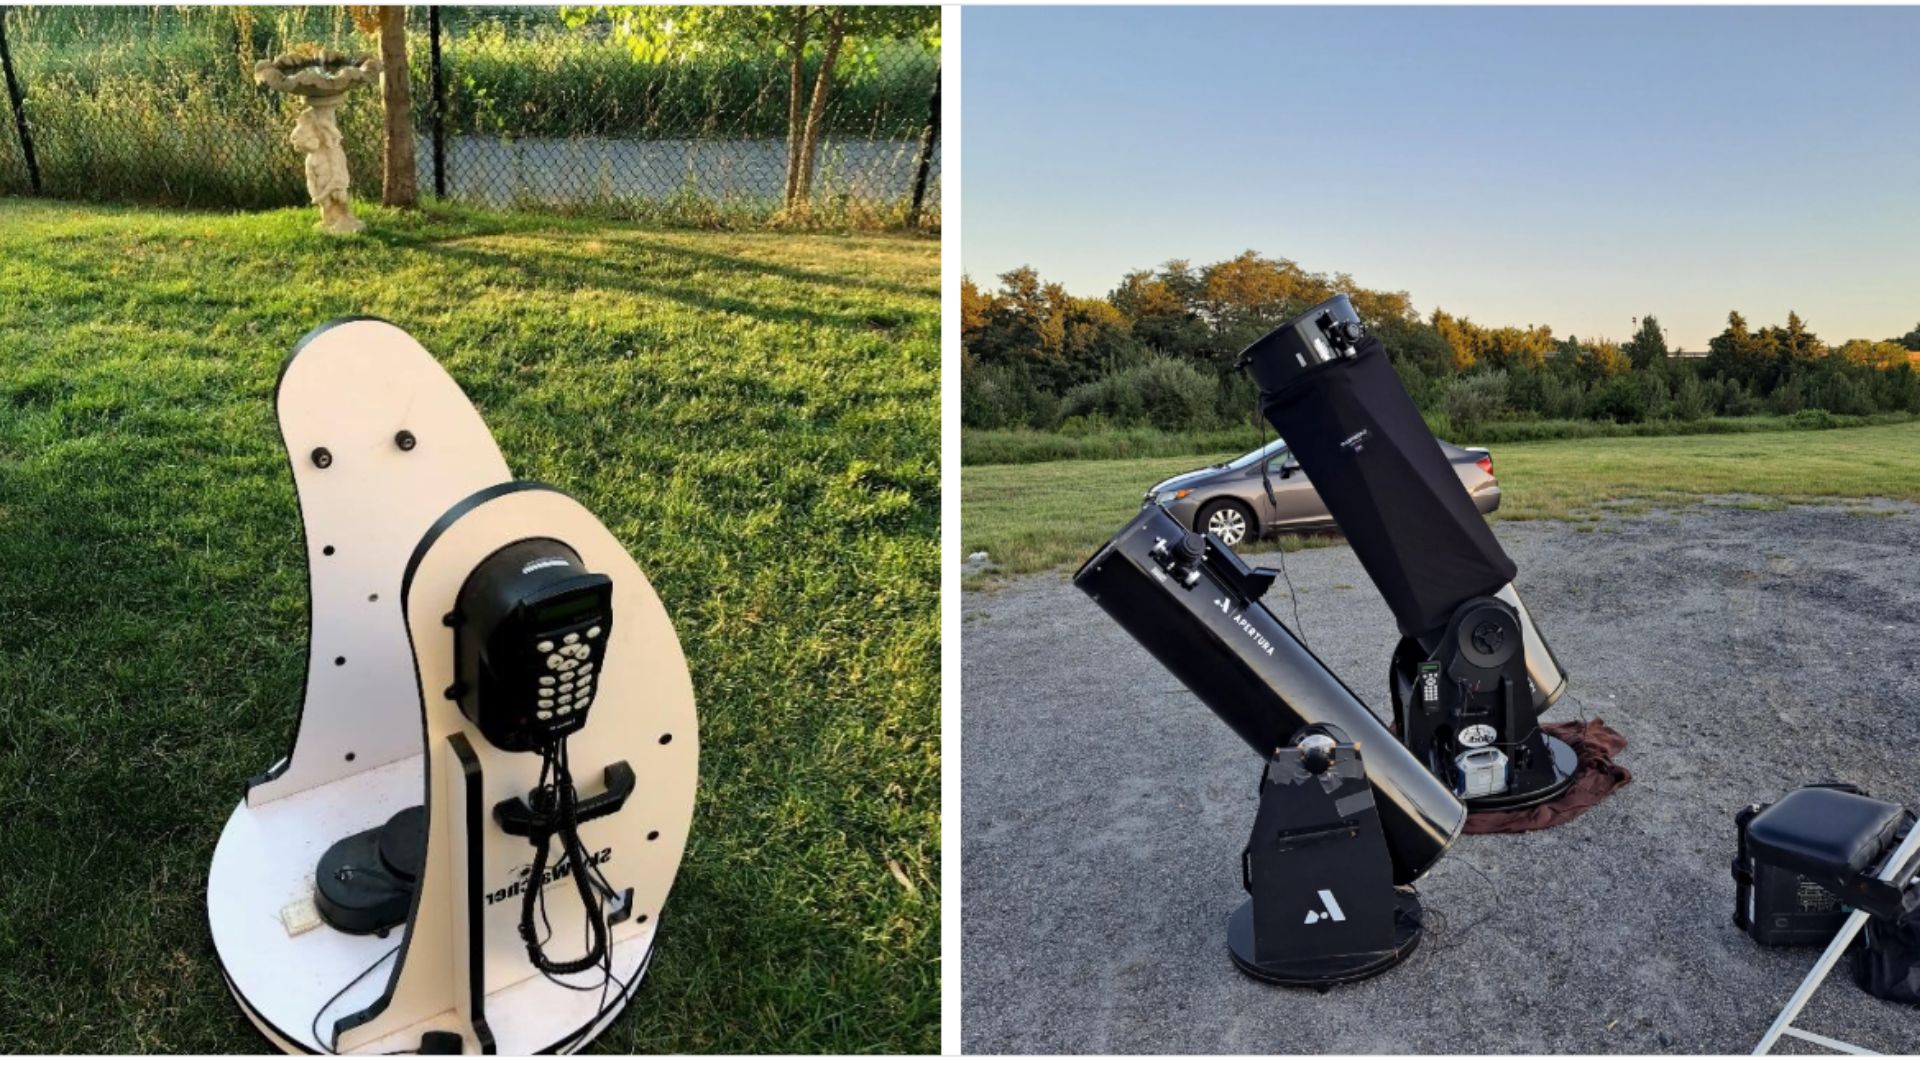
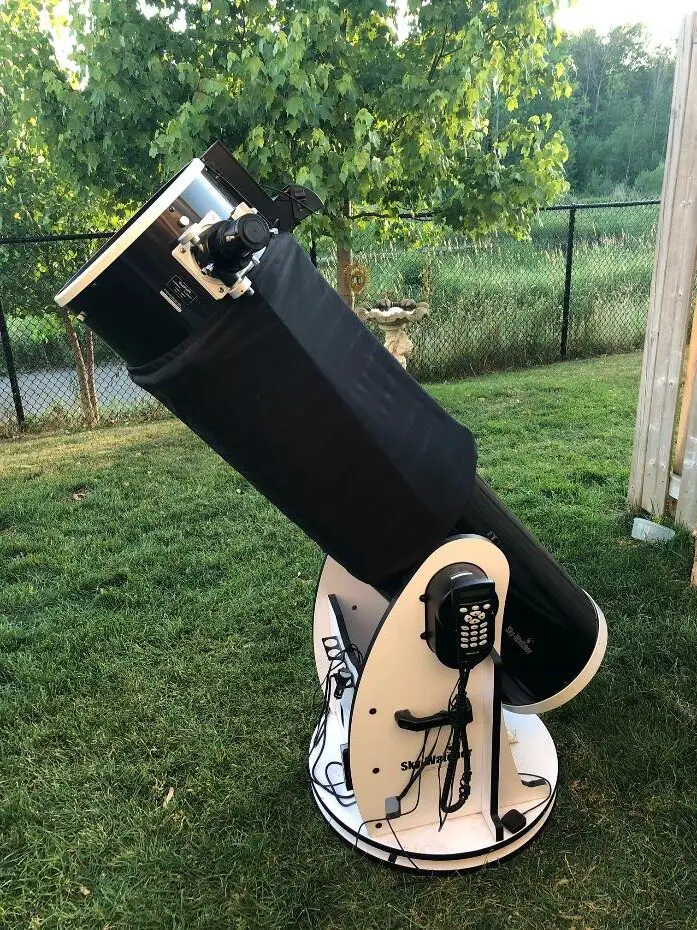
The term “Dobsonian” describes a Newtonian reflector mounted on a wooden base on which the telescope swivels side to side and up and down. It is this unique alt-az base which defines the Dobsonian.

The main advantages of this design are that it allows a large instrument to be mounted solidly at minimal cost, and it is easy to use.
The Newtonian optical design lends itself to Dobsonian mounting because the eyepiece is situated near the aperture rather than at the bottom of the tube. This design yields the largest aperture for your money; compared to refractors and SCTs, it’s not even close. For this reason, Dobsonians are favored instruments for visual observations.
Limitations for Astrophotography
If you already own a Dobsonian, there is no harm in experimenting with different photography techniques, as we will discuss shortly. But if you’re thinking of buying one specifically for this purpose, there are some limitations you need to be aware of.
Focusing
If you own a DSLR and intend on trying some prime focus photography with a Dob, you might be surprised when, after buying the correct adapters and getting everything connected, your telescope will not reach focus with the camera attached. This happened to me. The problem is that Dobsonians are designed for visual use. With a DSLR, you can’t get the camera sensor close enough to reach focus.
There are some workarounds for this problem. One is to add a barlow lens between the camera and focuser.
This should allow you to achieve focus; however, it will also increase your effective focal length which will make your images dimmer, shakier, and harder to track.
Therefore, this is only recommended for bright objects like planets. I have also seen reports that a coma corrector will achieve the same thing with less of an impact on the image scale, but this may not work in all cases.

The other solutions involve some modification to your telescope. The most common one is to move the primary mirror upward in the optical tube, which will in turn move the focal plane out.
Some people have accomplished this simply by tightening the collimation screws, but aside from messing up your collimation, this may not move the focal plane a sufficient distance to reach focus with your camera, and further modification may be required.
Another possibility is to use a low-profile focuser, but again it is hard to say whether a particular model of focuser will provide enough inward focus travel to fix the problem. There is also the possibility of misaligning the new focuser during installation, which will make collimation difficult.
Tracking
The other limitation of Dobsonian photography is tracking, or lack thereof.
The standard Dobsonian is a manual instrument, with no means of automatically tracking the stars. To move the telescope, you must overcome the friction of the bearings which hold it in place, and this manual tracking is not smooth enough for photography.
The simplest solution to the tracking problem is to buy a go-to Dobsonian. There are a few types on the market from Orion and Sky-Watcher; I own a 300P Synscan and it is a wonderful piece of equipment.
However, it is still not designed for photography. Being an alt-az mount, you will experience field rotation causing blurry images in long exposures, particularly as you move away from the celestial pole.
Also, in my experience these telescopes do not track smoothly compared to an equatorial mount and you will still be limited to short exposures of bright targets, especially if you are using a barlow lens. You can check out a basic overview of telescope mounts in the linked post.
It is also possible to buy or build an equatorial platform for your Dobsonian, which would theoretically make long exposures possible. This solution is more for advanced users or hardcore hobbyists, but if you are mechanically inclined there are plans available online.
How To Do Astrophotography with a Dobsonian
Having said all that, let’s look at some ways you can shoot astro-photos with your Dobsonian, without modifying the telescope.
There are three main ways you can do astrophotography with a Dobsonian:
Afocal
Eyepiece Projection
Prime Focus
The best one will depend on your camera and your set-up.
Afocal
The afocal method involves holding some sort of camera, with a lens in place, up to the eyepiece of your telescope. This is easier with a small camera such as a smartphone or point-and-shoot than with a DSLR. There are specialized adapters you can buy to hold your phone in place, but I’ve had some decent results just aiming by hand.
The advantage of afocal photography is the higher magnification provided by your eyepiece, granting a larger image scale for lunar details. It is also easy to do during a visual astronomy session, without requiring any special setup or extra equipment.


Eyepiece Projection
Halfway between afocal and prime focus, we have eyepiece projection.
For this method you need a telescope with a removable lens (DSLR, mirrorless, or astro camera) and an eyepiece projection adapter.
The exit pupil from the eyepiece is projected directly onto the camera sensor, providing a much more magnified image than prime focus. Some eyepieces are threaded to fit directly onto a camera T-ring, without the need for additional tubes. However, extra spacers may be required for the best result.
In my limited experience, eyepiece projection is a tricky business.
When using a projection tube, you are limited to eyepieces which can fit inside the tube, which rules out all my good ones. The high magnification makes aiming and focusing a bit of a challenge and this would be difficult indeed on a manually-driven scope. But if you already have an appropriate camera, the cost is minimal to test this configuration. So, its worth a try.
Prime Focus
As we already discussed, prime focus photography with a DSLR and unmodified Dobsonian requires a barlow lens to reach focus.
With my telescope, this means shooting at an effective focal length of 3000mm. The images will be dim and the field of view will be small, so once again aiming and focusing are a challenge. Motorized tracking is practically a must.


Some early attempts at prime focus photography with my 12-inch Dob and Canon camera. I used a 2x barlow.
Prime Focus with Astro-Camera
One thing we haven’t discussed yet is using a specialized astronomy camera with your Dobsonian. Such cameras are purpose-built for astrophotography and don’t include any provisions for shooting in daylight, requiring a computer to run them.
While they are usually reserved for “proper” astro-imaging rigs, in some instances they can be well-suited to Dobsonian photography. This is because the distance from the front flange of the camera to the camera’s sensor is shorter on some astro cameras than on DSLRs. This means that, in theory, you should be able to achieve focus with an astro camera without the need for a barlow lens, which is ideal if you are trying to shoot an extended target like a nebula.
Of course, you may still wish to use a barlow when shooting compact targets like planets. Even so, a dedicated planetary camera will offer superior performance to a DSLR due to a higher frame rate and smaller sensor which provides a larger image scale for capturing finer details.


People aren’t wrong when they say Dobsonians are no good for astrophotography, but they aren’t exactly right either. With the correct tools, some patience, and a bit of cleverness, you can capture some impressive shots with your Dobsonian. For those who already own one, you don’t have much to lose in trying.


