It may seem like it is overemphasized by astronomy groups, but collimation is very important.
Collimation is the practice of aligning the primary and secondary mirrors with the focuser. It is done with the assistance of various tools and it gives the viewer the clearest view possible with their scope in their conditions. There is some debate as to how often collimation should be done, but it is a skill every telescope owner should master.
Collimating was the most intimidating thing about my new telescope. I ended up reaching out to someone from my astronomy facebook group and he walked me through the process and I was able to get it done quickly.
If you have some help, collimation can be quick and easy, but it is a skill to learn and it can be difficult or confusing at first.
How To Collimate A Dobsonian Telescope With A Laser Collimator
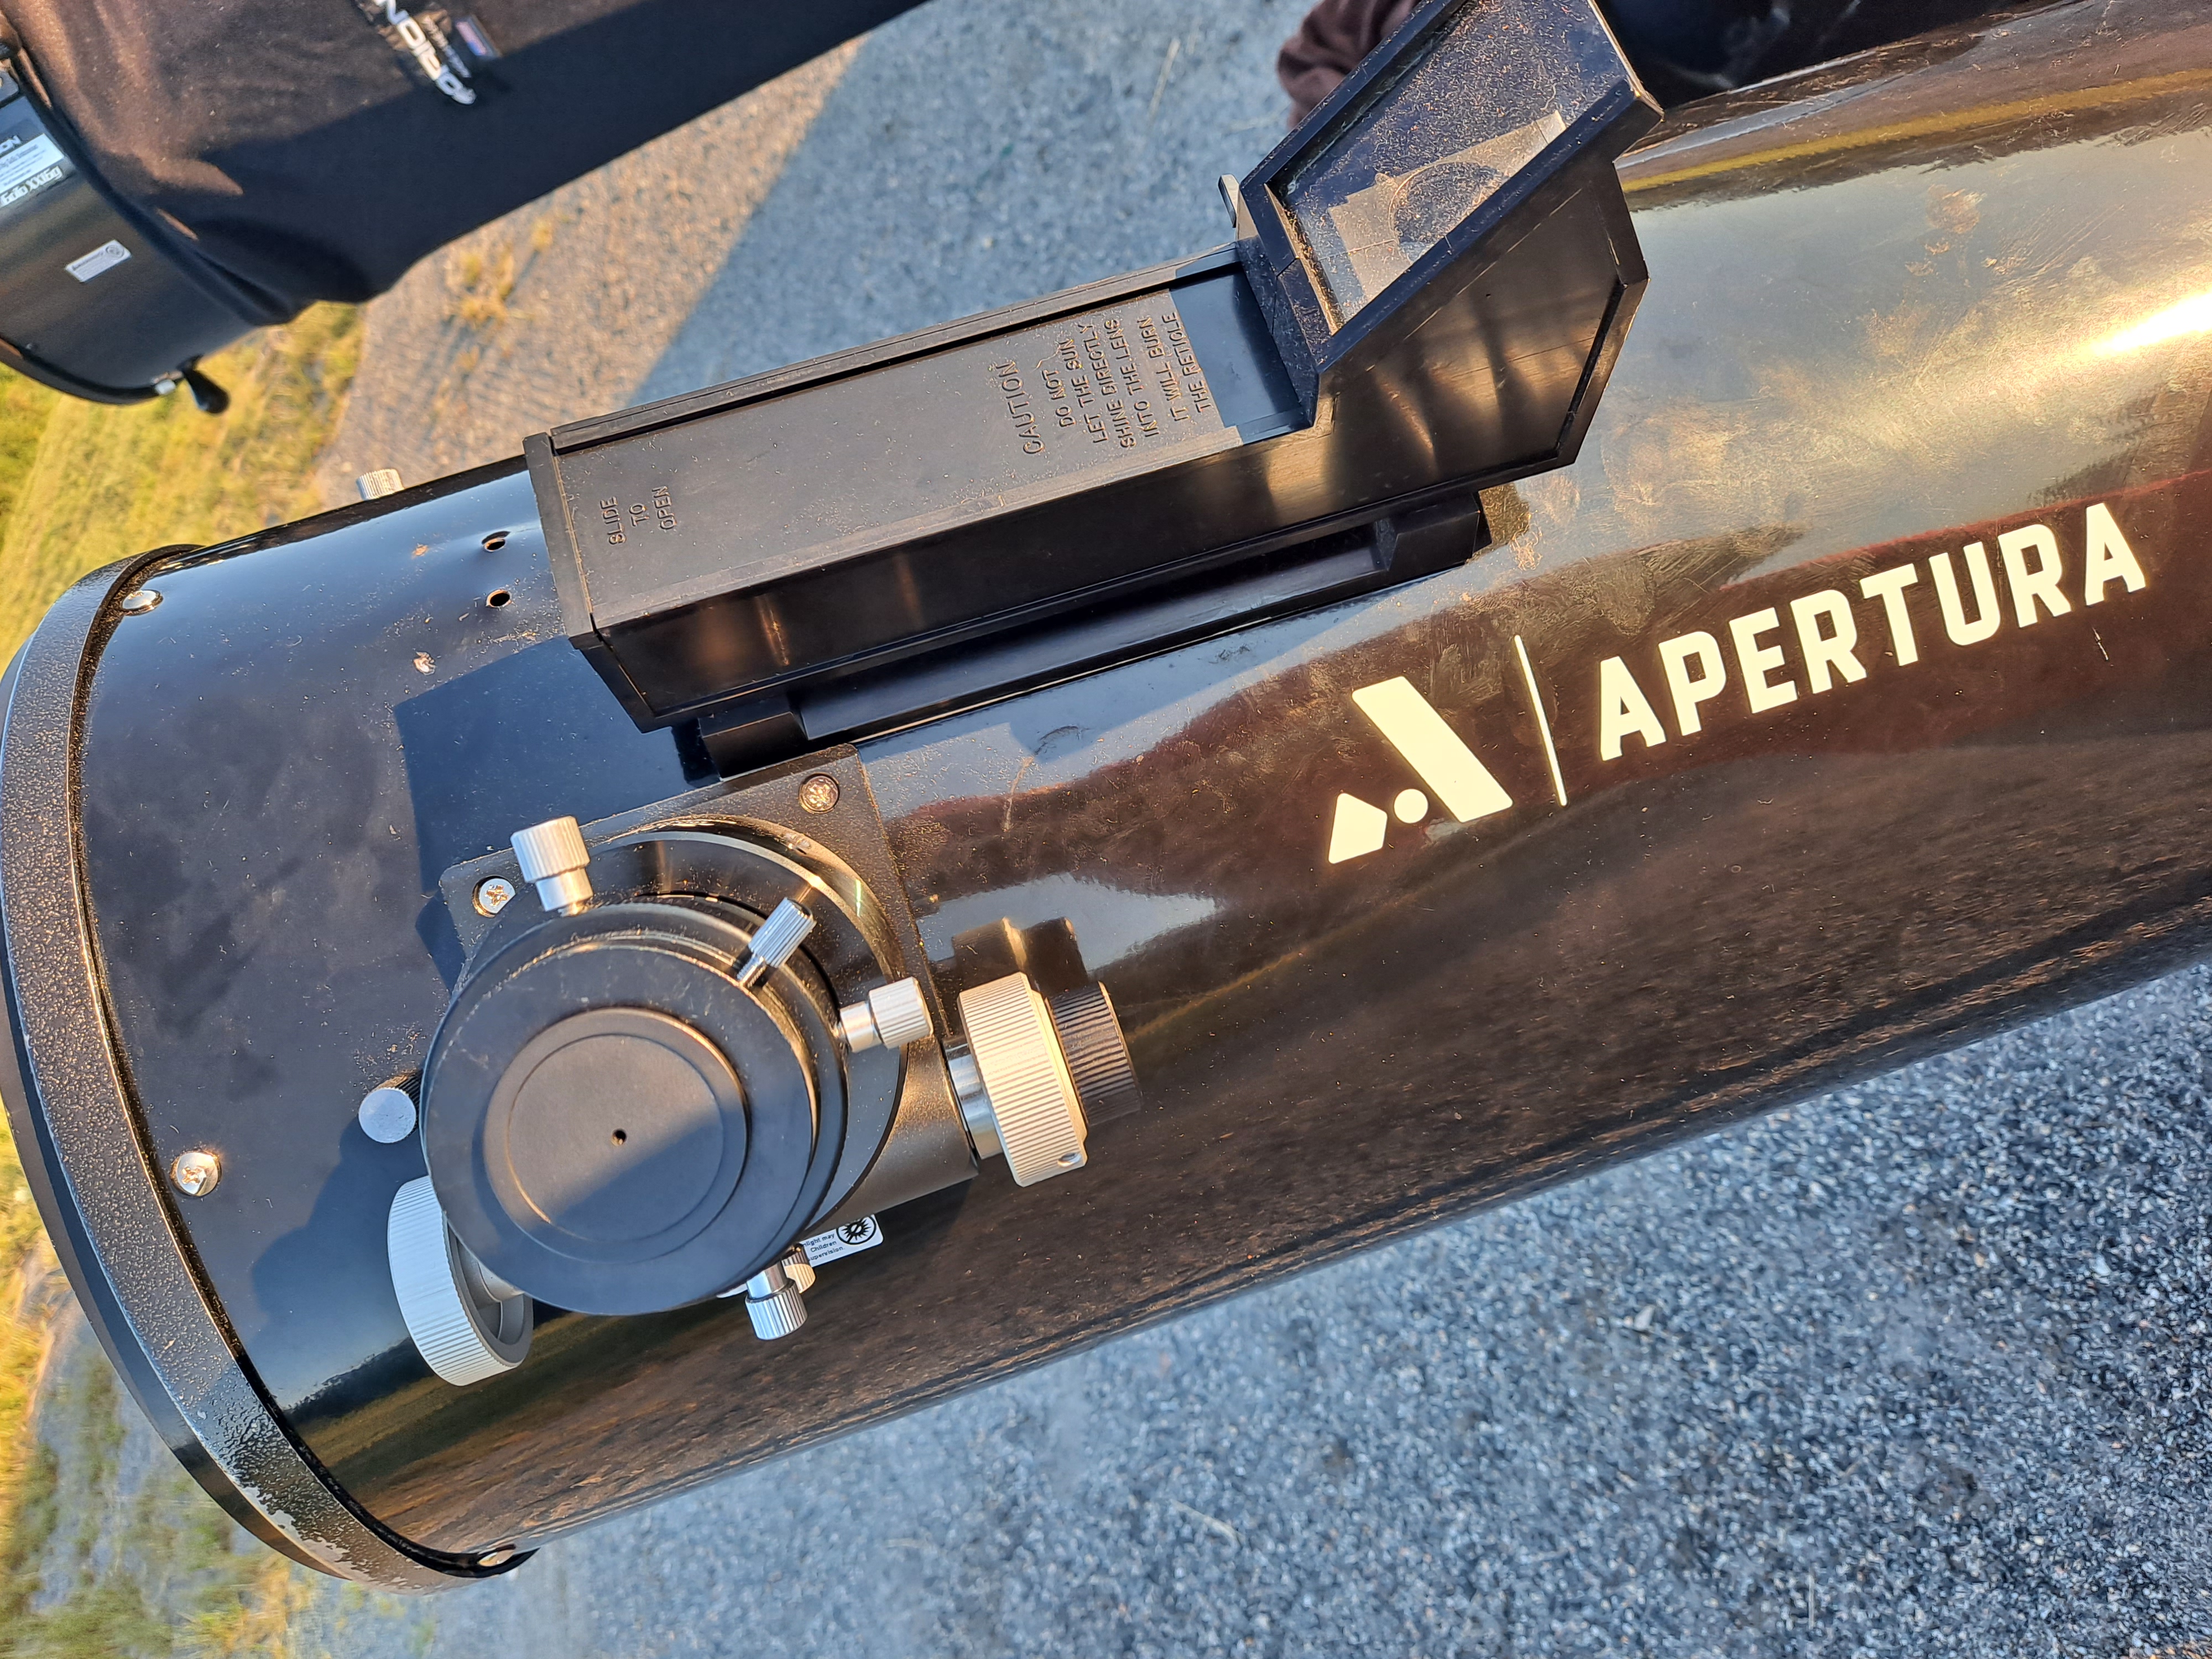
First, look into your empty focuser. You should see your entire secondary mirror.
Reflected in your secondary mirror should be all three clips on your primary mirror.
Drop your laser into your focuser the same way you would put in an eyepiece.
There is MUCH debate about tightening the screws to the laser or not. I think you should be consistent. I do tighten my eyepieces so I also tighten my laser.
Turn on your laser
Point the scope at a wall or other object. You should not see the red dot of the laser. All the light should be contained in the optical tube.
If you do see the red dot, unlock all your locking screws. You should have 6 screws on the back of most Dobsonian telescopes, three are locking and 3 are for adjusting the tilt of the mirror.
Unlock all the locking screws and start moving the adjusting screws until the dot disappears from the wall in front of you. Once the dot disappears you can start collimating.
The first adjustment should be to the secondary mirror.
The goal is for the laser to focus right into the center of the primary mirror. Most primary mirrors will have a doughnut or other mark to denote the exact center of the mirror. The laser should focus on that point.
Once you have done those adjustments you should walk back to the back of the scope. Look at the opening of the laser collimator and start adjusting the screws on the primary mirror until that dot disappears or hits the center of the cutout on the laser collimator (this varies from product to product).
Once you have done these adjustments, you should do a star test.
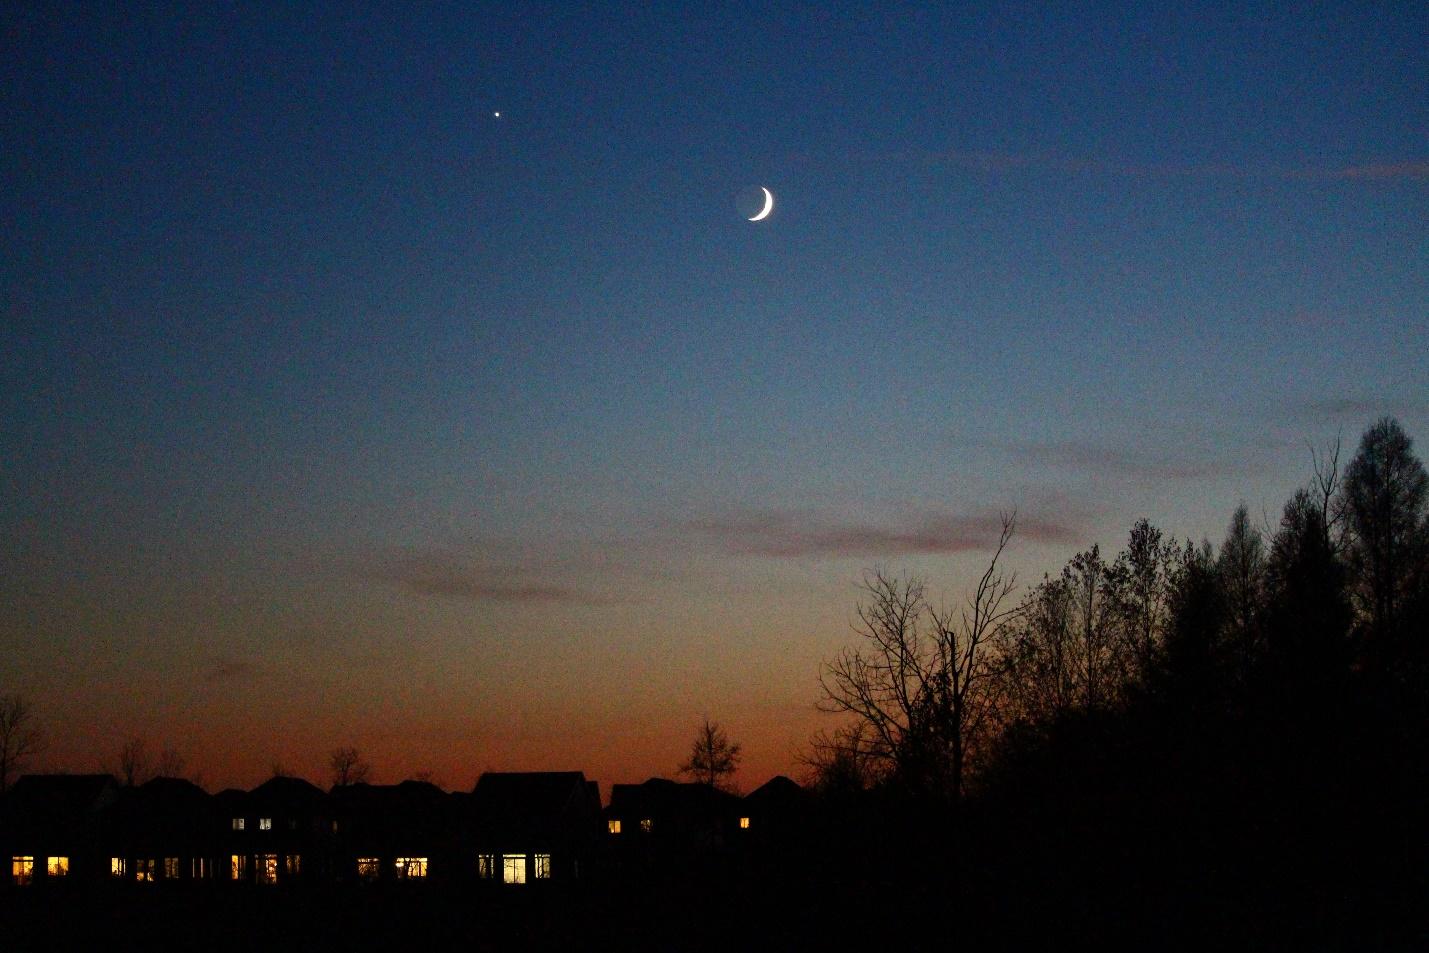
When do I need to collimate my Dobsonian Telescope?
Collimation is a skill to learn and when I first got my telescope it was really confusing to me.
Collimate your telescope every time you use it. It is not difficult once you have done it a few times, and it improves your views tremendously. There is a lot of debate concerning how often you need to collimate your scope. If you have not moved your telescope you may find that collimation is still suitable for viewing.
I don’t have an observatory or even a garage. I have a truss tube Dobsonian and I transport my telescope every time I observe. In my situation collimation is required before each night of observing, and this is what I recommend.
If your telescope and your situation is very different from mine, you may find that you do not have to collimate as often.
Is collimation important?
Collimation is very important. A scope that is out of alignment gives fuzzy views.
If your scope is properly collimated, stars will be pinpoints. Views will be as crisp and clear as conditions allow. You spent all this money on your telescope, you want the best function possible.
Collimation assures that your scope is functioning at its peak performance. It gives the most clear images and allows greatest magnification. Collimation should be tested and assured whenever viewing. If you are unsure if your scope is properly collimated, test and align your mirrors. The improvement in clarity is worth the extra time.
It can be frustrating to have another skill to learn, when you first get your telescope you have so much to learn about the scope and the sky.
Start by choosing a tool to collimate your scope. If you do not want to wait for a new tool to arrive in the mail, consider creating a collimation cap. It is a circle that fits in your focuser and has a circle in the direct center.
You can make one out of paper by tracing an eyepiece onto paper or cardboard and punching a hole directly in the center. This is a perfectly functional collimation tool.
Is collimation easy?
Collimation is hard before it is easy, but like any skill, once practiced it can be done easily. I was very frustrated by this process for a few days when I first got my telescope, but now I dont even need to think about it.
There are two things I would recommend to make collimation easier:
Bob’s Knobs
Bob’s Knobs are screws for your secondary mirror. They are longer screws with heads that allow them to be turned by hand.
This eliminates the need to carry an allen wrench to adjust your screws.
Springs for Primary
If you can get some thicker, more durable springs on your primary mirror it will give you more play in adjusting your primary mirror.
This is a popular mod for Dobsonian telescopes.
I find that when I transport my scope one of my collimation screws often comes off and with stronger springs I think I could fix this, and it would give me a bit more play with adjustments.
How can I tell if my scope is collimated?
A star test is a great way to test your scopes collimation.
Point your scope at a bright star. Loosen your focus on the bright star until it becomes a doughnut of light. That dark center circle should be in the direct center of your field of view.
This is a pretty popular way to test collimation.
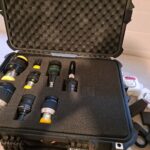
There are many many tools that astronomers use to achieve collimation on Dobsonian Telescopes, they vary in complexity and cost.
Choose the one that fits your budget and skill level. I love my laser collimator, because I know how to use it.
If you are planning to buy a used telescope ask the seller about collimation. It is a bit challenging and it will be very helpful to get some practice with an experienced astronomer.
Check out our guide to used telescopes here.
Tools for Collimation
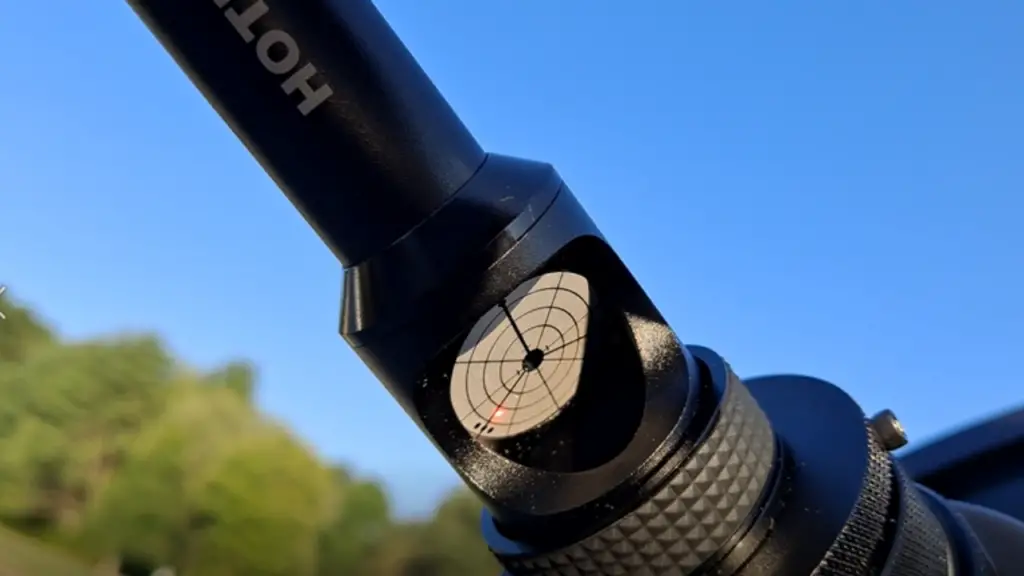
Laser Collimator
This is the most common tool used to collimate Dobsonian telescopes. It is a 1.25’ battery powered laser that sits in your focuser. When you turn it on it shines a red laser into your telescope. There is a cutaway on the side with a grid, turn that towards the back of your scope.
Self Centering
A self centering is a 2’ laser collimator, but you do not tighten it inot the focuser. The collimator itself has a mechanism to keep it perfectly centered into the focuser. It is produced by Hotech.
Barlow Method with Laser
This method uses the 1.25’ collimation laser, and it is supposed to help you achieve greater accuracy.
Cheshire Eyepiece
This is an eyepiece that is praised for its simplicity. It looks just like a laser collimator, but it has no beam, and requires no batteries. It uses a brightly painted surface and physical crosshairs to give you a point of reference for collimation.
Cheshire eyepieces require some light to use, so it is ideal that you would collimate using this tool before sunset.
Cheshire eyepieces are simple, inexpensive and popular.
I am very comfortable using my laser collimator, and if I used this it would be as a second layer to be sure that my collimation was as perfect as possible. I have never used one, but I would love to try it.
Collimation Cap
This is a 1.25” round piece of plastic that fits snugly into your focuser. It has a very small hole in the center and you look into it to see if you can see you secondary mirror.
If you can see the secondary mirror, then your scope is correctly aligned.
This is the simplest collimation tool, it can even be made at home.
Catseye Collimation System
A Catseye system consists of a small device that fits into your focuser that has reflective or laser etched circles on the back, and one or more pinholes on the front.
A catseye system requires the user to put a reference mark on the primary mirror.
This is more expensive and more involved than other collimation systems.
This video shows the use of two types of catseye tools for collimation.
Howie Gladder & Tub Lug
Howie Gladder has a whole line of laser collimators. They are known for their sturdiness, they are unlikely to come out of collimation.
They use a barlow laser technique to collimate your telescope.
The Tub Lug portion of the system is the barlow portion.
How do I know if my laser is collimated?
If you are concerned that your laser is no longer collimated you can test it by propping up your laser collimator on a block of wood and rotating it.
The dot from the laser should not move when being turned.
If your laser moves in a circle when you rotate it then it is not collimated.
Some laser collimators can be adjusted to fix any alignment issues, but some cannot be adjusted and if they come out of alignment, must be replaced.