I recently purchased a PVS 14 tube for night vision astronomy. I had heard many times that it would revolutionize visual observing.
I had the opportunity to purchase a unit and I have been very pleased with the results. Like everything in astronomy there was a learning curve and some buyers remorse the first few days with the unit, but now that I have gotten a hang of it, I am hooked.
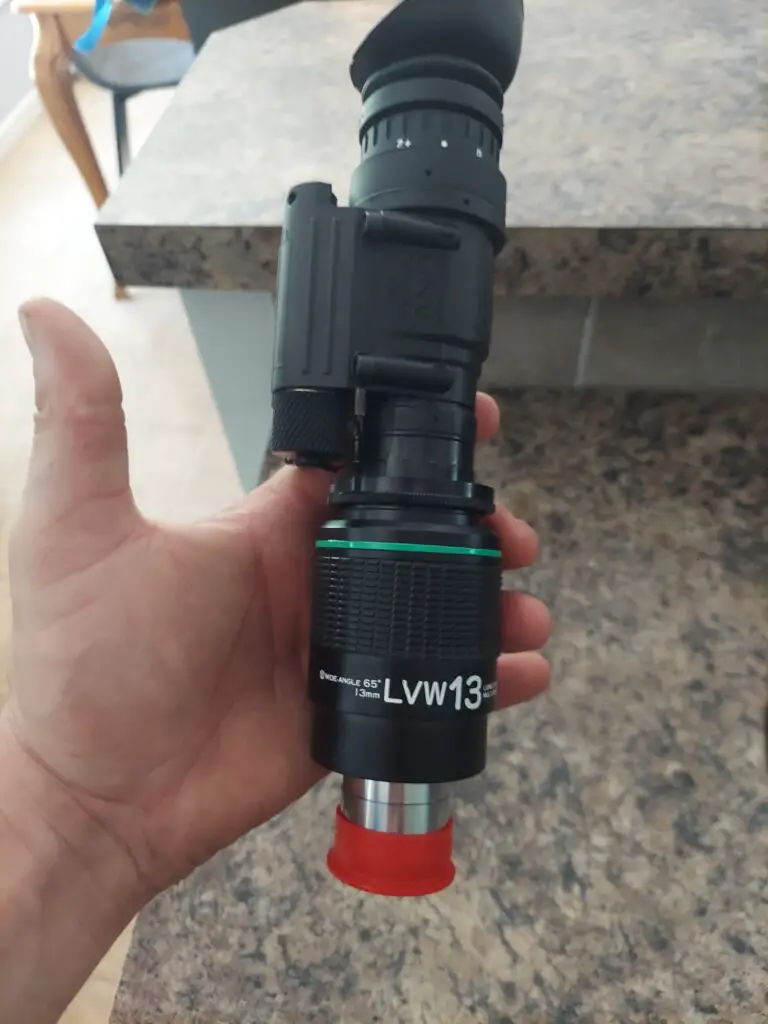
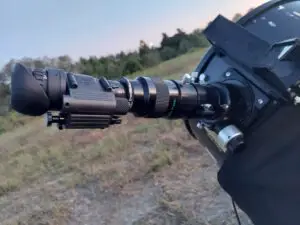
Here is everything I have and use for visual observing with night vision.
My Set Up:
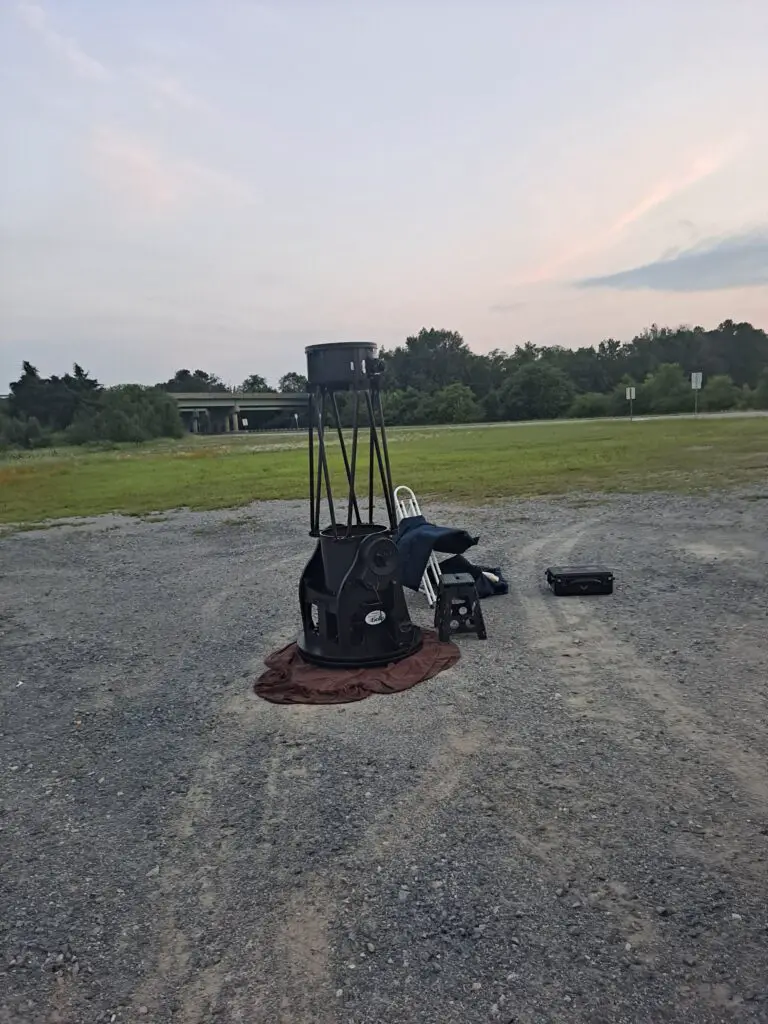
Orion XX16G
Any Telescope will work as long as it has a 2 inch focuser.
I am a big fan of Dobsonian telescopes and night vision astronomy is best suited to visual observing.
PVS 14
The actual night vision tube is the biggest purchase of course, and you should spend some time doing your research and shopping.
Buy from a reputable seller, Nocturnality and Kosher Supply are the two companies that I would trust.
My unit was purchased from Scott at Nocturnality. It is a Gen 3, filmless, white phosphor tube. This means that your image is mostly black, white and blue not green like traditional night vision.
It is not recommended to share the specifications of your exact device, but there are some general guidelines you want to know when shopping for a tube. The spec guidelines are included in the table at the end of the article.
Some of my specs are below the recommended minimum requirements, but I am pleased with my results.
Online Vendors should take a photo through the tube to show you that there are no spots. Kosher Supply shows the photos and specs on their website making it easy to see what is available.
When you are choosing a night vision unit for your telescope, you should be mindful of the specifications. It is not as easy as buying any PVS 14, you have to be mindful of the specs on the tube as well.
Start with the specs listed in the table at the end of the article.
You want a Gen 3, white phosphor and filmless. All of these things are important when shopping for a tube for astronomy.
Look for a low EBI, high resolution and high photocathode sensitivity.
Note on Honeycombing and Chicken Wire:
This can happen to any eyepiece depending on the brightness of what you are looking at, so I would not be as concerned about this.
The tube is the first thing you need, but there are a few other accessories required to enjoy night vision astronomy:
Coma Corrector
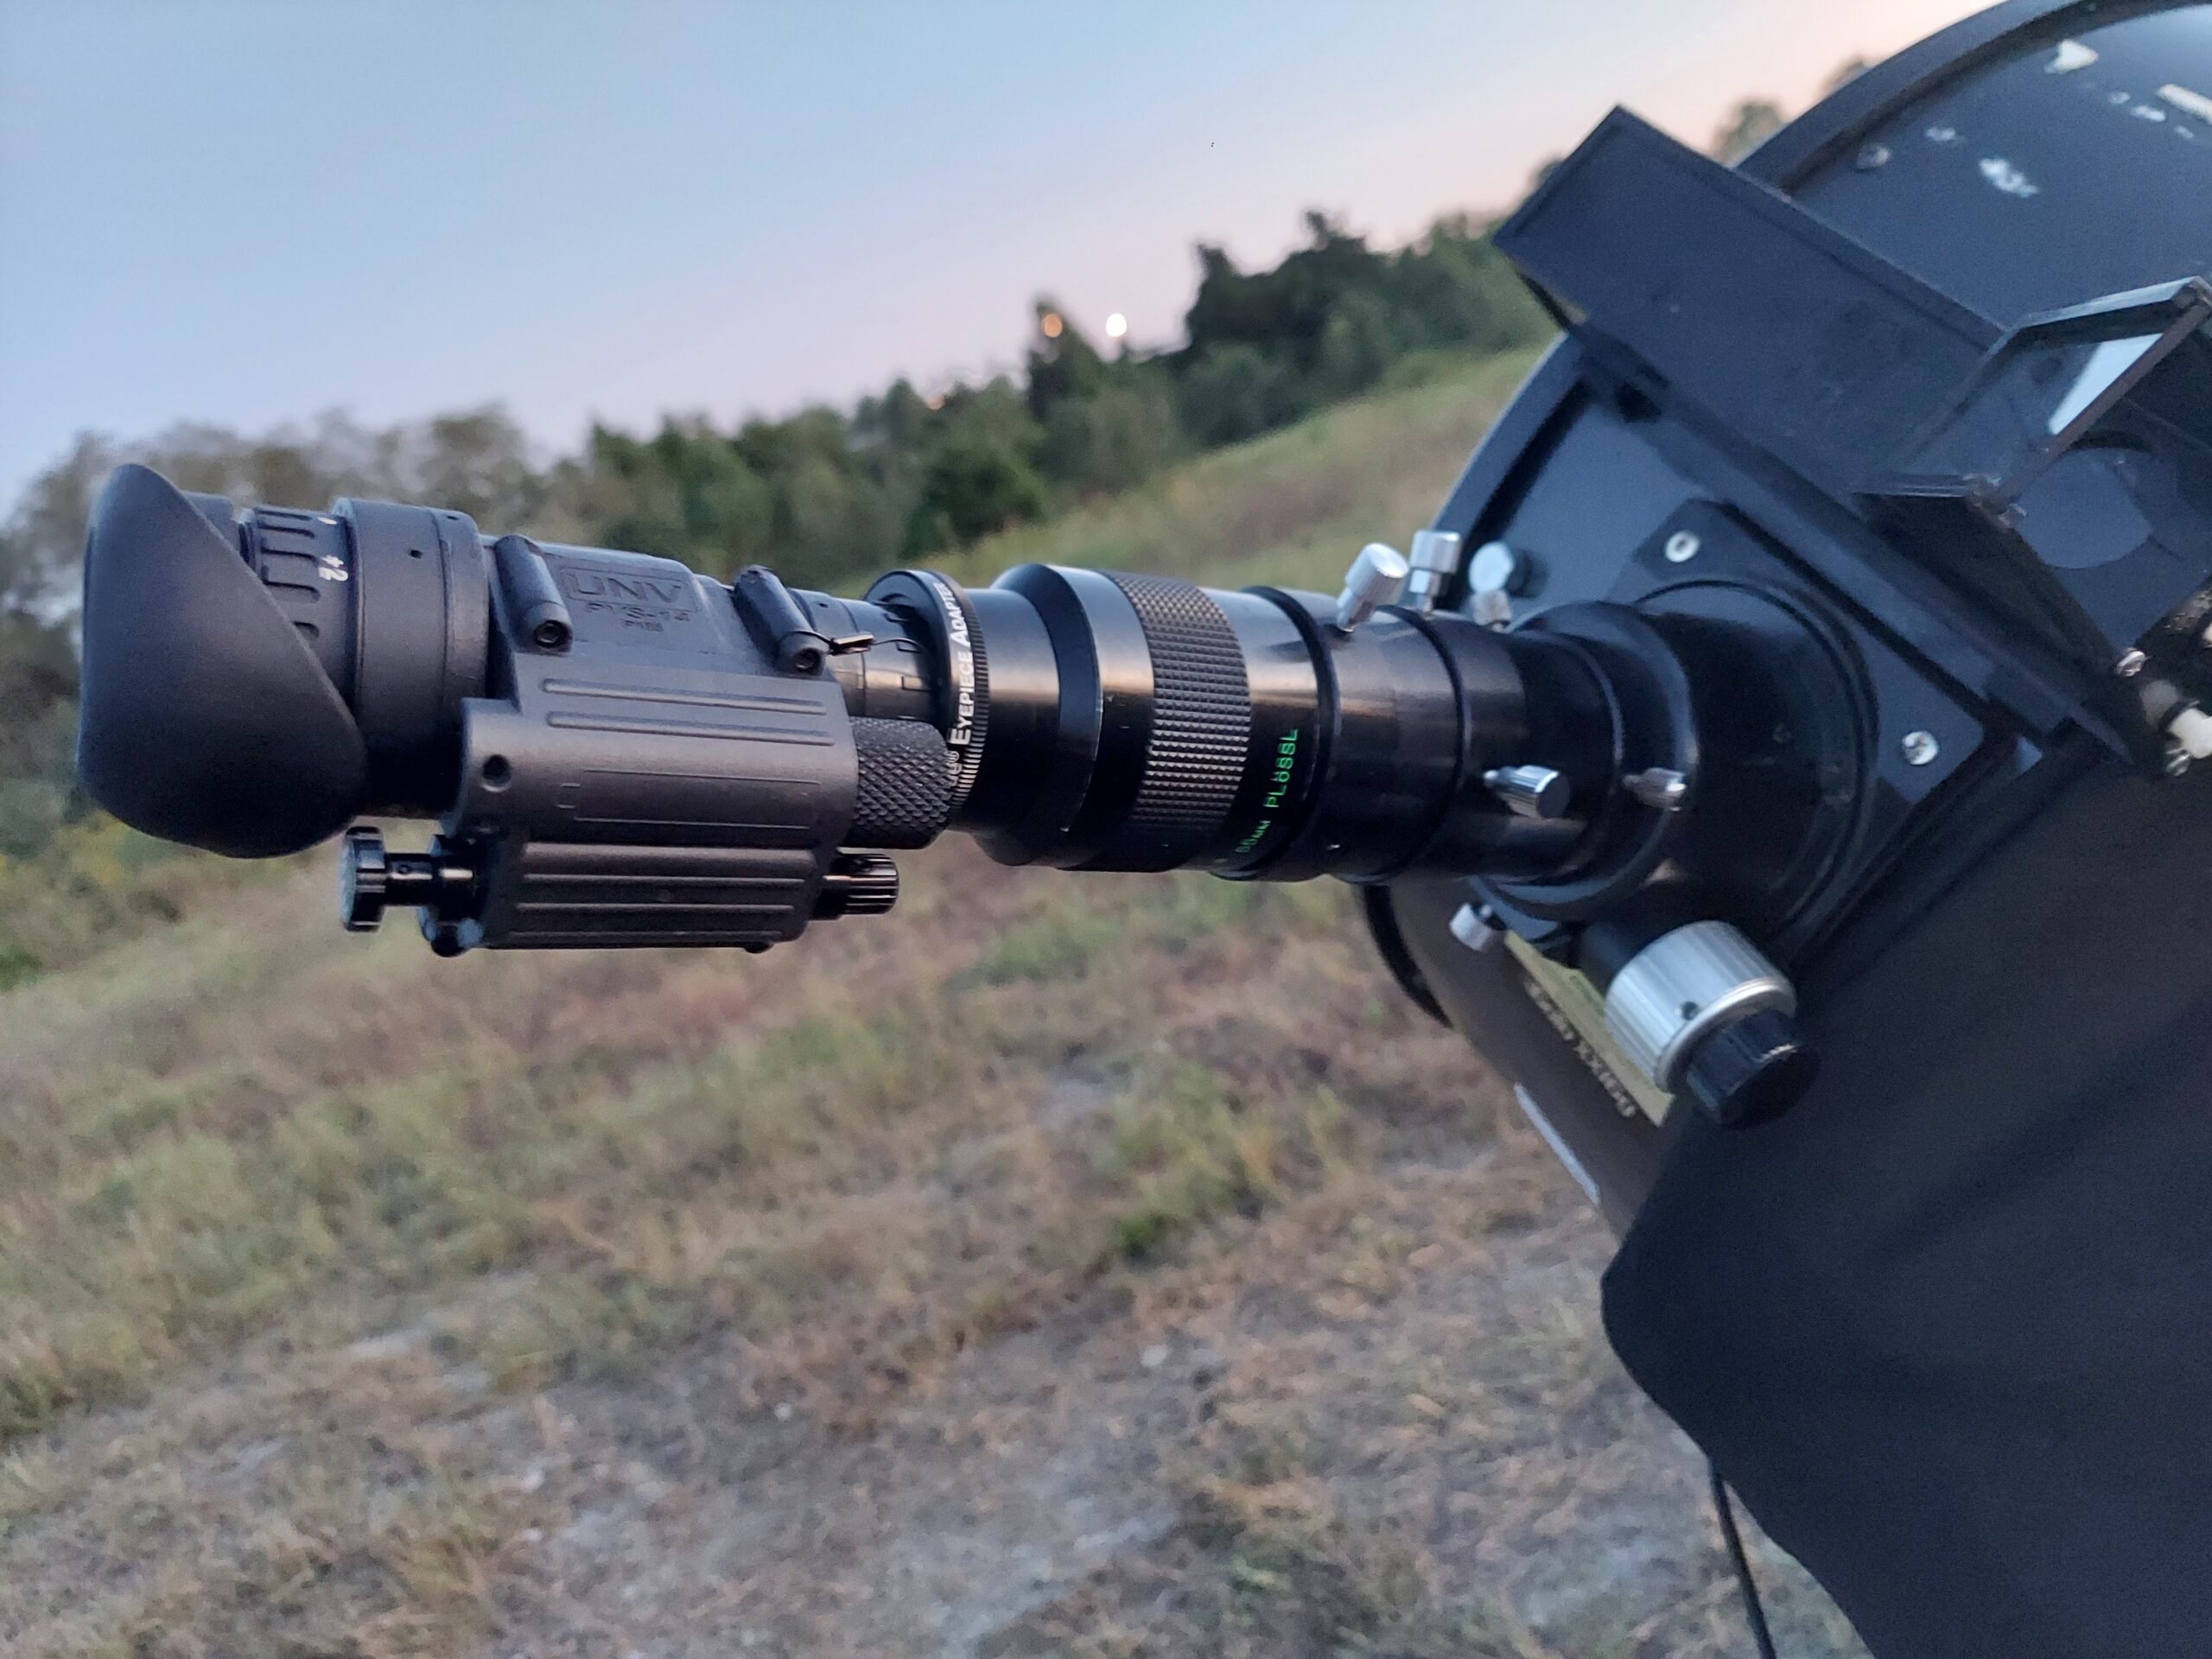
The coma corrector is a very important part of the set up, without this it may not come into focus. For example my 55mm plossl with 67mm adapter will not come into focus without a 35mm extension tube and a coma corrector (this makes the stack very very long and requires a sturdy focuser).
I have the GSO from High Point Scientific, but a Paracorr coma corrector should work too.
The coma corrector makes the stack coming off the focuser really long. It makes me nervous just to see it.
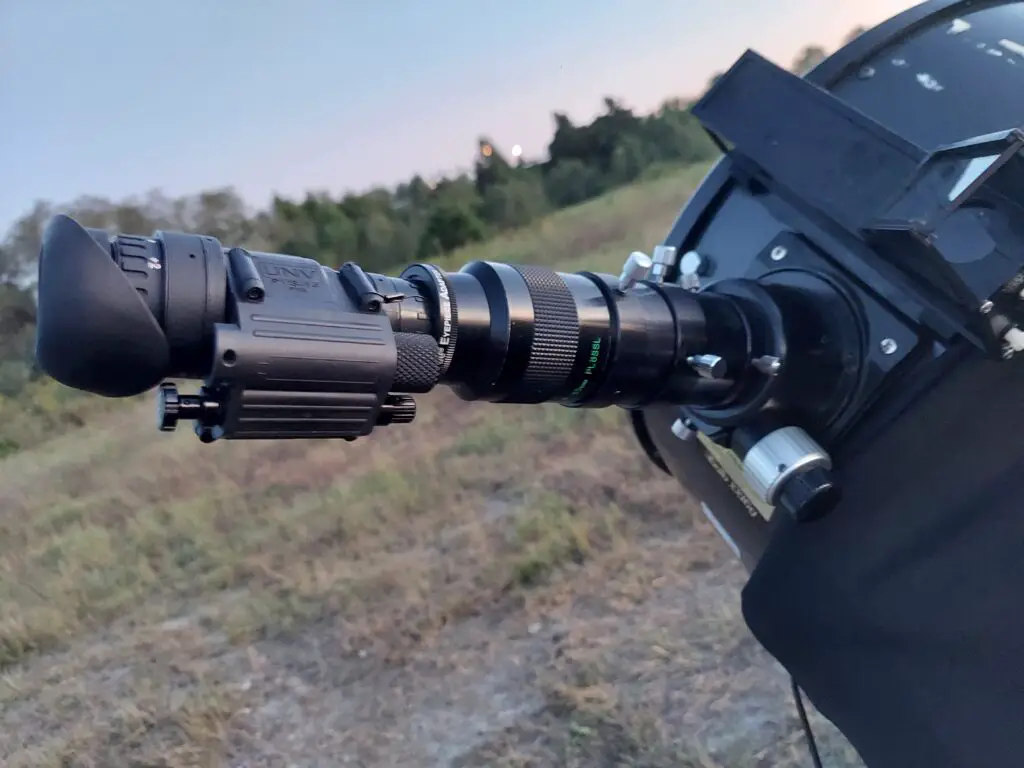
I have to duck down when I am climbing the step stool to the focuser.
Eyepieces
Tele Vue Partner with Tactical Night Vision Company to create night vision astronomy gear. You can find a good resource on choosing eyepieces on their website.
I already had one Tele Vue eyepiece that I knew would work with the adapter and then tried others that I had to see how they performed.
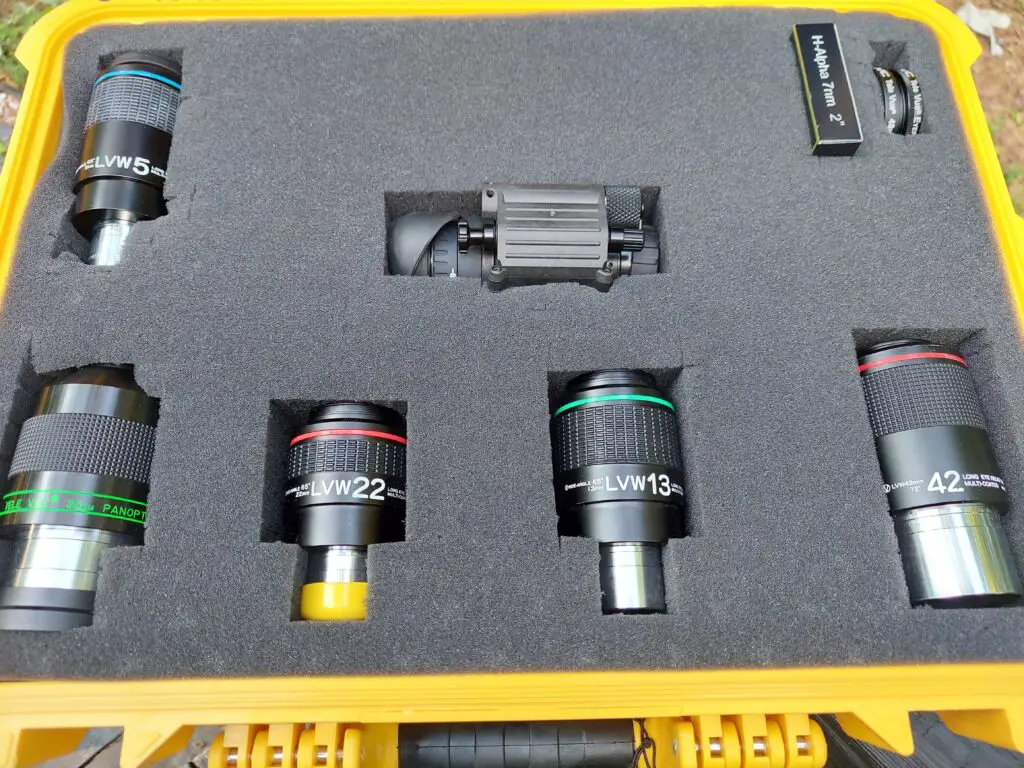
These are the eyepieces that I have that work with my PVS 14:
- Vixen LVW Lanthanum Wide Series
- 22mm
- 13mm
- 5mm
- 42mm
- Tele Vue 35mm Panoptic
- Tele Vue 55mm Plossl (You will need the 67mm adapter for this one, available from Tele Vue)
- Baader 9mm Morpheus
Many people use the Tele Vue 55mm plossl that comes in the Tele Vue night vision package. It has a 67mm extension piece included. This is the preferred eyepiece for night vision astronomy because of its great compatibility and widest true field of view.
Out of all my eyepieces these are the only ones that work with my Tele Vue adapter. You have to take off all the rubber eye cups so that they will fit into the adapter.
Tele Vue Eyepiece Adapter
I bought my eyepiece adapter from Tactical Night Vision Company (TNVC).
I do afocal night vision, so this adapter allows for a focal observing.
When using these adapters it can be difficult to switch them between eyepieces. I recommend that you purchase a few adapters and keep them on the eyepieces you use for night vison.
I took an extra step and purchased a second eyepiece case just for my night vision eyepieces. This keeps everything very organized and easier to assemble when I bring out my scope.
Filter Adapter
I am not sure that this is totally necessary, as it is designed for using your night vision tube hand held rather than attached to the telescope.
If you are holding your night vision unit outside and you want to use it without a telescope you can use this to add a filter.
I find this helpful when attaching an H Alpha filter to scan the milky way. It is pretty fun to use handheld.
When I am using my telescope I screw the filter into the eyepiece, so I do not need to use this special filter adapter.
H Alpha Filter
This narrowband filter really transforms the nebulas. When I have found some of these targets it makes them almost unrecognizable.
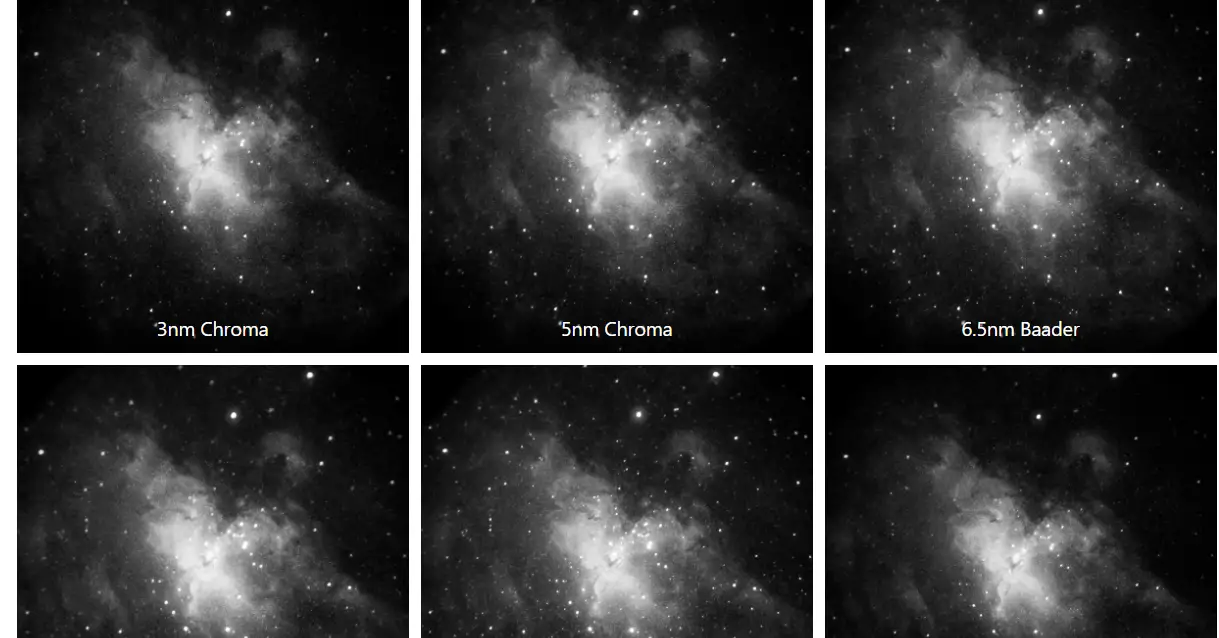
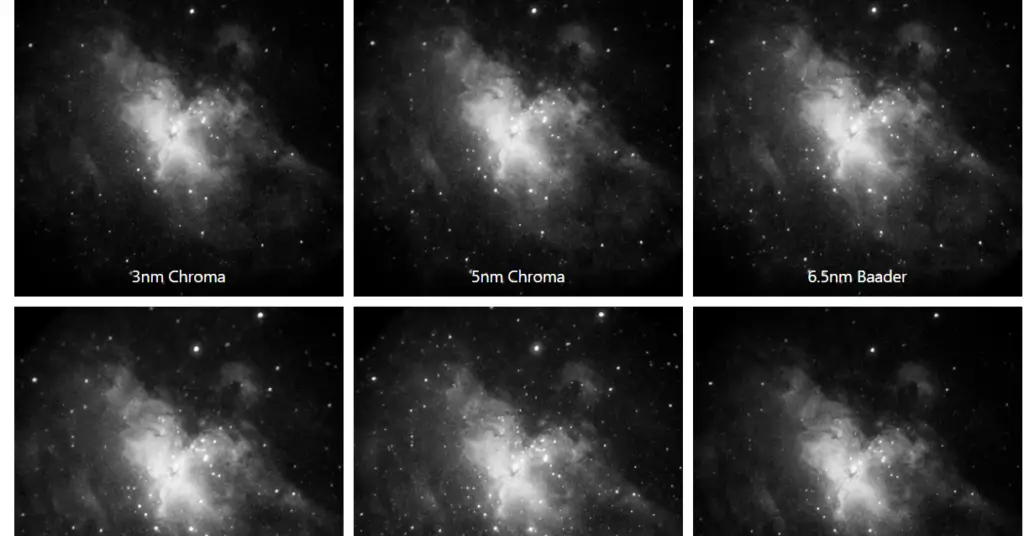
I have a Optolong 7nm, but Tele Vue recommends the 6 nm. Chroma has a 3 nm available.
You can find a very comprehensive comparison of 6 different H Alpha filters in this review that contains a bunch of interesting image comparisons.
685 nm IR filter
This 2 inch filter helps improve contrast in your images. I am still new to this filter, but it seems better on galaxies.
I have a very inexpensive Svboney that I got on Amazon, you can grab it with my affiliate link: 685nm IR filter.
Minimum Requirements for Night Vision Astronomy
The unit I purchased has some stats that are below the minimum requirements recommended by many astronomers.
| Minimum | Medium | High | |
| Gain | 60-64,000 | 64-68,000 | 68,000+ |
| Resolution | 64 | 72 | 81+ |
| EBI | 0.8-1.0 | 0.5-0.7 | 0.5 or less |
| PCR | 2,000 -2,200 | 2,200-2,500 | 2,500+ |
| SNR | 29-32 | 32-36 | 36+ |
| Halo | 1.0 | 0.7-0.9 | 0.7 or less |
Spots and blemishes should be listed and you should receive a photo that matches the description. The most important area is Zone 1, the center of the field of view. Spots or blemishes in Zone 2 or Zone 3 will likely be less bothersome to you, but personal preference plays a role here.
These stats were taken from a post on Cloudy Nights where most of the information on night vision astronomy can be found.
Even with the less than ideal specs, I am happy with the performance of my unit.
Night Vision Astronomy Images
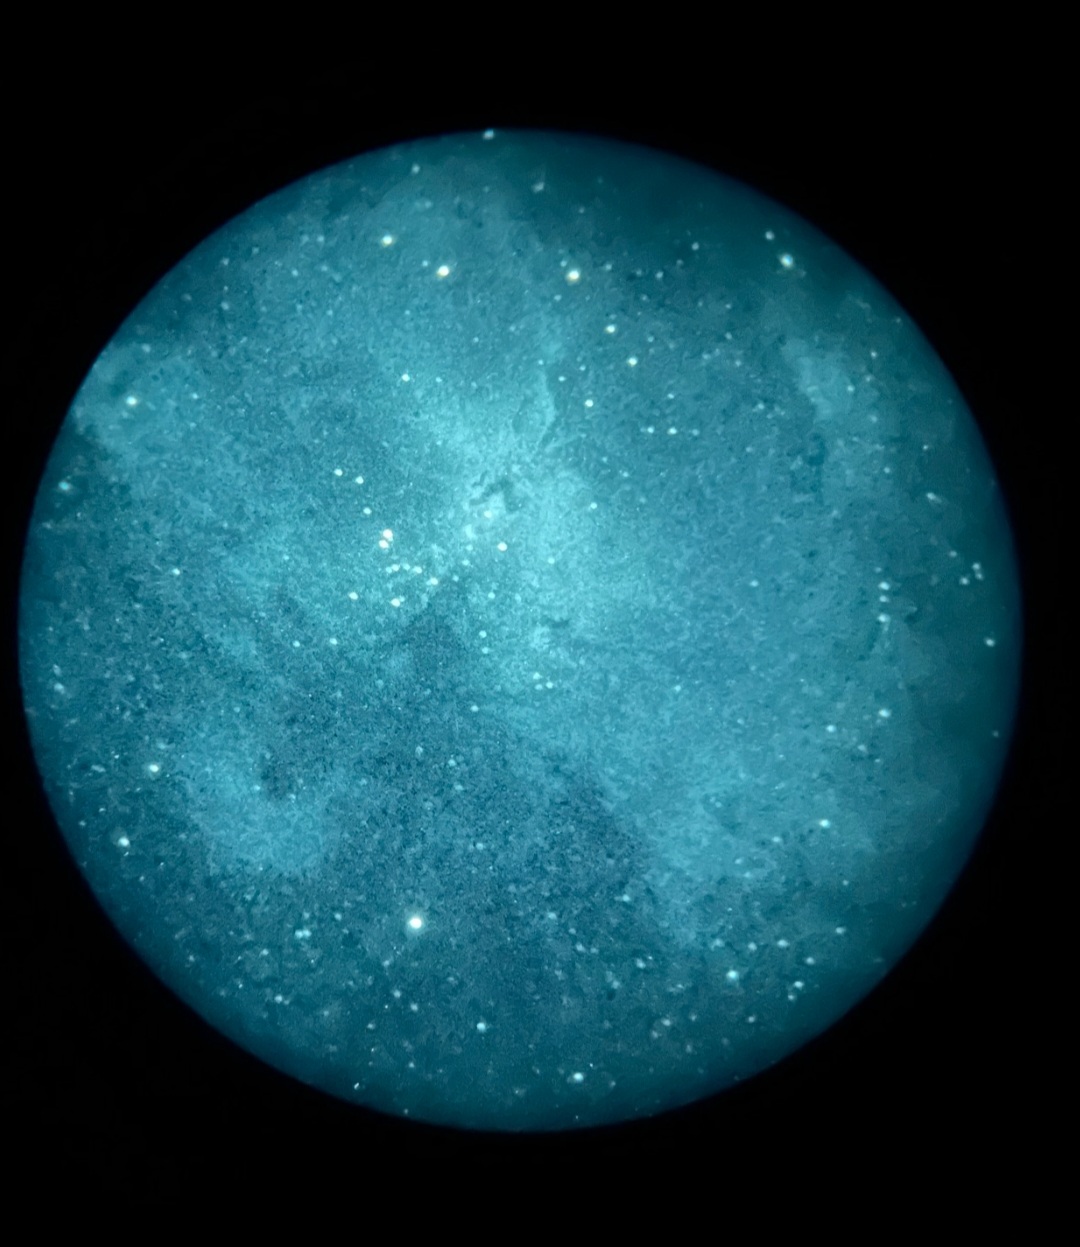
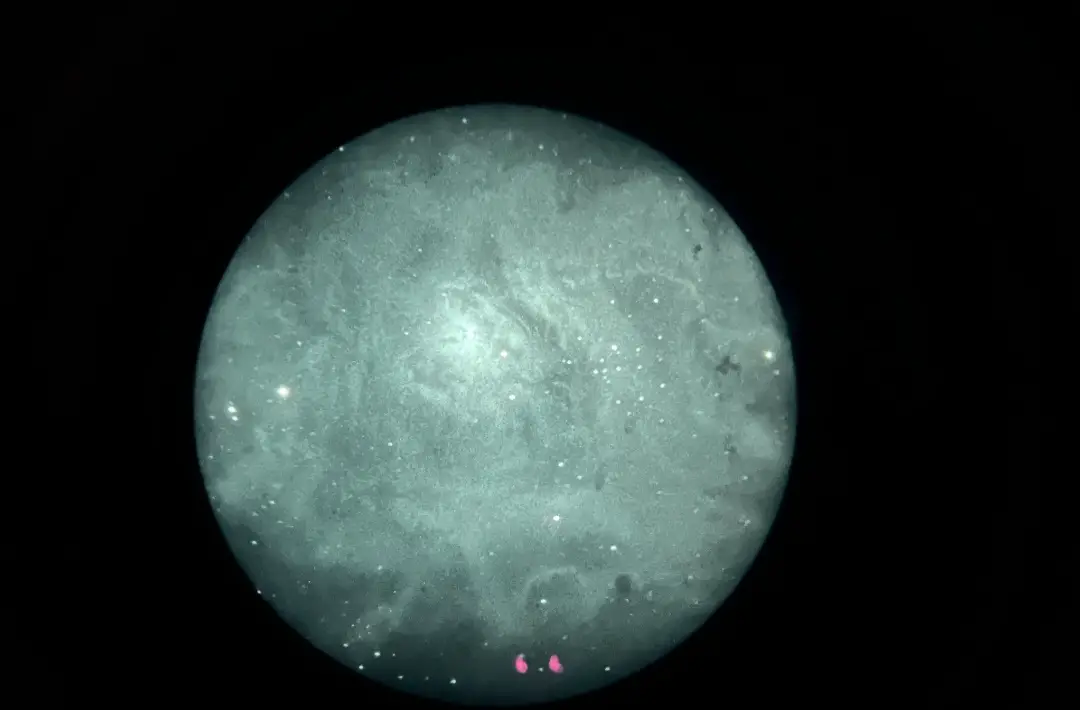
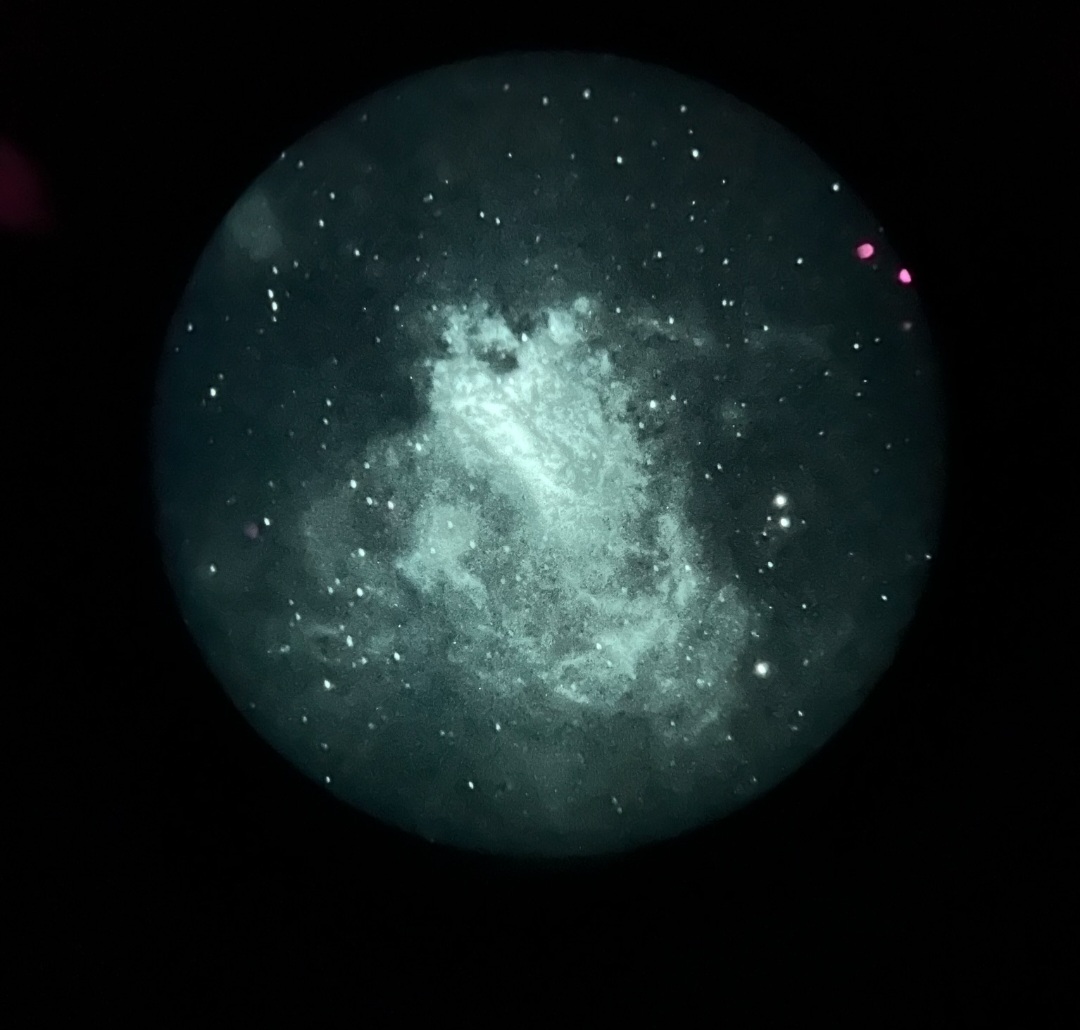
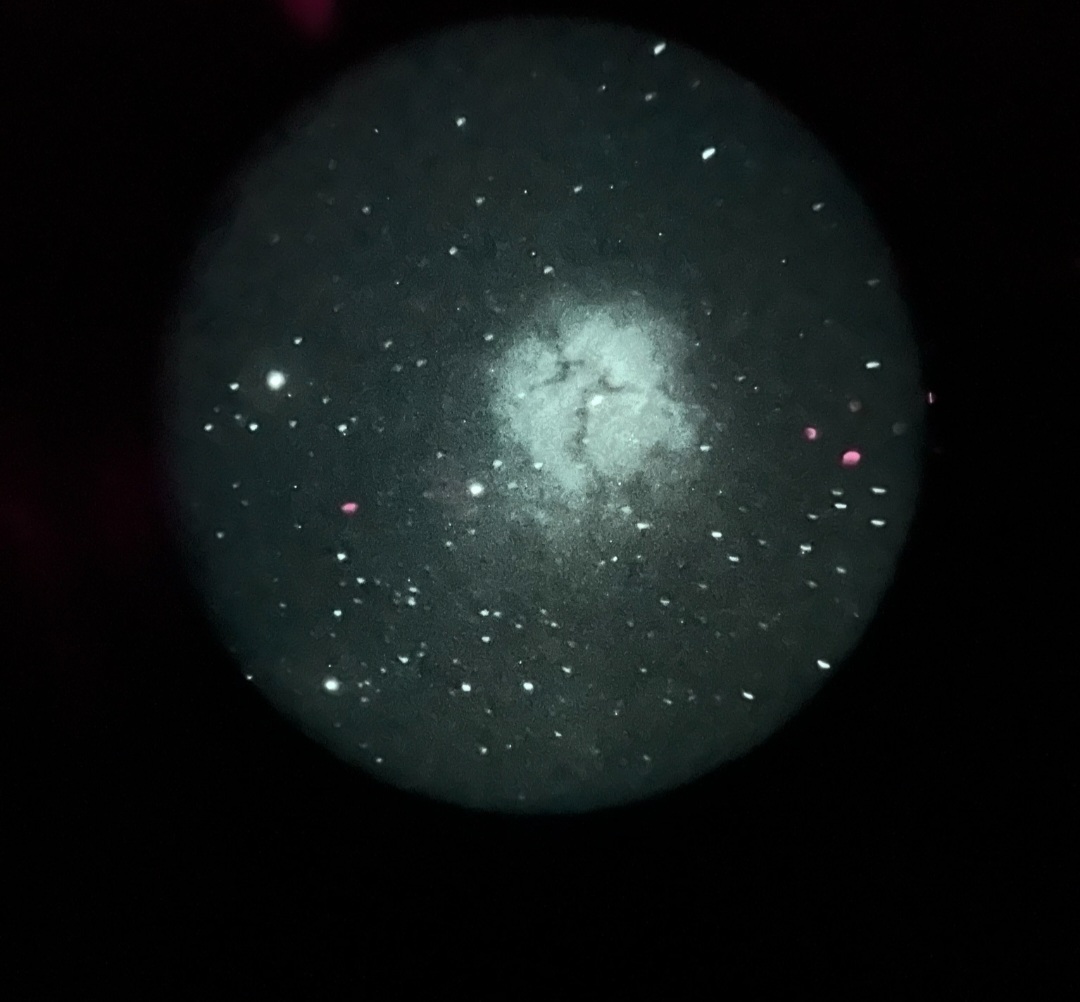
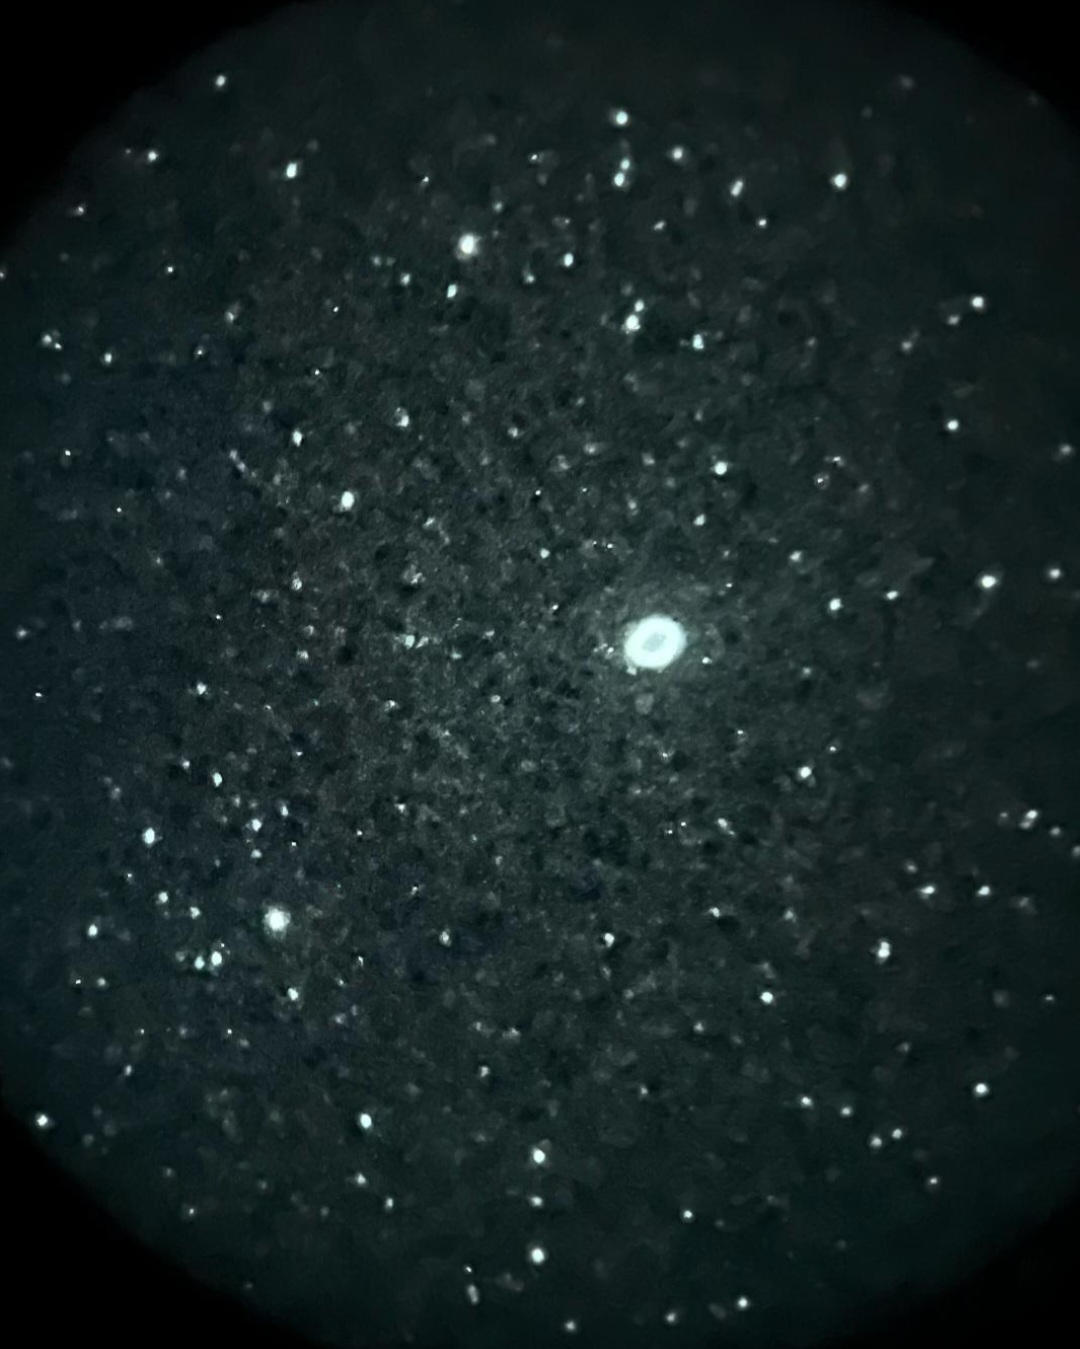
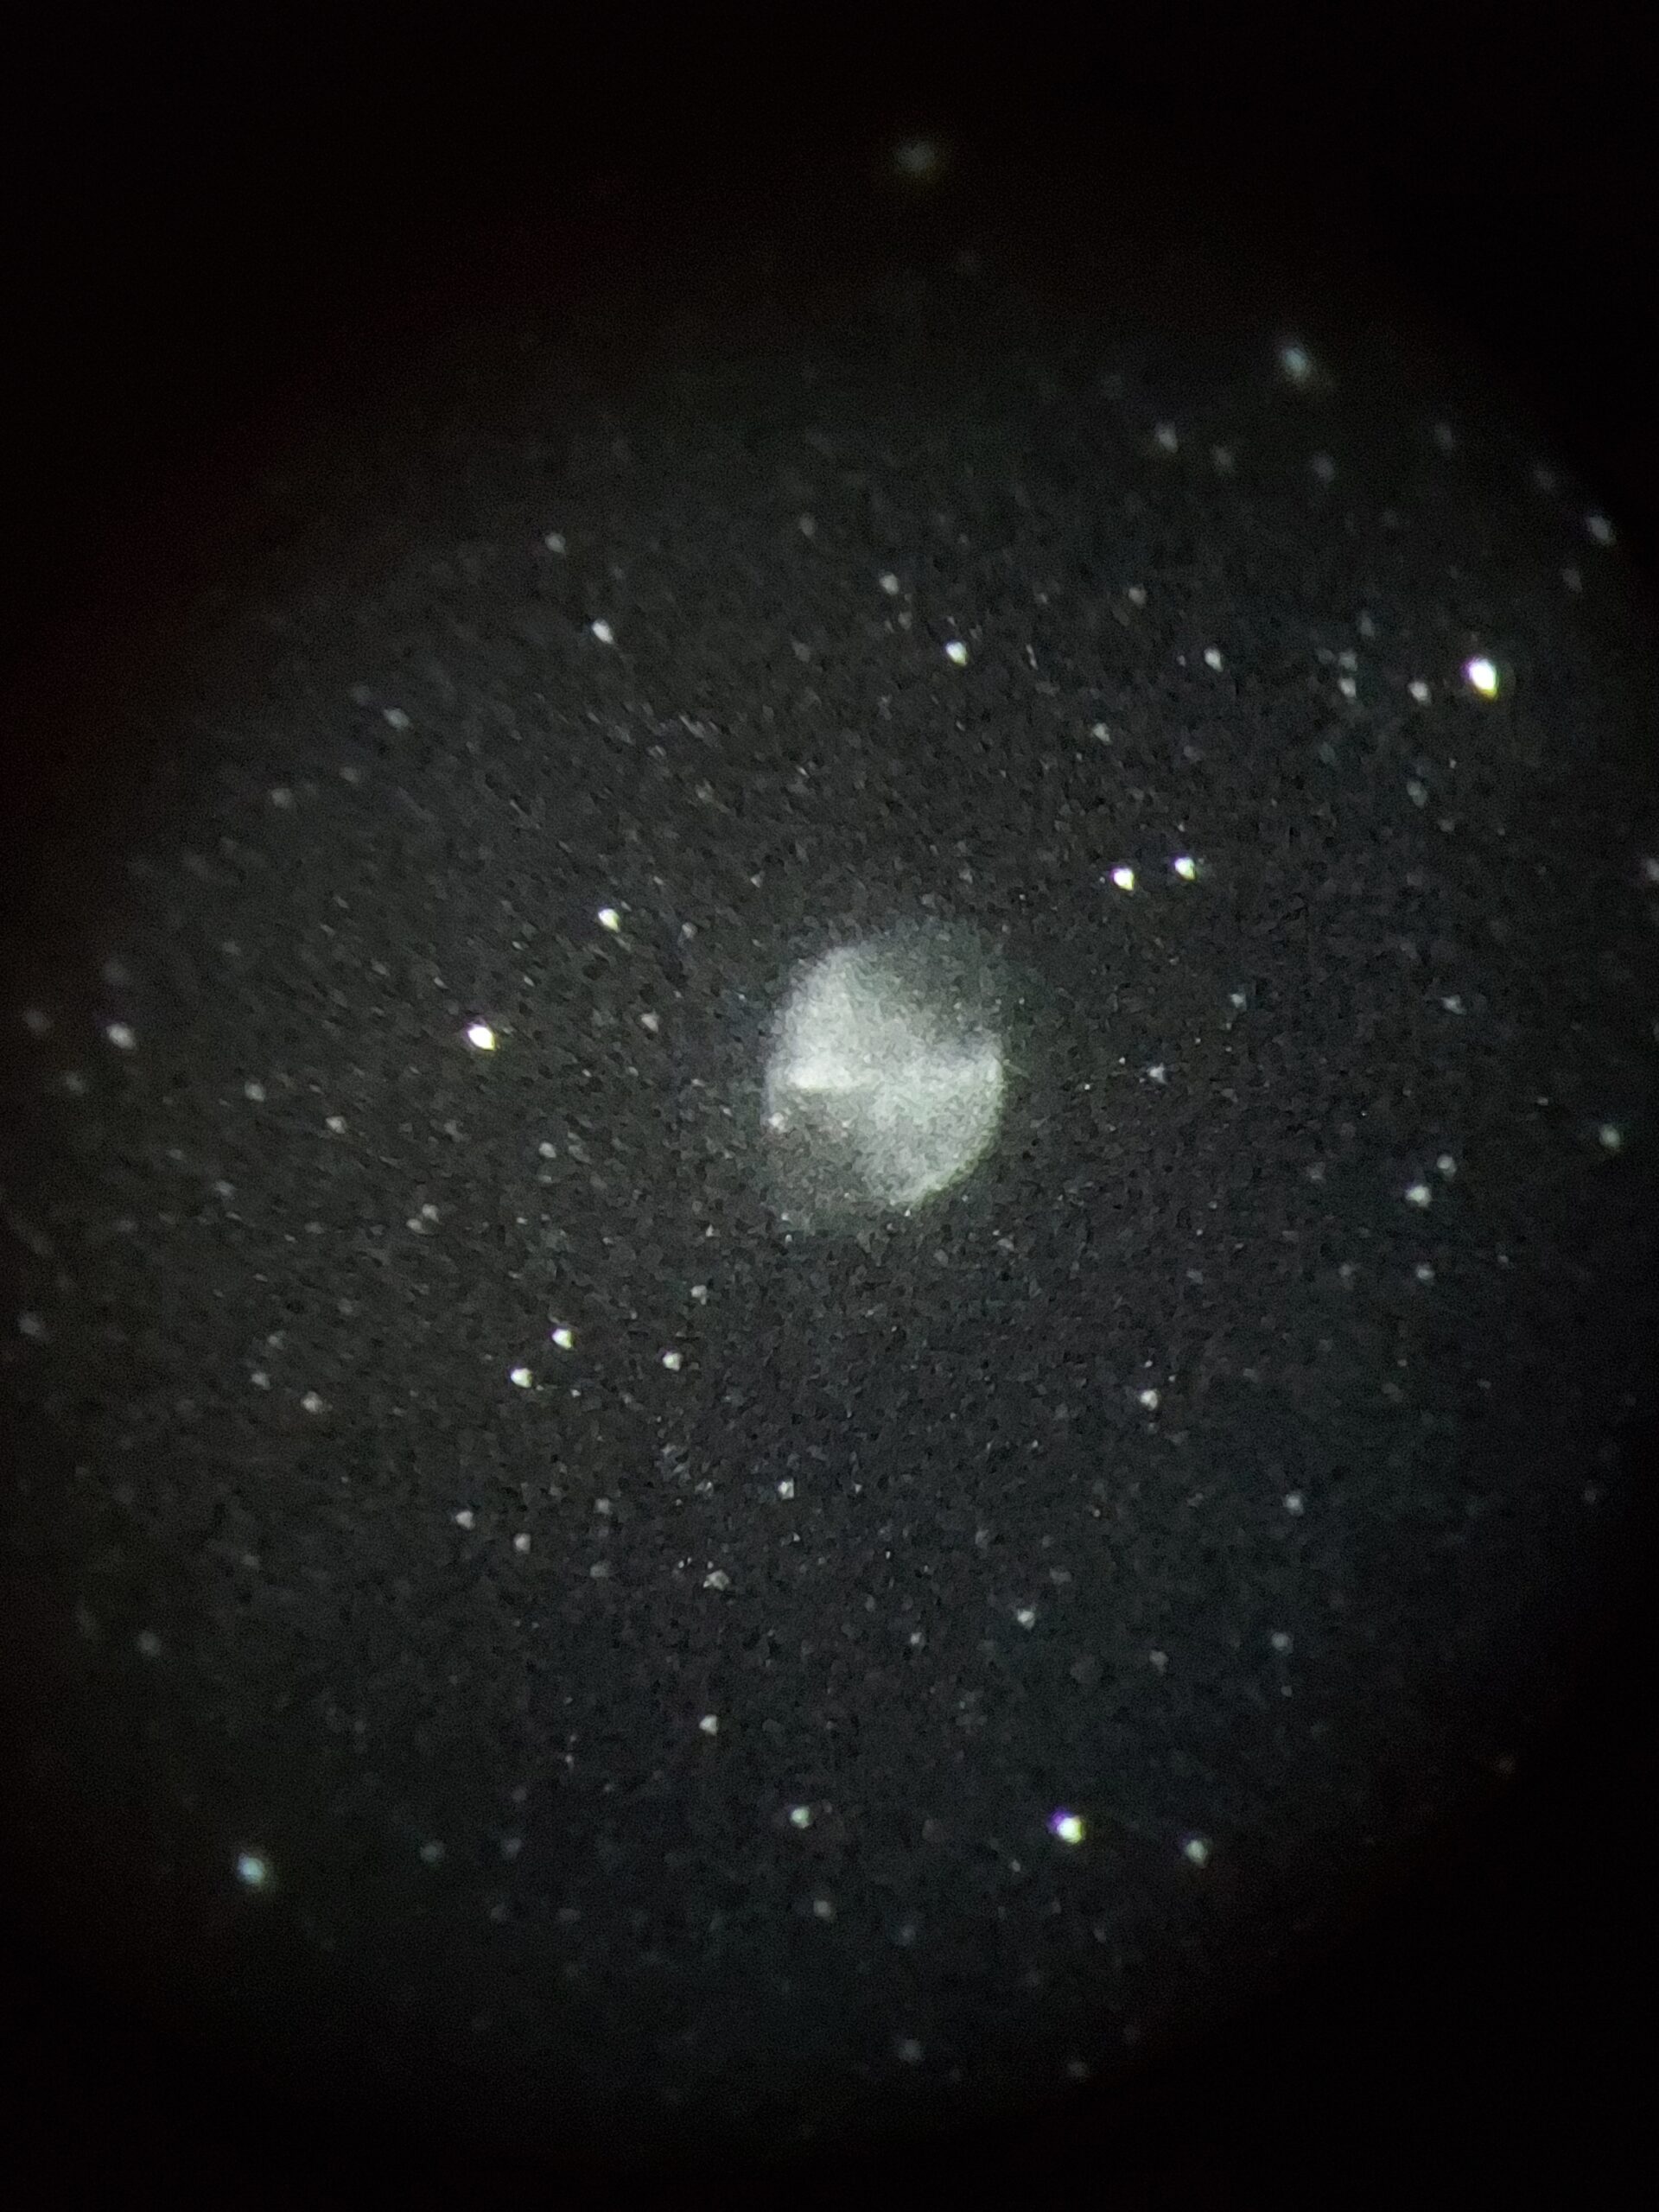
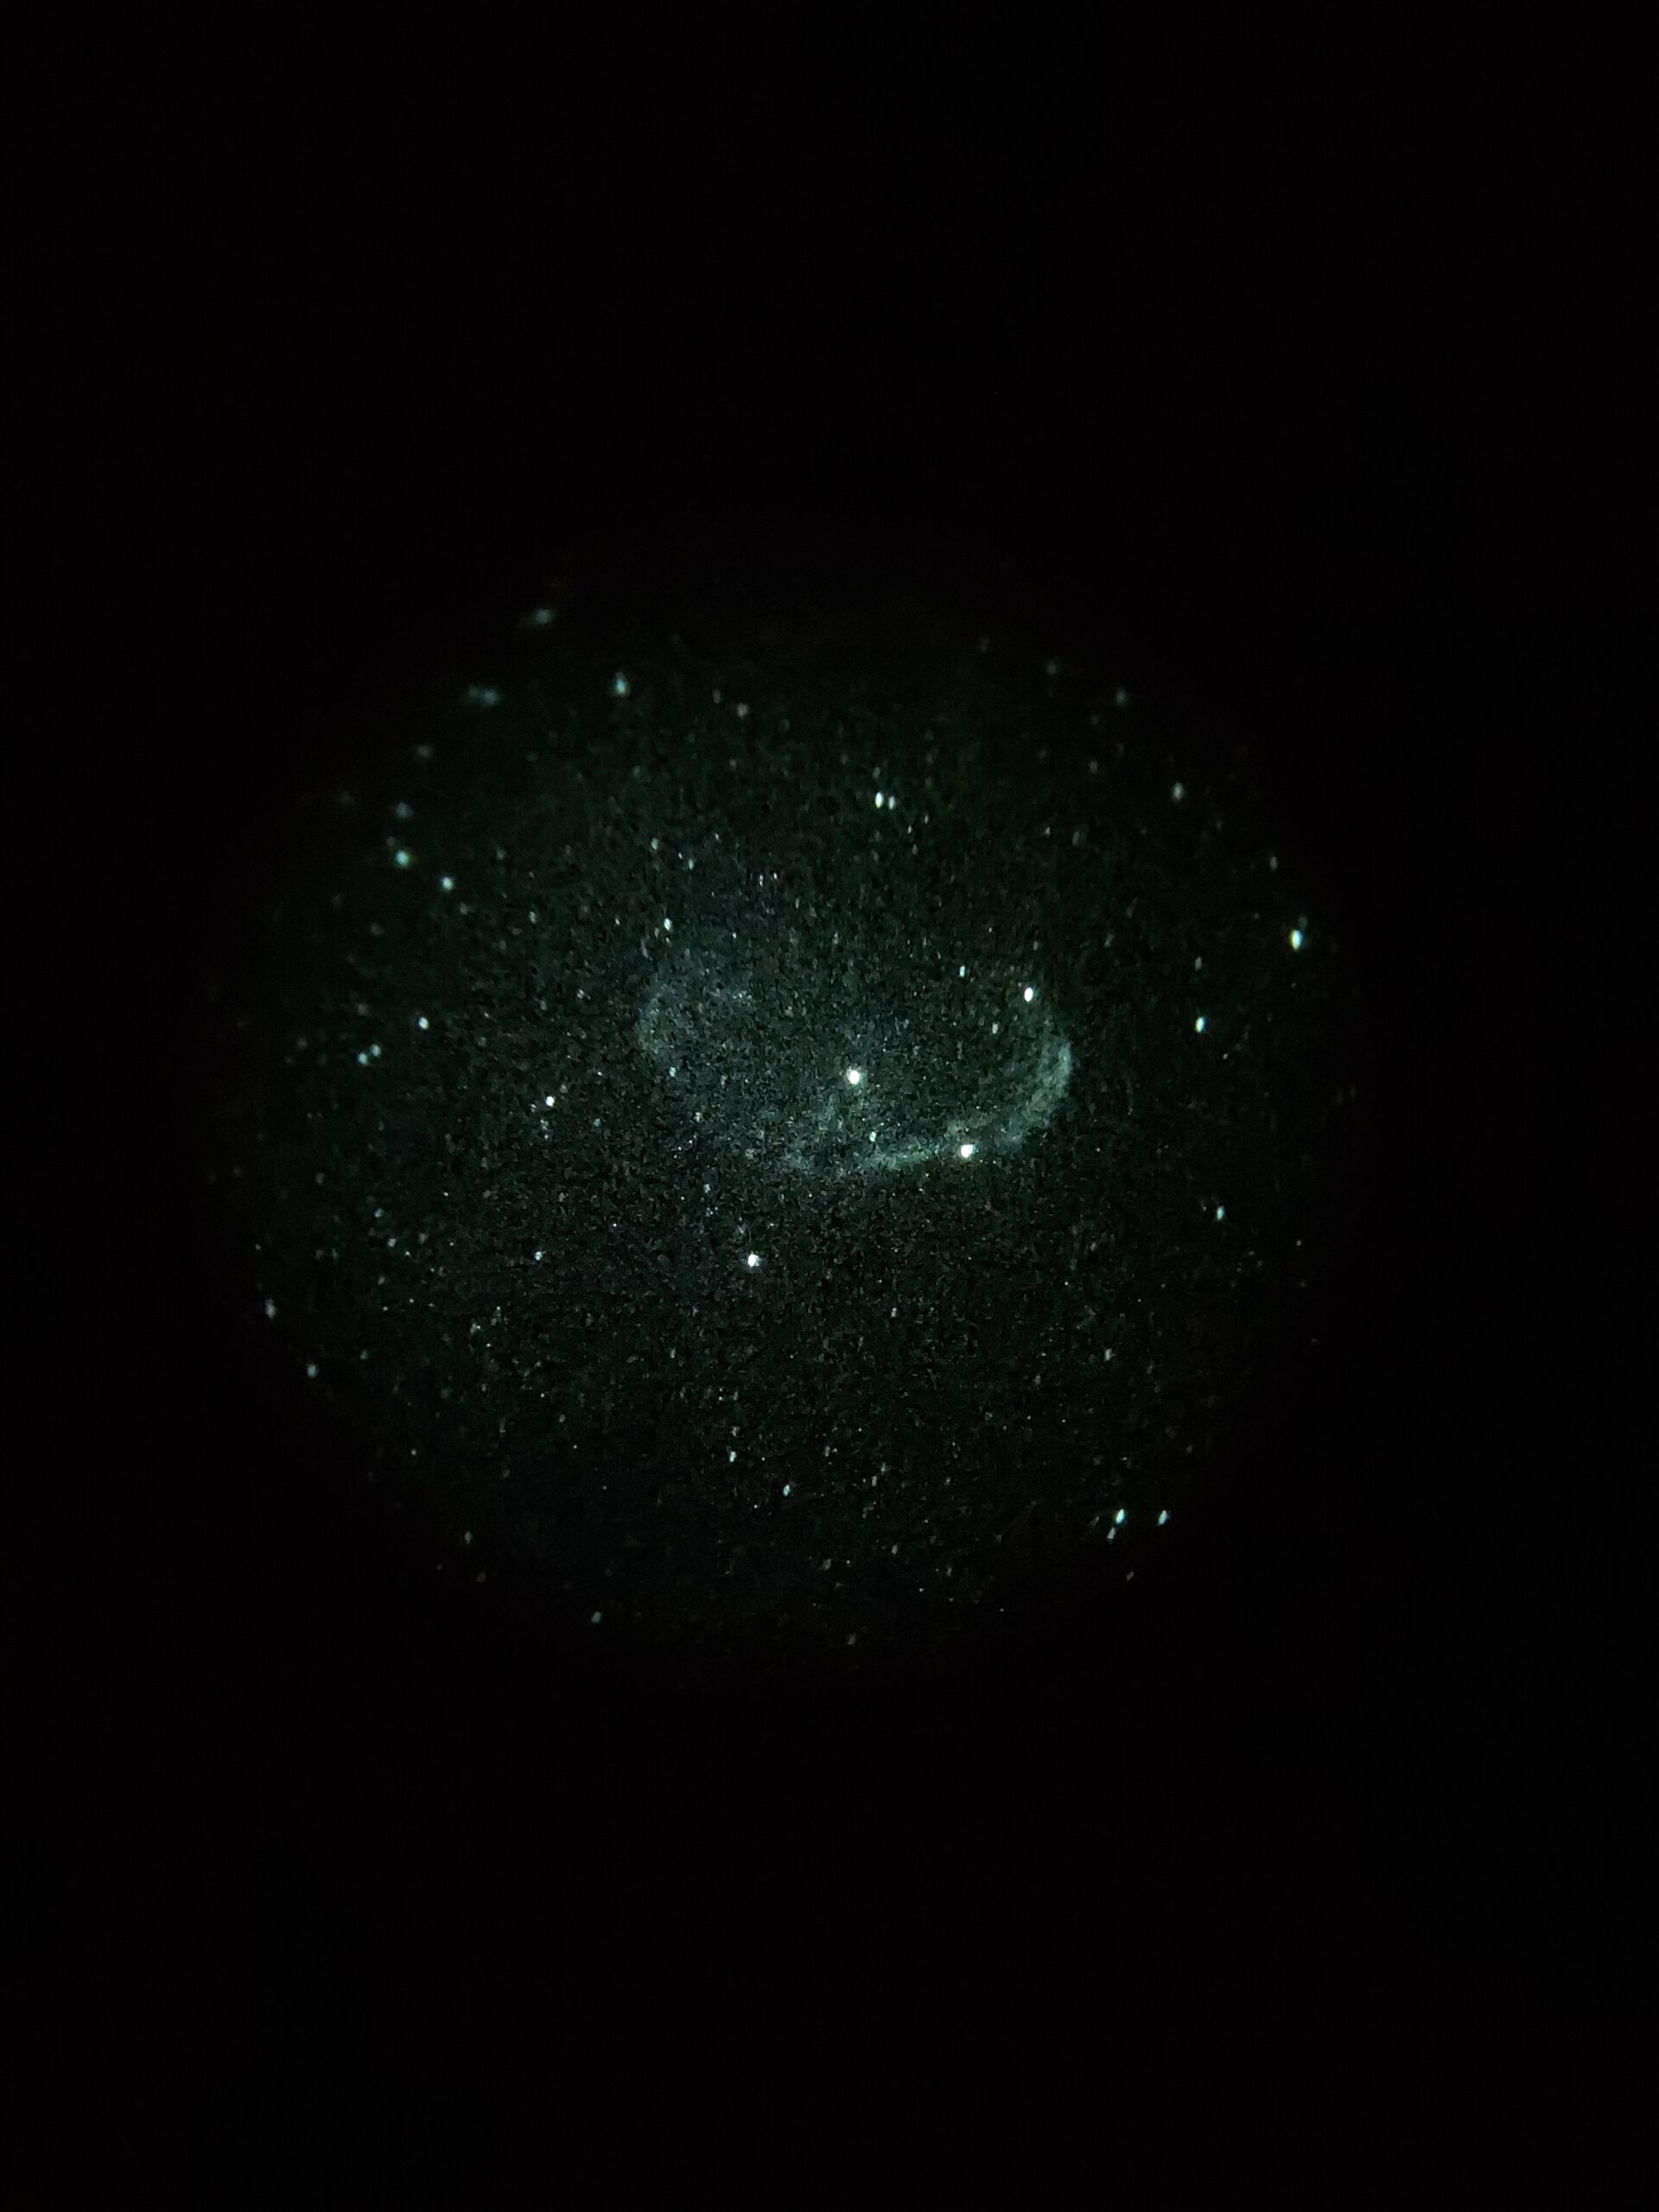
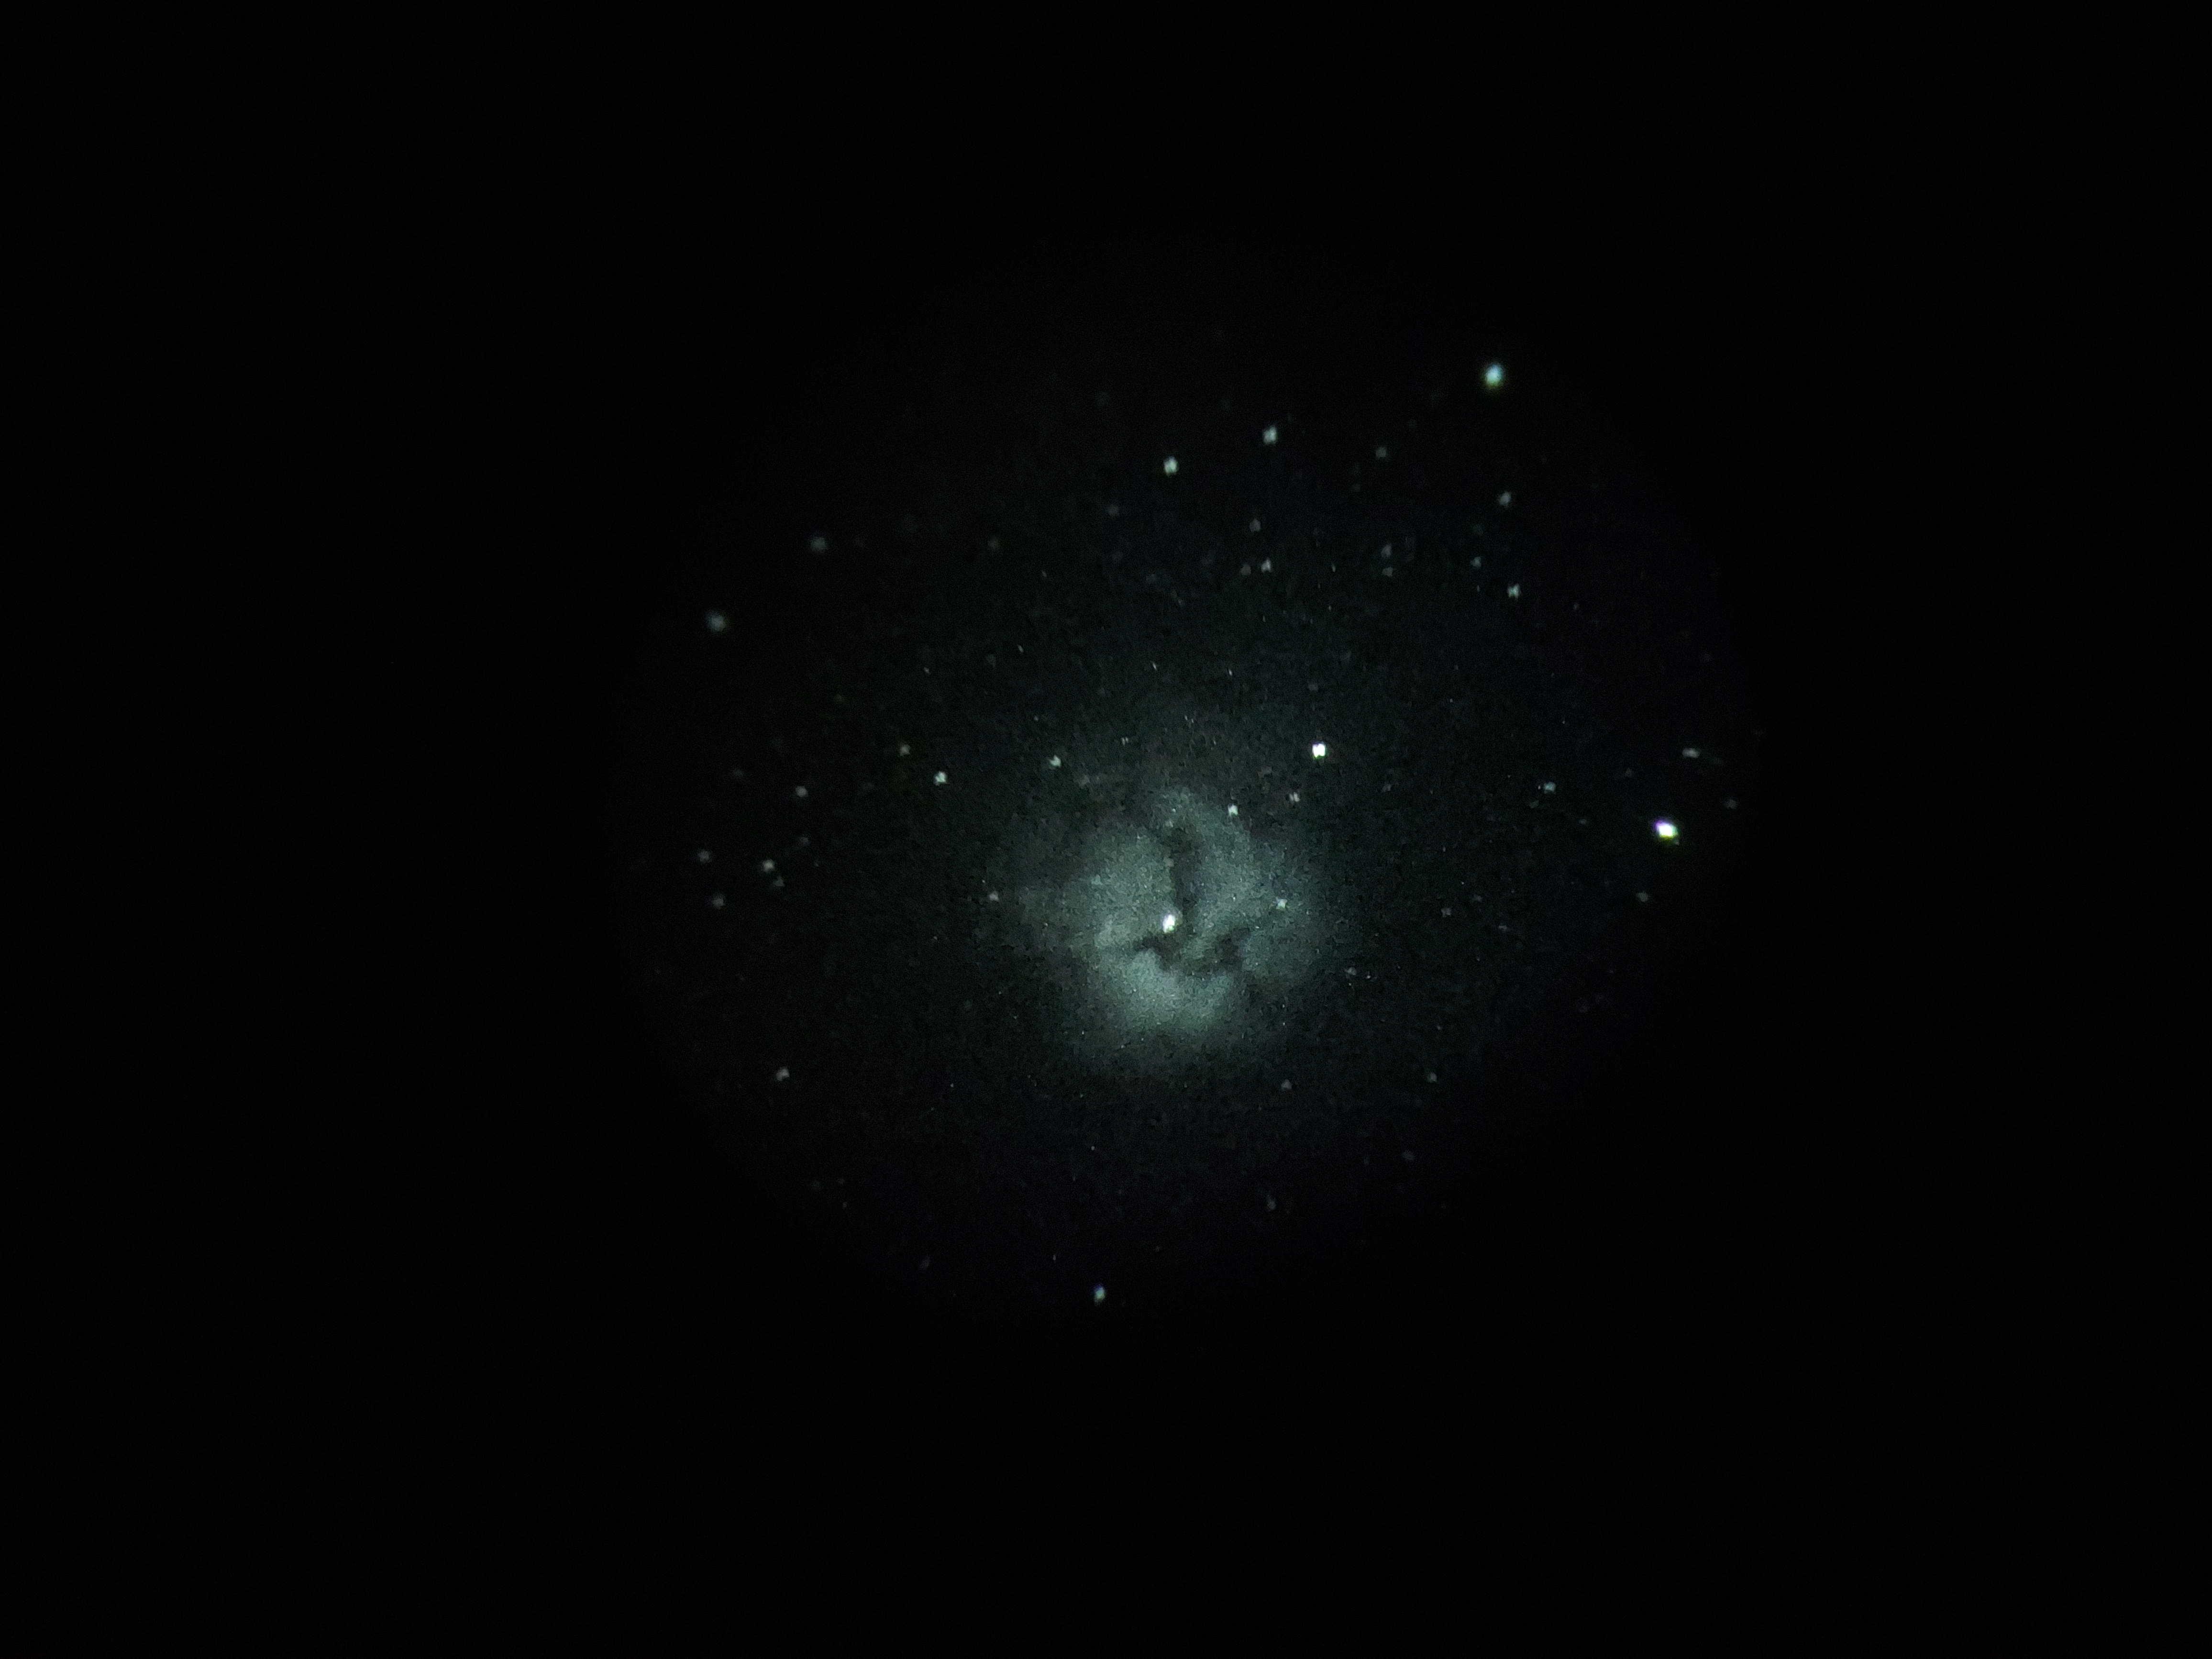
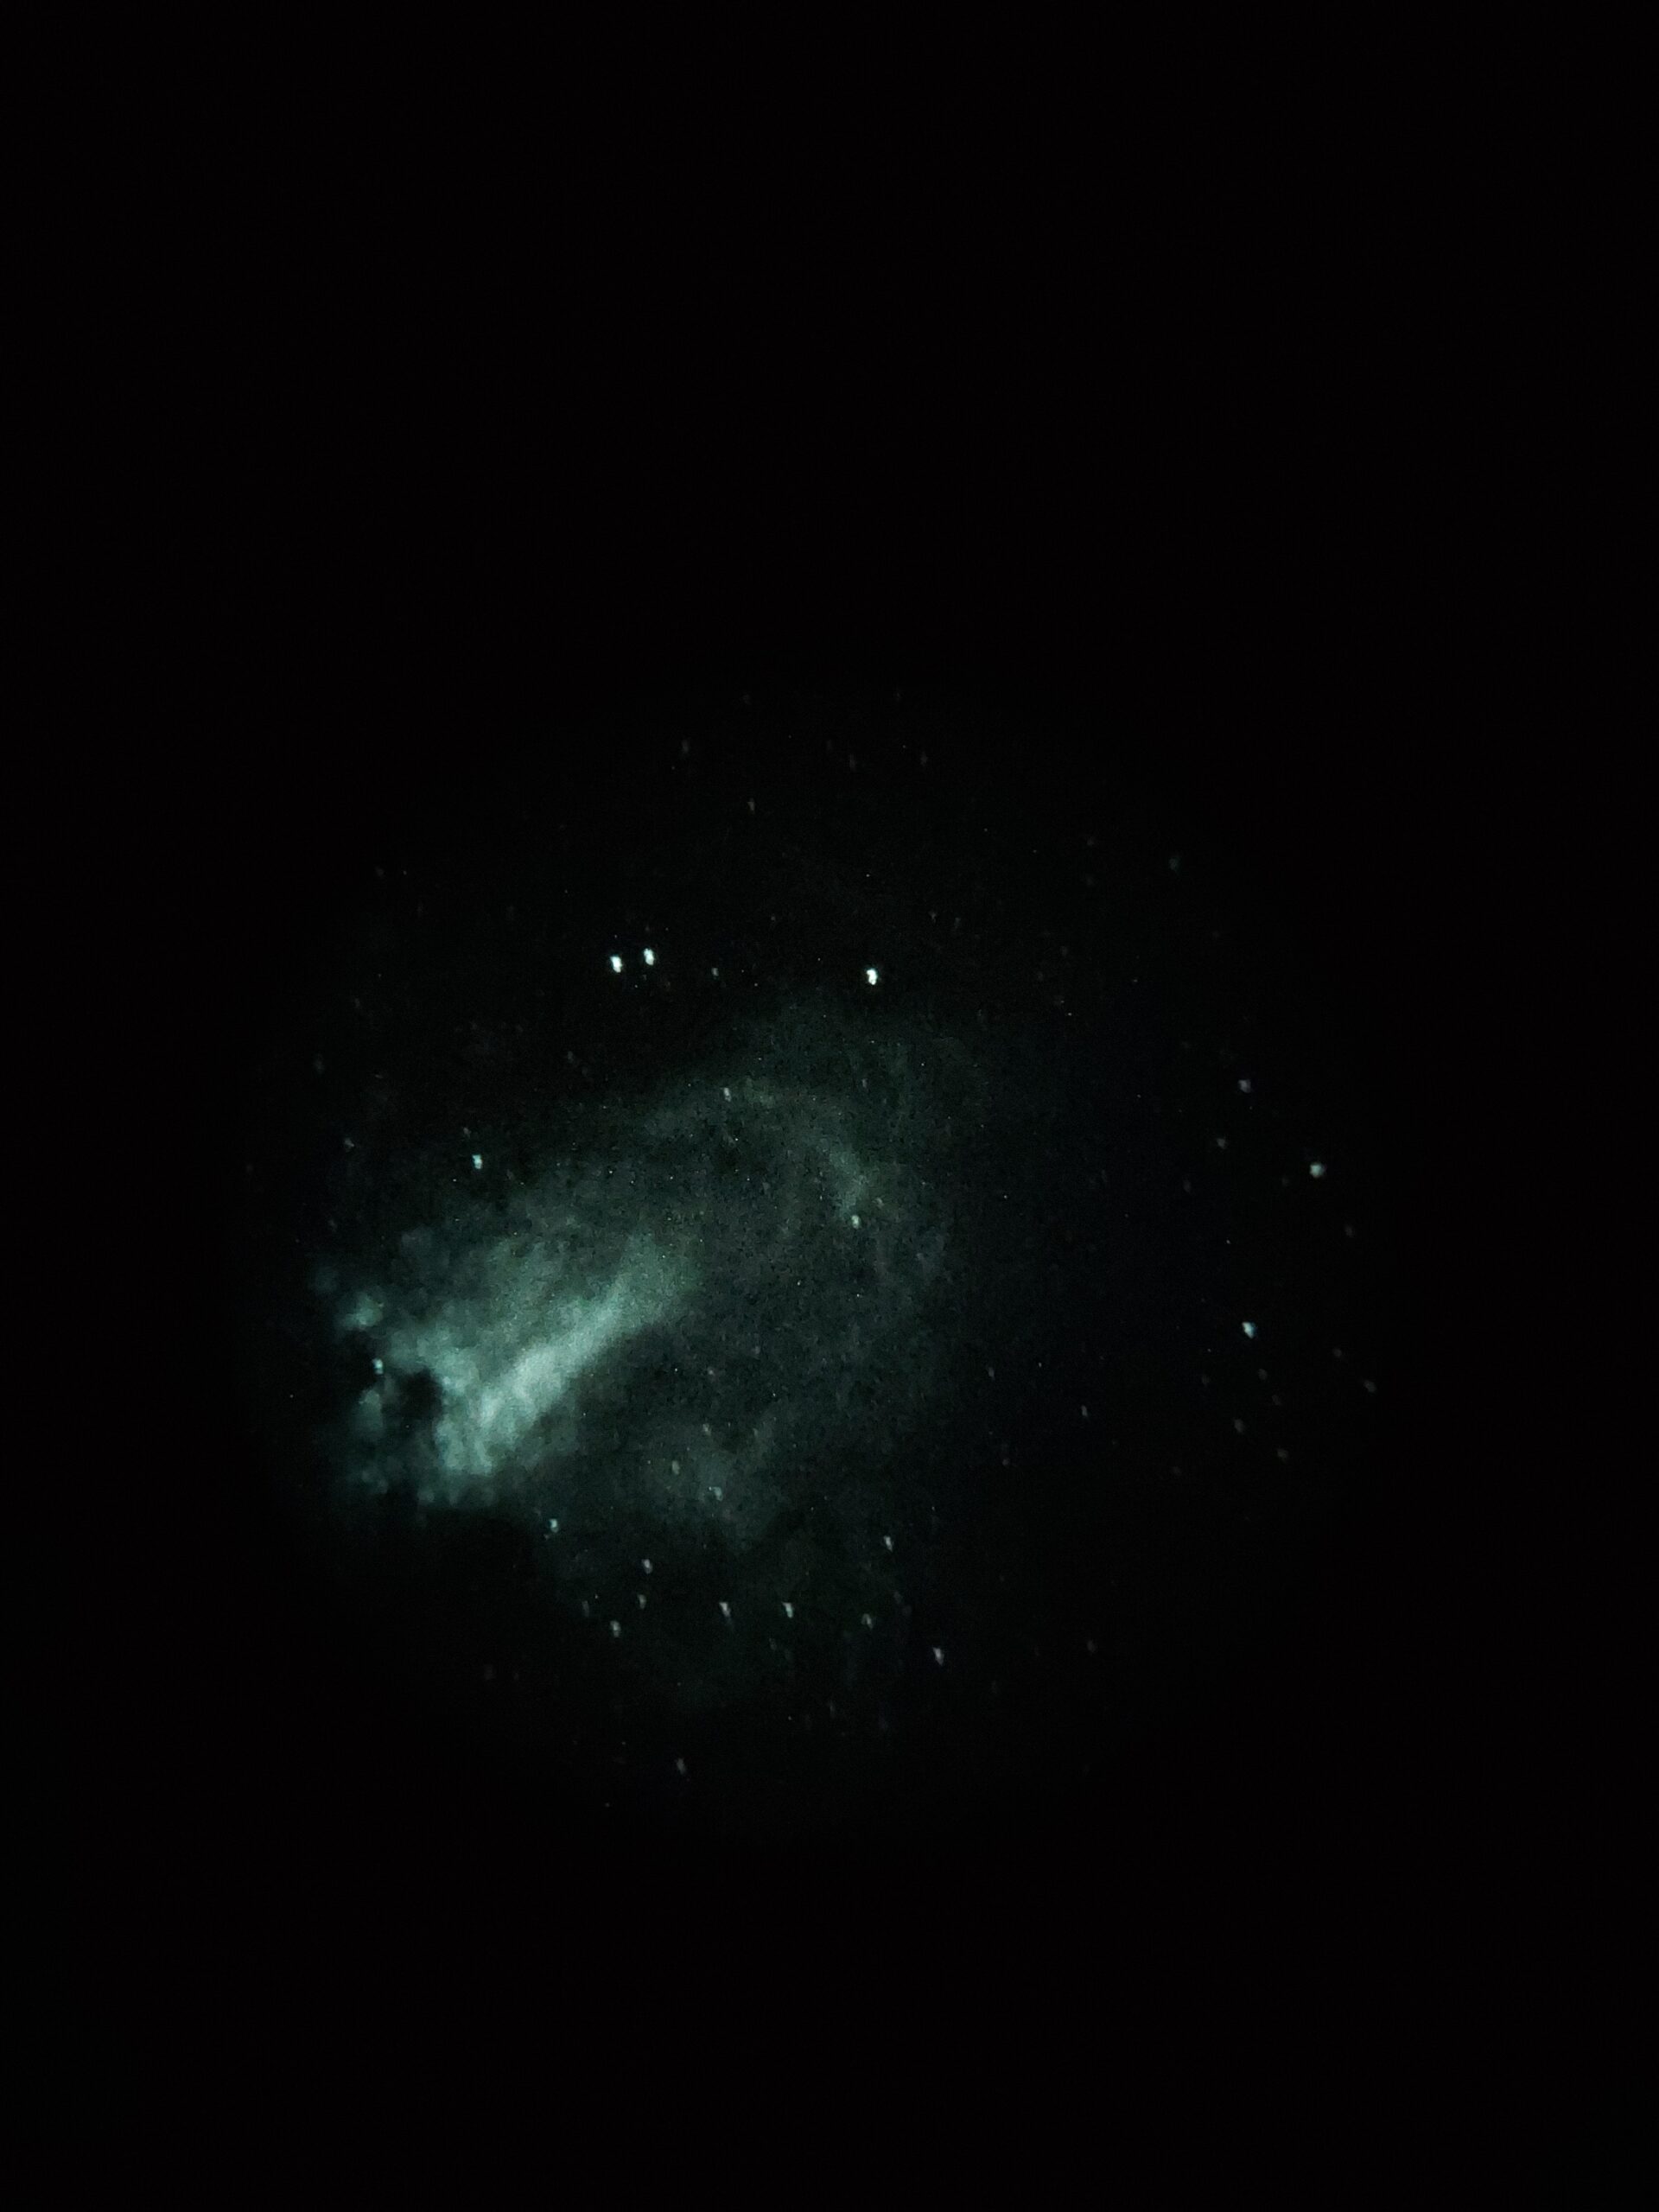
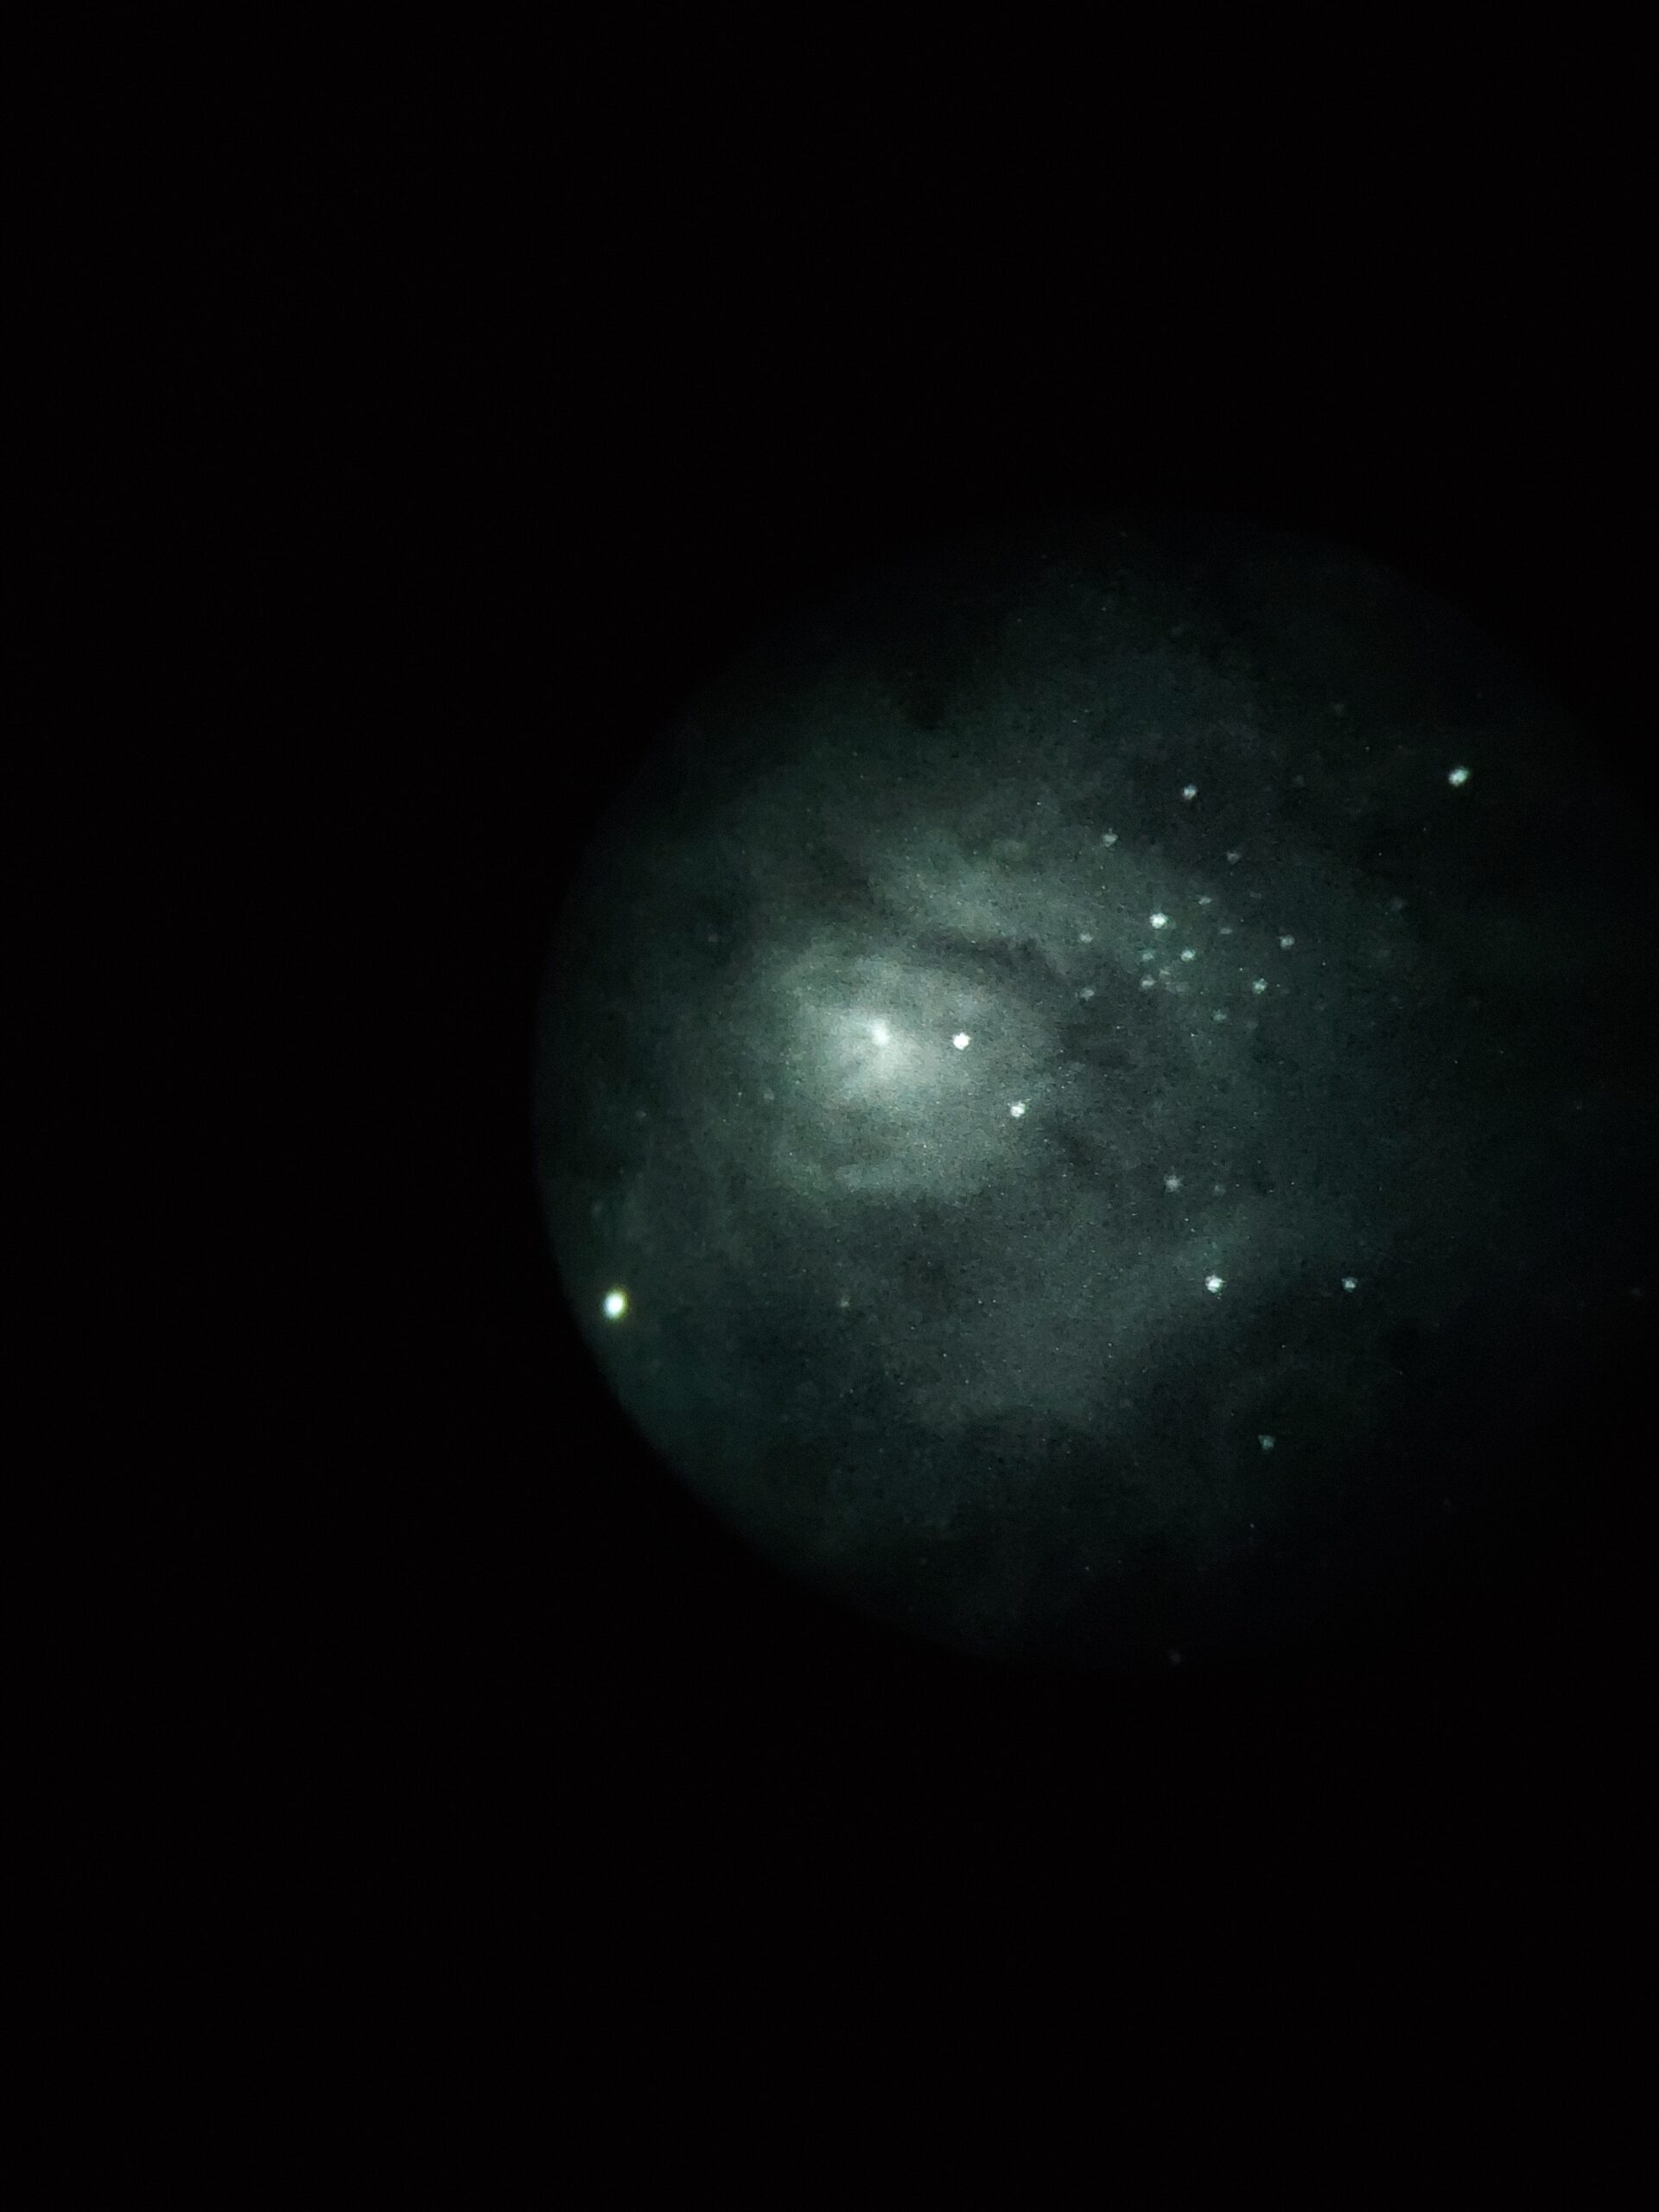
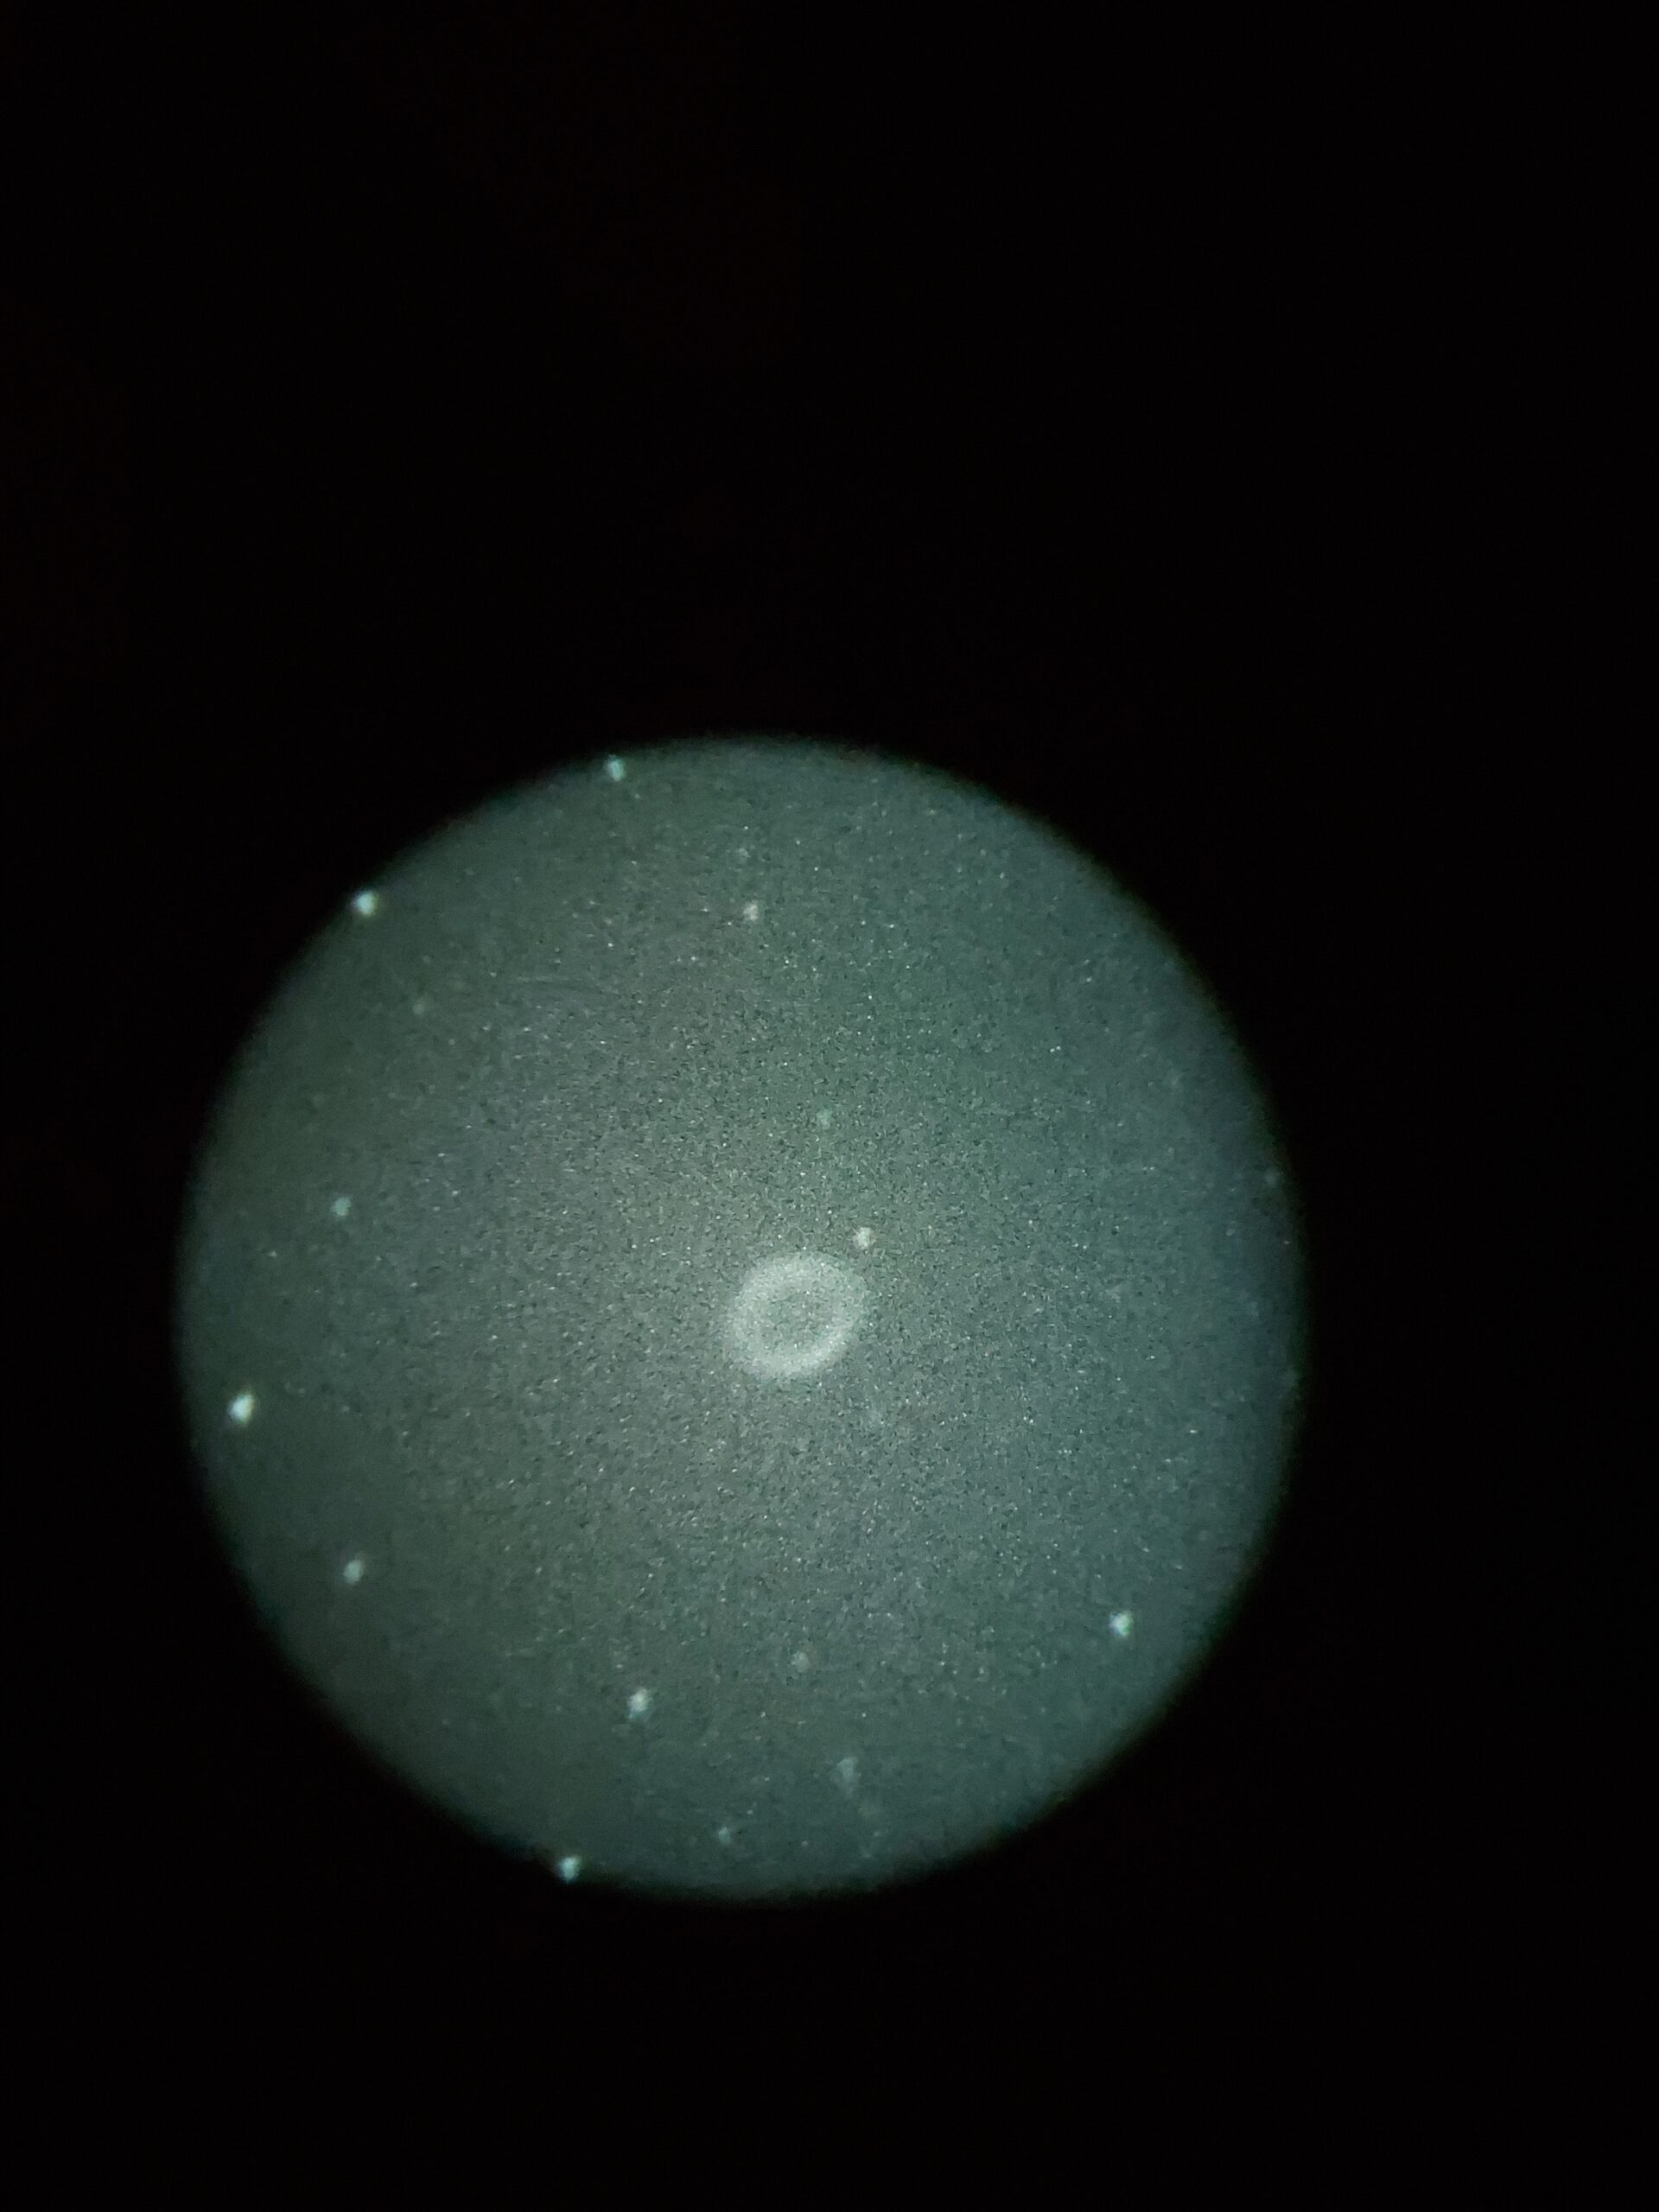
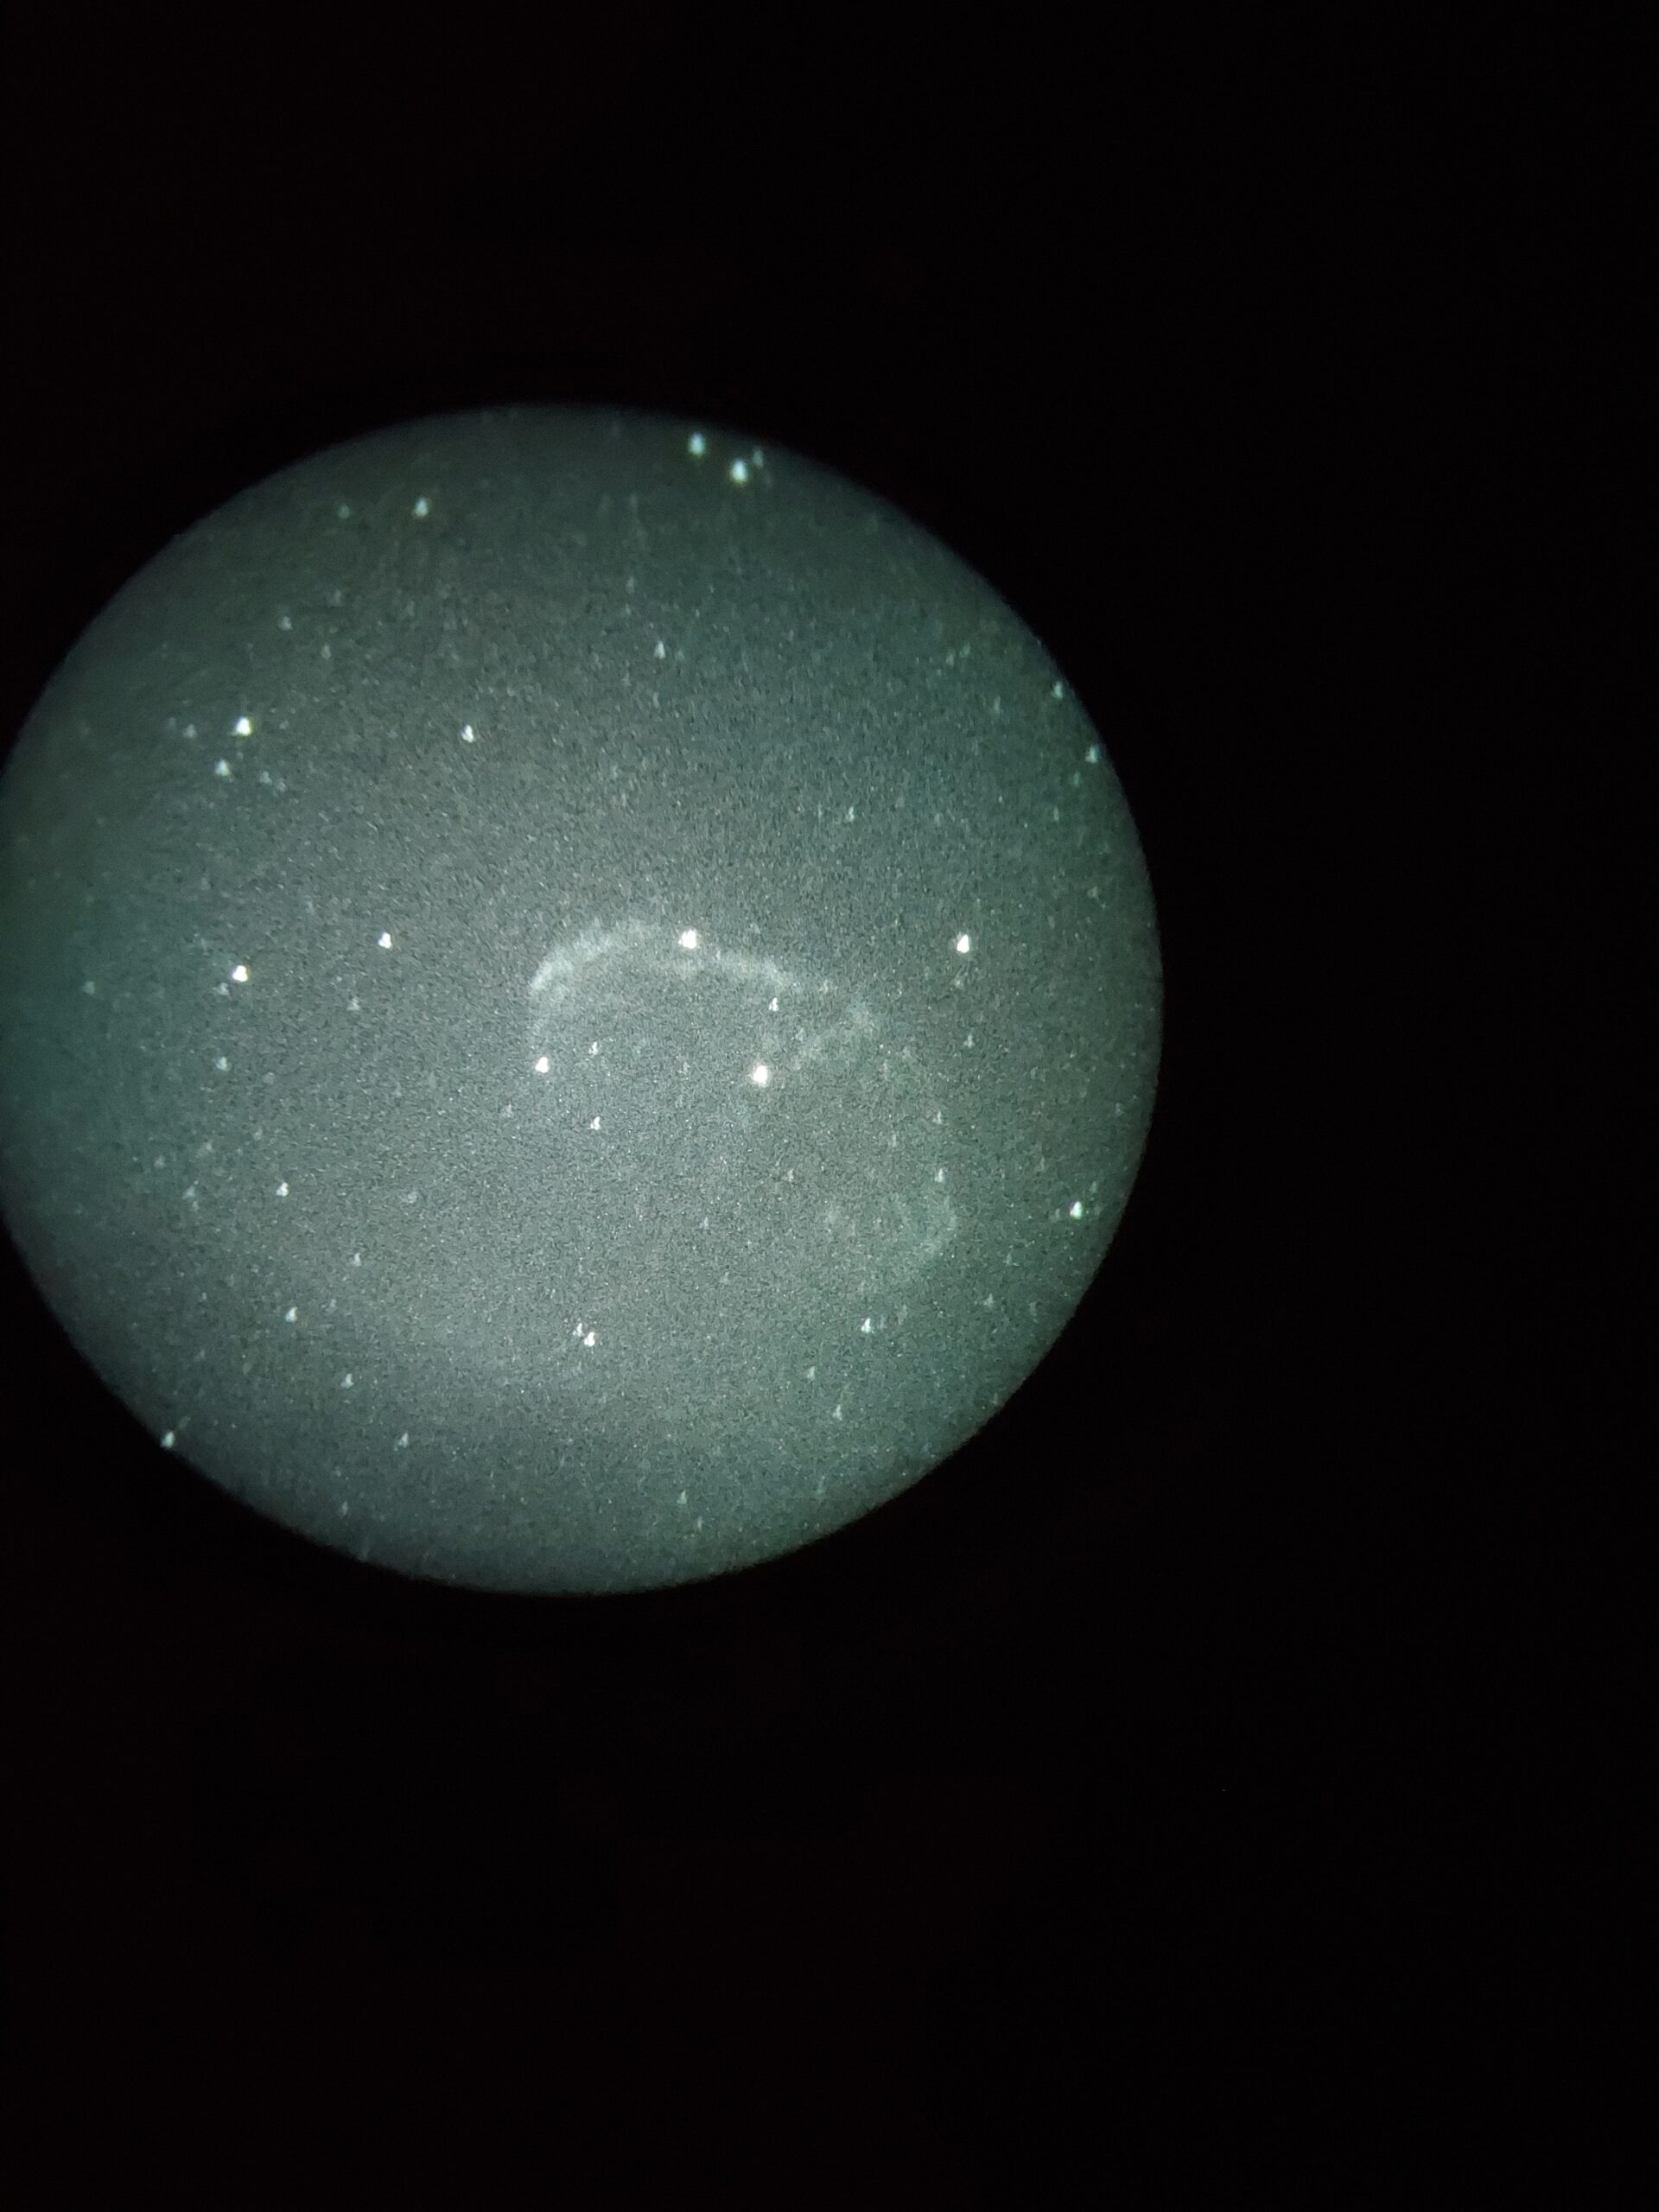
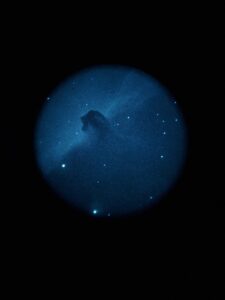
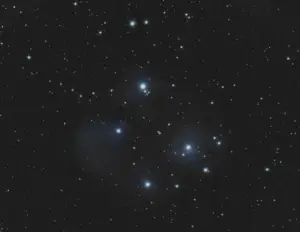
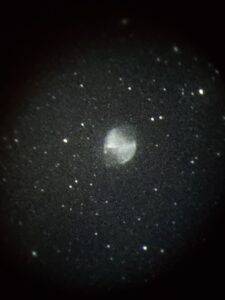
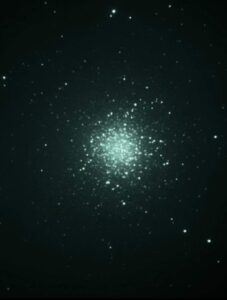
Here are some of the hand held images I have gotten with my cell phone through the above equiptment.
Each shot was taken at 1 second exposure with a handheld cellphone. They are completely unedited, they are a great representation of what you will see at the focuser.
The top images are my most recent images, if you keep scrolling down you will see my first few images.
