It’s a wonderful time to be an amateur astronomer. Many affordable telescope kits are now equipped with electronic mounts, capable of finding and tracking thousands of celestial objects at the push of a few buttons. Some of these “Go-To” systems can even be controlled via Wi-Fi from your phone.
But with new technology comes new problems.
I’ve seen many novice telescope users online, trying to figure out why their telescope will not locate objects, or why it won’t track for more than a few minutes.
Tracking problems can usually be traced to five main sources: sloppy equipment setup, incorrect initialization, poor star alignment, battery/power supply issues, and wrong tracking method selection. Identifying the problem makes it simple to solve.
In this article we’ll look at these issues in turn, identifying the most likely causes as well as possible solutions.
Setup
Tracking problems can start before you even power up your telescope. Here are some ways your setup can impact tracking:
Tripod Not Level
Leveling your telescope mount will improve tracking because the weight of your telescope is evenly distributed across the motors that move the scope.
If your mount doesn’t include a built-in bubble level, use a small carpenter’s level on top of the tripod before attaching the mount head and adjust the height of your tripod legs to get the mount as level as possible.
Home Position
Some telescope systems specify an initial Home Position in which to set the telescope before powering it up.
For alt-az systems, this is usually facing the telescope north with the optical tube horizontal (i.e., 0 degrees altitude).
For an equatorial system, Home is also pointed north, with the counterweight shaft perpendicular to the ground and the declination set to 90 degrees.
If you think this may be your problem, turn your scope off, put your scope in the home position and turn it back on.
Initialization
When you power up your electronic telescope mount, you will need to initialize the settings. This involves entering your local date, time, and geographic coordinates, as well as confirming your time zone. This all may sound simple, but you’d be surprised how often this causes issues, particularly for new users.
Geographic Coordinates
Your telescope’s mount uses these coordinates, along with the star alignment inputs, to help triangulate the exact pointing location of your telescope.
If you are just Googling the coordinates of your city, this might not be sufficiently accurate for reliable Go-To performance.
Better to use GPS coordinates from your phone.
There can also be the problem of converting from arc-minutes/seconds to fractions of a degree, since your phone might display the coordinates in different units than what your telescope will accept. If you need a bit more information about arc-minutes/seconds, read my in depth explanation in this post.
Double-check your conversion using this formula:
Decimal degrees = Degrees + (Minutes/60) + (Seconds/3600).
Local Time
Selecting the wrong time zone setting will most likely throw off your alignment. Likewise for the daylight savings time setting. If you are currently in daylight savings time and have indicated so on your hand controller, you should not then add an hour to the time setting of your telescope, as this added hour will already be accounted for.
A good solution for all these initialization issues is to purchase a GPS dongle for your mount, if such a thing is available for the model you have. It will accurately input your coordinates, date, and time.
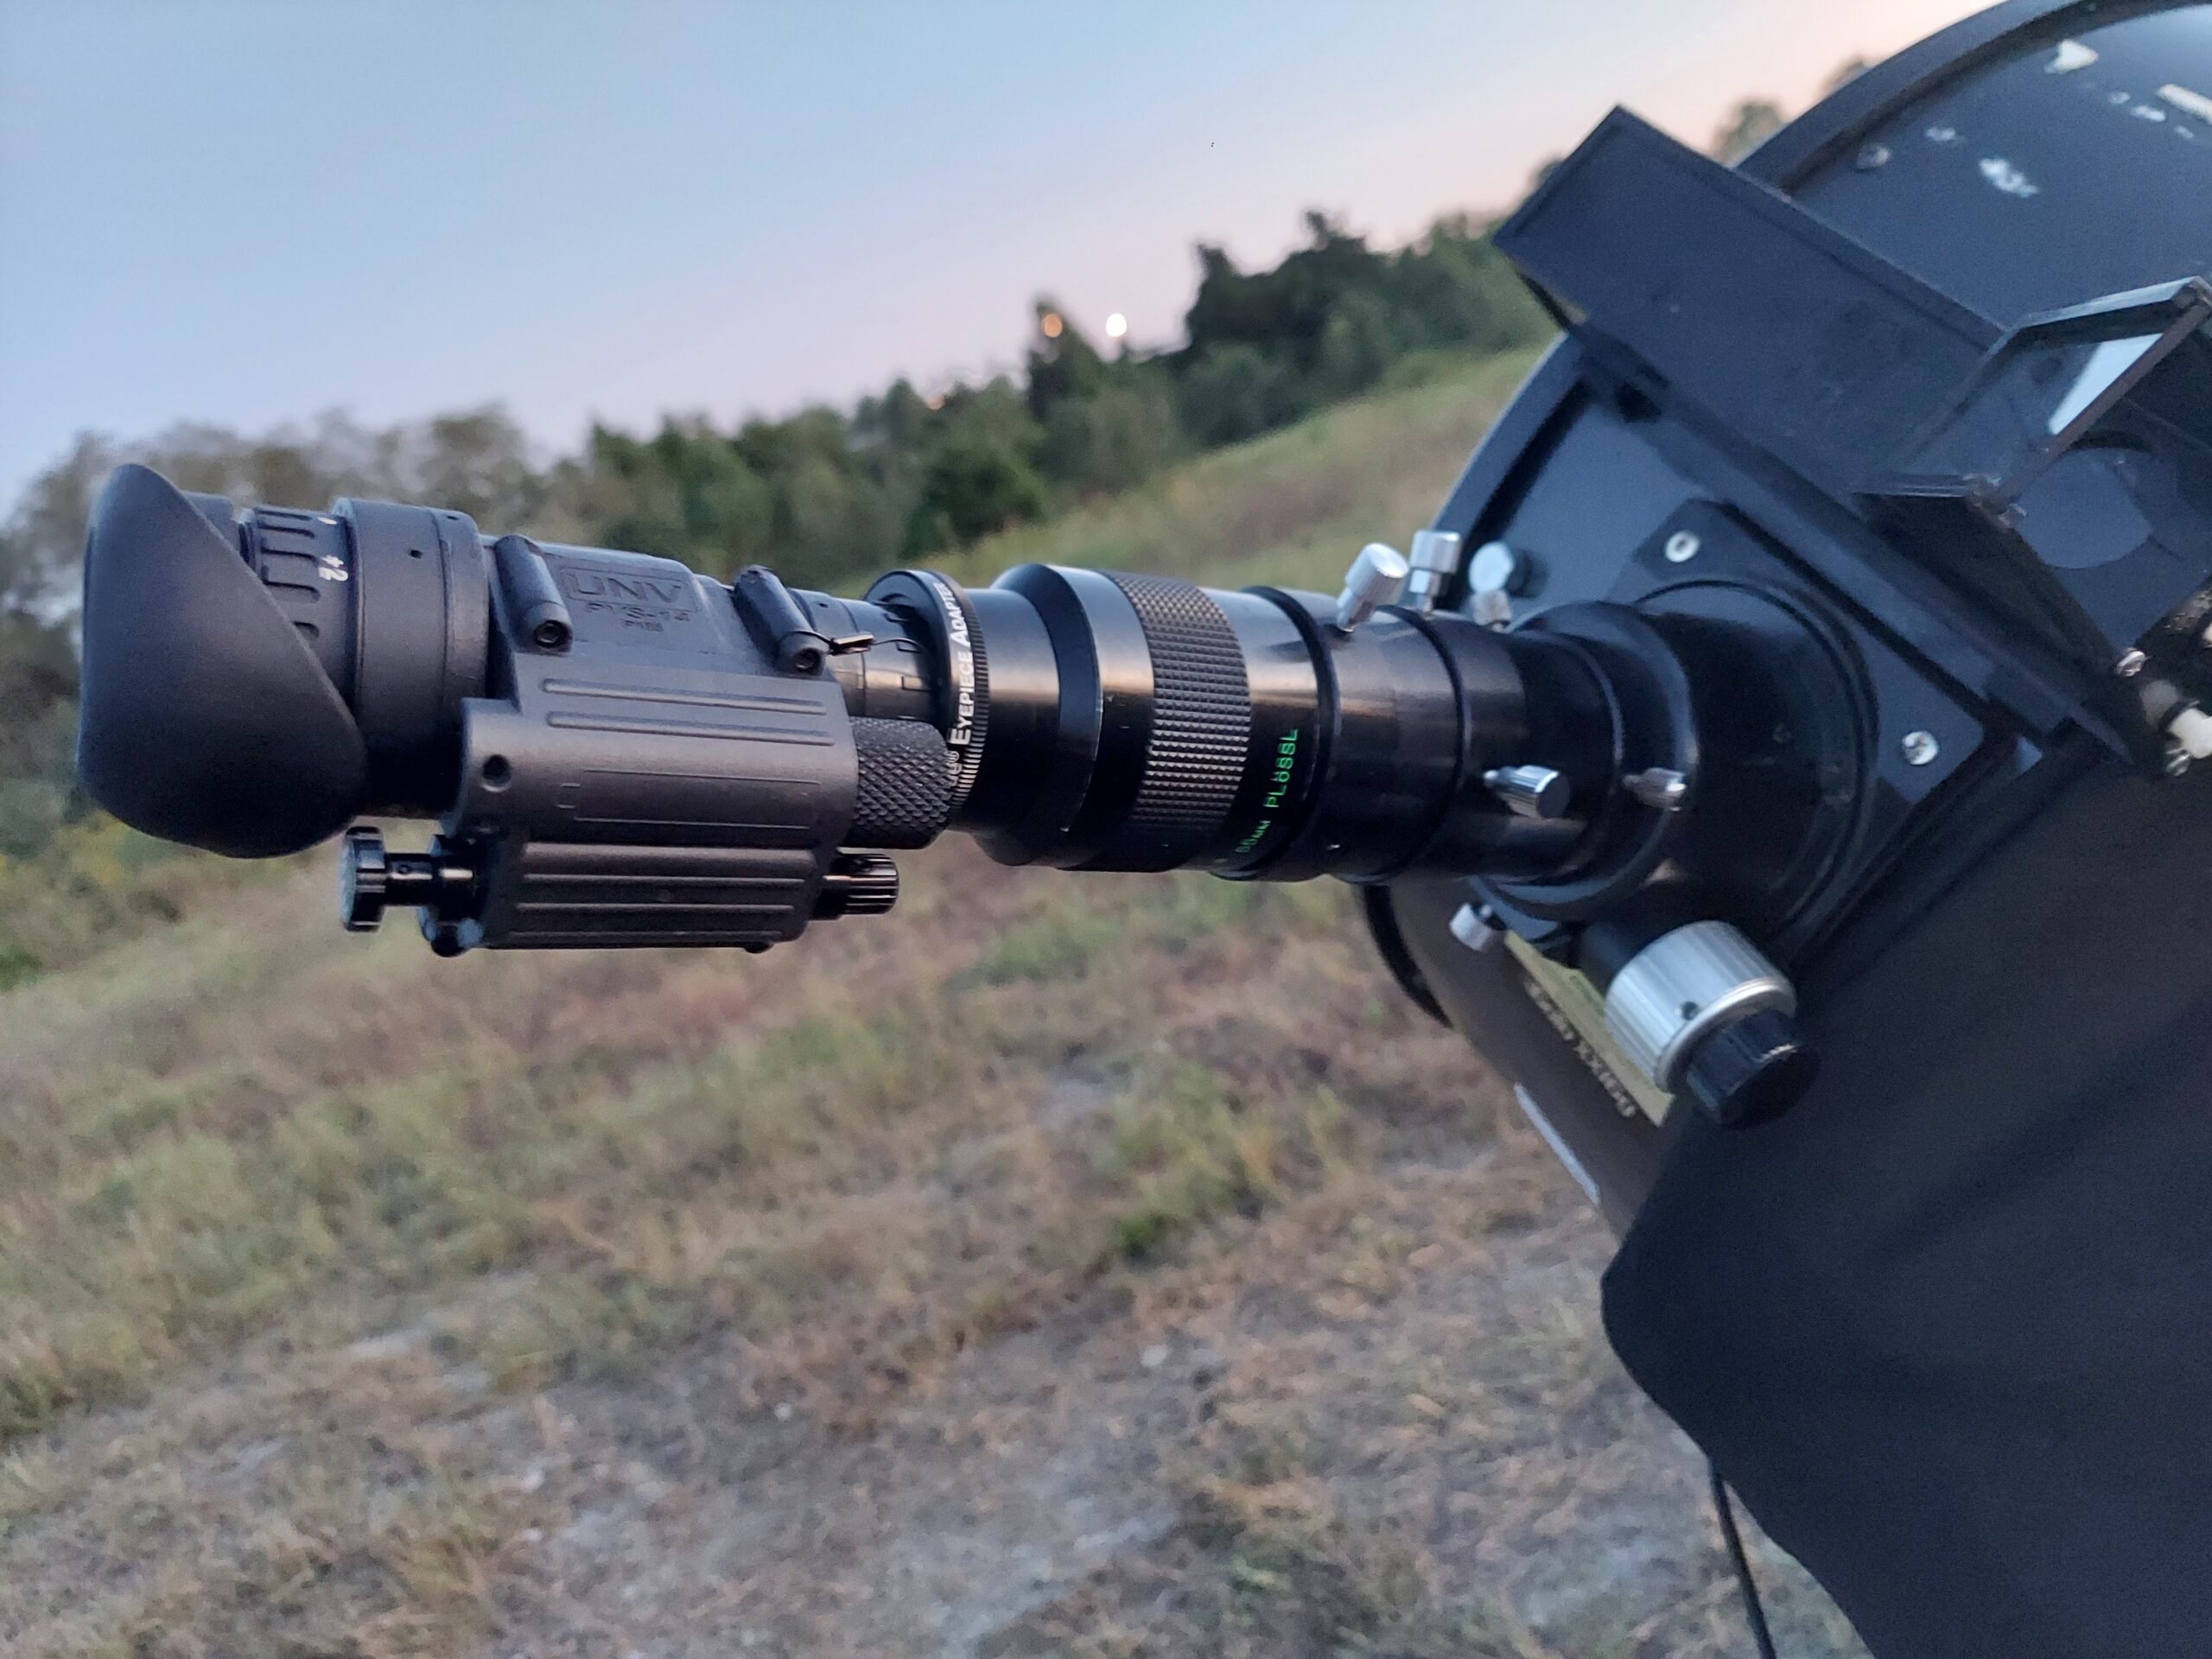
Star Alignment
Once your mount is initialized it will ask if you want to perform a star alignment.
This important step allows your mount to determine exactly where it is pointed in the sky. There are numerous factors in this process which can impact the accuracy of your Go-To system.
Your telescope will probably offer several alignment options, such as one star, two star, and brightest star.
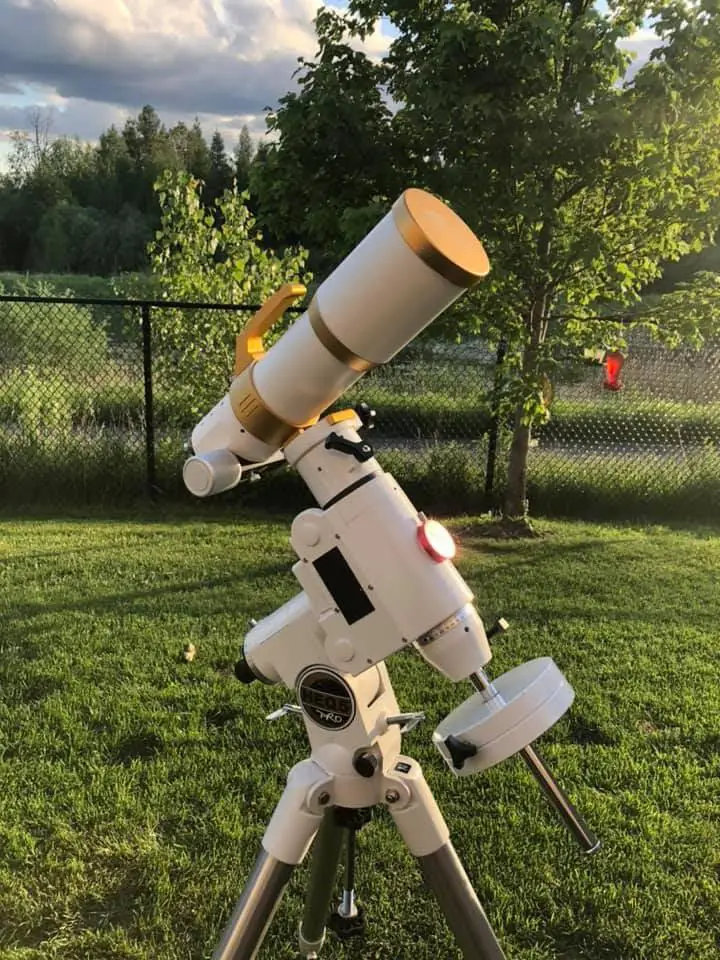
For my computerized Dobsonian telescope, which is an alt-az mount system, I use the 2-star alignment option. For my other telescope, mounted on an equatorial system, 1-star alignment is sufficient because I have already performed an accurate polar alignment.
In any case, here are some common problems with star alignment which can affect your telescope’s GoTo and tracking ability:
Wrong Star Selected
Use a planetarium app on your phone to double-check your selection.
Alignment Stars Too Close Together
Most manufacturers recommended an angular separation of at least 60 degrees.
Alignment Stars Not Centred
It can be difficult to centre your star perfectly using a lower-powered eyepiece with a wide field of view. Your best bet is to use a centring eyepiece with illuminated crosshairs, but I’ve had good results just using a medium-powered eyepiece and centring by eye.
Backlash Not Cleared
There is a certain amount of slop in the gears of commercial-grade telescope mounts.
You can help clear this by finishing your alignment movements with the Up and Right arrow keys on your hand controller.
I always forget to do this, and it probably accounts for the performance issues I observe in my tracking.
Power Management
Your mount needs a steady supply of power at the correct voltage to operate properly. Here are a few issues to watch out for:
Low Batteries
Simple, but be sure to check that your batteries are charged and supplying power to your motors.
Wrong Or Low-Quality Power Supply
Make sure you didn’t mix up the power supplies of different devices. Also, if you found one for five dollars on Amazon it could be the source of some issues.
Too Many Accessories
If you are charging your phone, running your laptop, and powering dew heaters, your battery pack or power supply might not have sufficient voltage to run the telescope mount.
Tracking Rate
In your hand controller’s Settings menu, you should be able to select the Tracking Rate. The options are usually Sidereal, Lunar, and Solar. Your telescope will be able to track objects using any of these rates, but if the wrong rate is selected, it will not stay on target for as long.
Sidereal Rate
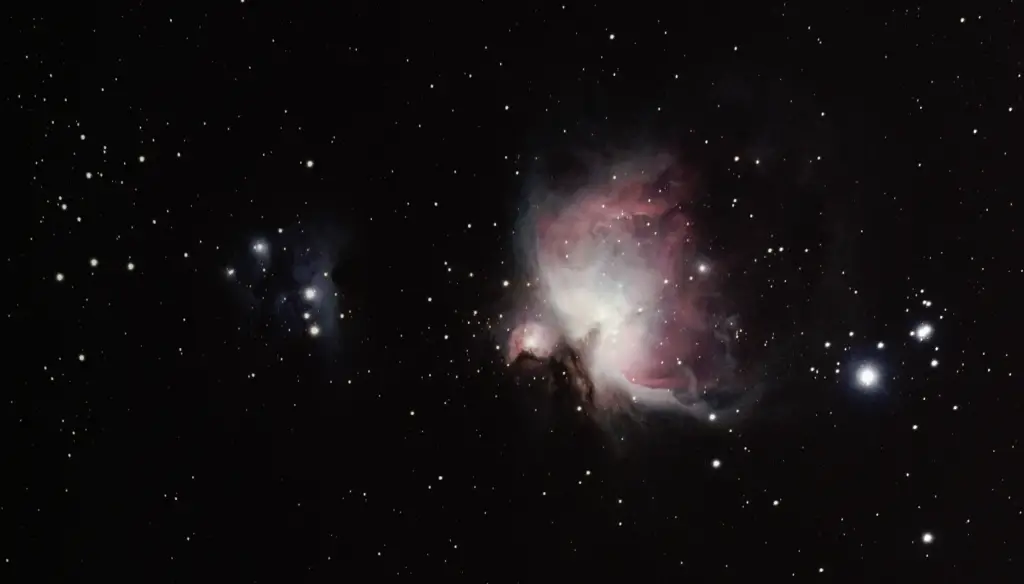
Select this when viewing stars and deep-sky objects such as clusters, nebulae, and galaxies. Also suitable for planets.
Lunar
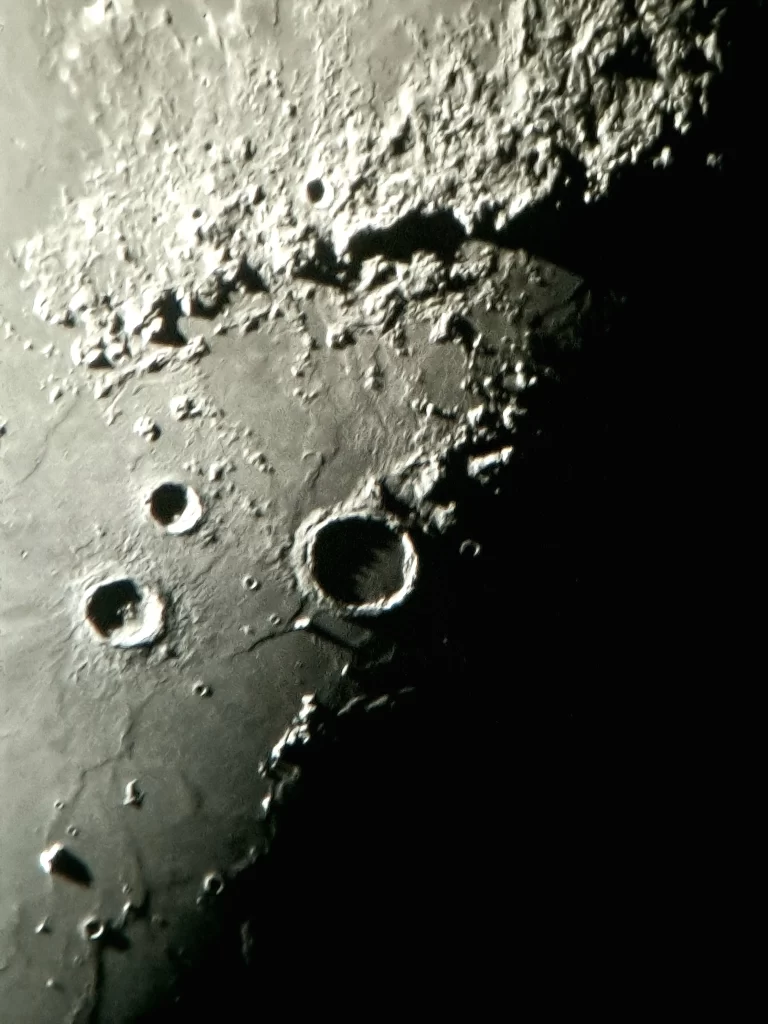
Select this rate when viewing the moon.
Solar
This rate is used for viewing the sun with proper solar filters in place. If you are having trouble observing or imaging Venus you may want to try Solar tracking as Venus orbits quite close to the sun. Venus is a mysterious and easy to find target, read more about it in this post.
Once you have established a reliable routine, your tracking issues will probably become a thing of the past. But even for a veteran astronomer, there are always small improvements you can make to enhance your enjoyment of your telescope system.