Backyard observatories are great for spending more time with your telescope, and having it permanently mounted on a telescope pier makes it fast to start observing.
What is a telescope pier?
A telescope pier is a permanent mounting location for a telescope and they are installed in observatories, professional and backyard.
Telescope piers are available commercially from many telescope manufacturers and they are generally steel columns that cost more than $700. It is possible to make your own telescope pier at just a fraction of the cost of a commercial pier.
They are often made from concrete and steel rebar with an adjustable Pier Top Plate that attaches to the telescope mount.
Piers are designed to make your telescope more steady, level and at a comfortable height for observing.
When attaching a telescope to a pier you will not need a tripod style mount.
Telescopes mounted on piers can still use goto technology and have a greater clearance for the movement of the telescope.
How to make a telescope pier?
DIY telescope piers are almost always made of concrete because it is easy to find and inexpensive.
DIY telescope piers are generally created in five steps:
1. Plan the location and height
Choose a location where you have the most sky available, unobscured by trees or buildings.
After you have determined the best location for your telescope pier you need to determine the best possible height.
The higher the pier the more of the sky will be visible, but if you are installing your pier in a covered observatory you will need to have enough clearance to close the roof.
Determine the best height by setting up your telescope in the park position and measuring the height. Goto EQ mounts will be at their highest possible height in the park position.
You can create a custom park position if you would like to store your telescope in a less upright position if that makes more sense to you.
Be sure to measure twice and pour concrete once!
2. Pour the Foundation
When you have planned out the location and height of the pier, dig a hole about two feet deep to pour a foundation for the pier, this will help you keep the pier level and stable to support the weight of your telescope and gear.
You can use this handy concrete calculator to help you plan the shopping for this project.
Insert some rebar into this foundation so that it will stick up into the concrete form you will be using for the pier. This is how the pier will attach to the foundation or slab.
3. Pour the Pier
When you have the foundation poured and cured you can put your concrete form on top and make sure that it is level.
Concrete is self leveling to a degree, but you need to check at each step to be sure that your pier is level.
You can use a concrete form like this one one Amazon, but be sure that it is large enough to support your pier top plate.
When pouring concrete be sure that you read the directions and be sure that the temperatures will allow for proper curing of the concrete.
4. Attach the pier top plate
The pier top plate is what will allow you to mount your telescope to your DIY pier. You can order a pier top plate from a manufacturer like Dan’s Pier Top Plates will machine a beautiful pier top plate that matches the specifications of your telescope mount.
If you are looking to DIY a pier top plate, you can watch this video, but be sure to read the comments as they give some hints about how to improve the installation of the pier top plate.
After you have gotten the pier top plate, you will need to get some threaded rods that will sink into the concrete and hold the plate above the surface of the concrete. Be sure to leave some clearance between the bottom of the plate and the top of the concrete pier so that you can adjust the bolt/s holding your scope onto the mount.
I like the technique in the video of bending the rods so that it can grab the concrete for a more stable connection.
5. Install Telescope
The pier top plate will have one or more holes that you will use to attach your telescope mount to the pier.
Measure again to be sure that your roof can close without touching the telescope before closing the roof.
You now have a permanent mount for your telescope. You can build a simple observatory or just a sturdy cover for your telescope. Storing your telescope outside in a dedicated space will allow you to observe more frequently (on clear nights!) and cut down on necessary acclimation time.
Adjustable Height Telescope Pier
It is possible to create a telescope pier with adjustable height. The easiest way to adjust the height of your telescope pier is to attach the pier plate with threaded rods that allow you to move the bolts to change the height.
This is a great example, although he does not seem perfectly satisfied by the result.
There are also some hydraulic pier accessories available if you have the budget.
The real first step in building a telescope pier:
Grab a light pollution app and list your house for sale. Find the darkest skies and move there.
I travel almost every time I use my telescope, my house is just not a good place for observing.
When I was writing this article with my wife I confessed that I do not want a backyard observatory. I live fairly rurally in a Bortel 4 area, but I live in a tree filled hole! We are at a low elevation and our lot is heavily wooded.

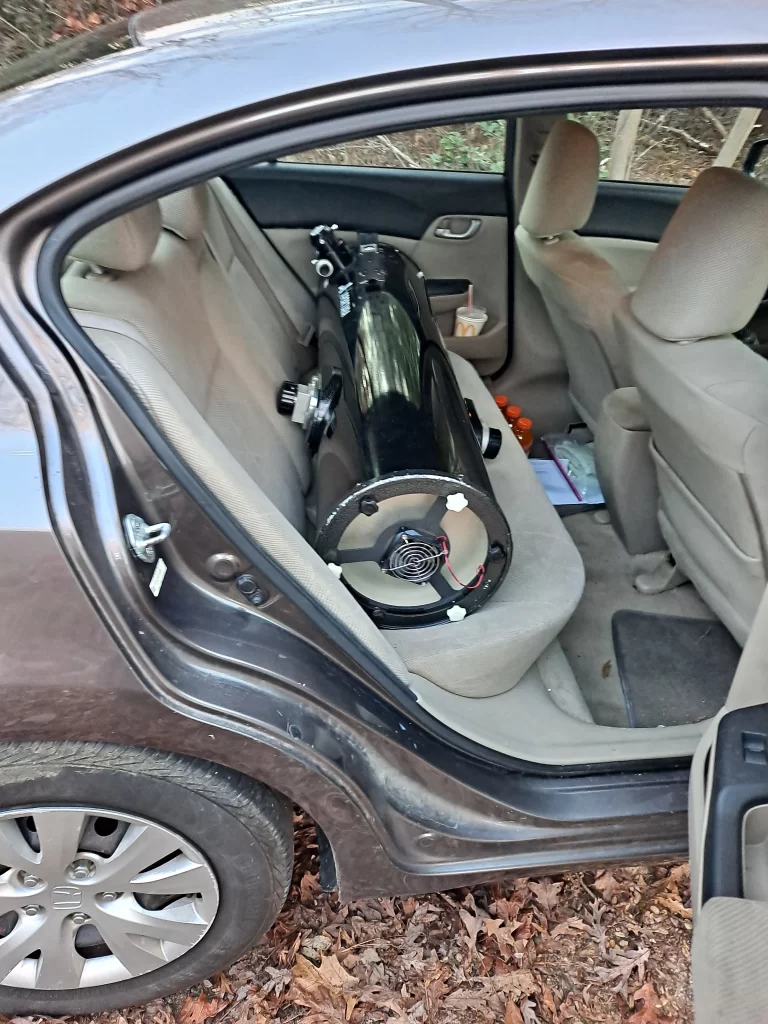
So, while many people love building a backyard observatory and have these amazing set-ups, I will just keep traveling with my 16in Dobsonian. One day I may be in the place to set up a more permanent location for observing, but for now we will keep building the Astro Bus and travel to observe.
Clear skies friends.


