It takes a lot of dust to distort your image in a reflector telescope. The biggest question about cleaning telescope mirrors is not how to clean them as much as when to clean them.
Optical mirrors, like the ones used in telescopes are called first surface mirrors, that means that the reflective surface is on the top of the glass. First surface mirrors give a more accurate reflection with no ghosting or double reflecting.
This is what makes cleaning such a controversial topic in telescope groups. When you wash an optical mirror you are cleaning the reflective surface.
Optical first surface mirrors are made of many layers and contain aluminum to create a reflective surface. This process is called aluminizing the mirror. The process is done in a vacuum chamber.
These coatings are designed to be fairly durable, but they can wear off over time requiring your mirror to be re-aluminized.
To preserve the reflective surface clean your telescope mirror only when necessary by removing the mirror from the telescope and submerging it in water. Wipe the surface with cotton balls using each side only once. Rinse the mirror with distilled water and let air dry. Other methods use fingers instead of cotton balls and some use soap.
How to Clean Your Telescope Mirror: Step By Step
Submerge Method
The most popular method of cleaning a telescope mirror is to submerge it in water.
Prepare the Work Area
Start by cleaning and drying the area where you will be working. Cleaning a telescope mirror is a delicate task.
Put down towels in the sink and on any tables or counters so that there are no surfaces that might chip or crack the mirror.
Take Off Your Mirror
Next, remove your mirror from your telescope.
Loosen your collimation and locking screws. Remove any fans or other electronics completely. If you still have your owners manual, refer to this to be sure you are missing any steps or connection. You will likely need a philip’s head screwdriver.
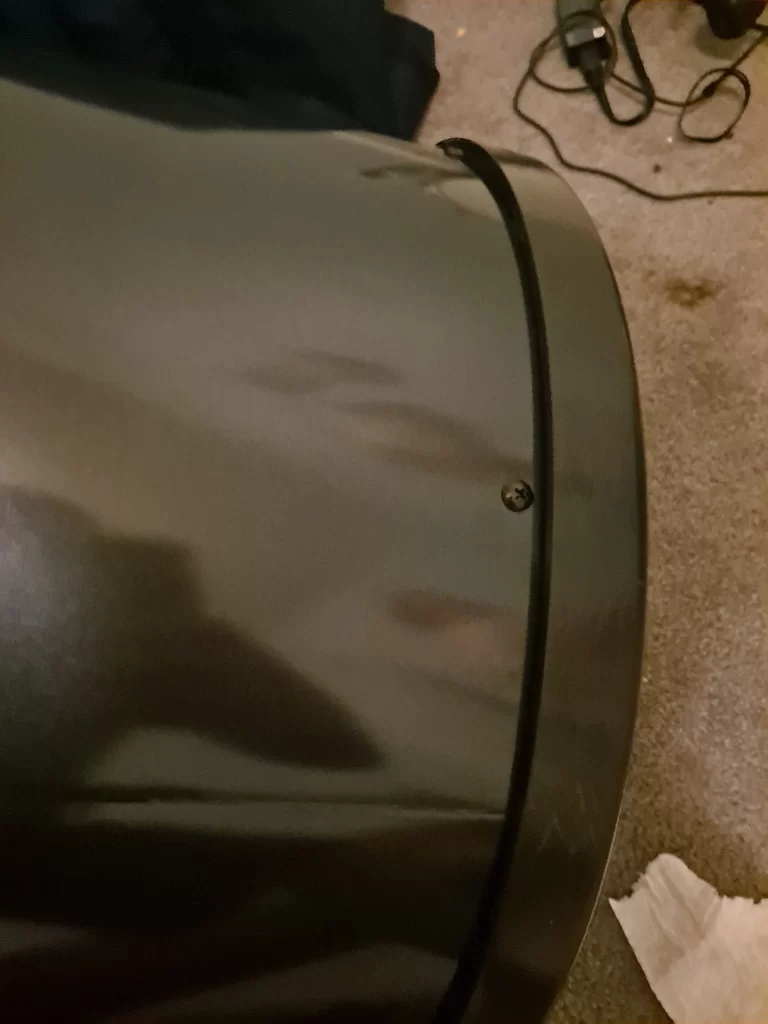
Number the locations for screws and remove and reinstall the screws in the same order. Mark the locations on the OTA and the rim. I scratched numbers in the paint on my first scope after having trouble reassembling it the first time.
Be careful the exposed metal will be sharp.
Take a picture of each step if this is your first time removing the mirror. This will help you to put it back together when you are done.
Use Air
Once you have your mirror free from the telescope, use air to remove any visible dust.
A bulb blower is a nice gentle tool for the job.
Canned air is not recommended as it can contain chemicals that will stain your mirror.
Run Water
Run warm water over the surface of the mirror, tap water is fine for this purpose.
Move the mirror around under the warm running water or submerge the mirror in warm water to rinse off as much loose debris as possible.
Change out water and rinse a few times until you notice a difference.
If the tap water is very hard, do a final rinse with distilled water.
Fingers or Cotton Balls
When the mirror is wet use your fingers or cotton balls to gently glide across the surface of the mirror.
Fingers will be able to feel any dirt that is stuck to the mirror and break it free. No other tools are needed to clean the surface.
Cotton balls are another option for cleaning the surface of the mirror, but cotton balls should be used only once per side.
Start with the cotton ball in the center of the mirror and using only the weight of the cotton ball, swipe from the center to the edge of the mirror. Flip over the cotton ball and swipe again from the center to the edge. Using new cotton balls each time continue this process until you have cleaned the entire surface of the mirror.
Should I Use Soap?
Many astronomers feel comfortable using blue dawn dish soap to clean their mirrors.
Insect and rodent damage may require the use of soap to properly remove, but in most cases water will be sufficient.
I have only ever used water to clean my mirror and I have been happy with the results.
A cautious solution would be to clean your mirror with water and if you are unhappy with the results to begin the process again, but add a few drops of soap to the warm tap water.
Never use soap with any skin softeners or lotions as those will coat the mirror.
Alcohol
A less common method is the use of Isopropyl Alcohol to clean the optical glass. A 98% Isopropyl Alcohol solution applied with very light pressure and a cotton ball can remove much of the dirt and debris accumulated on a mirror.
Celestron recommends that you dilute the alcohol 50 to 70% with distilled water to create a cleaning solution for your optical glass. You can read more about their method in this article.
I do not recommend that you use any chemicals that may affect the coating.
Alcohol dissolves many compounds and not knowing exactly what is in your mirror coating makes this a bad idea.
Alcohol could remove parts of the coating that make your telescope function.
Canned Air
Canned air is a popular choice for removing dust in small spaces. Be careful with canned air as it can leave spots on your mirrors. If you do choose to use canned air, blast it away from the mirror first to make sure it just blows air.
Instead of canned air, use a small bulb blower to gently blow air across the surface to remove as much dust as possible. Bulb blowers are inexpensive and they can be used for years.
I use one of those bulbs that they sell to suction out baby’s noses. Cheap and effective.
Distilled Water
You can clean your telescope mirror with distilled water only.
Pour the water over the mirror and allow the flow of the water to knock off dirt or dust. Depending on the size of your mirror you can also submerge the mirror in distilled water and use cotton balls with water to gently remove any surface debris, then allow the glass to dry.
The purpose of using distilled water is that it will dry without leaving any water spots. Tap water contains dissolved minerals that will remain on the glass when the water evaporates, distilled water has had all dissolved minerals removed.
How Often Should I Clean My Telescope Mirrors?
The frequency of cleaning optical mirrors is the topic of hot debate in the astronomy community.
I think people make too big of a deal about it.
Telescope mirrors should be washed at least once a year unless your conditions require more frequent cleaning. Mirrors that are cleaned correctly will not be damaged. While improper washing can degrade the reflective coating, not cleaning them and allowing harmful chemicals to stay on the surface will degrade the coating as well.
Every time I bring my telescope out, it has to acclimate to the ambient temperature. While this is happening moisture from the air accumulates on the mirror as dew. This dew contains minerals and debris from the air and when it evaporates it leaves these things on my mirror surface.
Astronomers close to the ocean or in heavily polluted areas will have compounds like salt and sulfur in that dew and it will accumulate over time on the surface of the mirrors.
Regular cleaning can extend the life of the mirror by removing those built up substances.
Look at your mirror in the daylight, does it look very dusty or dirty? If it does not then you do not need to clean your mirror.
Shining a flashlight into a telescope will always make your mirrors look awful. If you are a meticulous guy like me, I recommend you never do this! It will make you want to clean your mirror more frequently than necessary.
Be careful, but don’t be scared. There is a balance.
I understand that MANY will disagree with me on this topic, but I read a post where a dirty 16” Zambuto mirror appeared to show less detail than a 4 inch refractor. If you insist on not cleaning the mirror you may not be getting the best possible performance from your scope.
You can find this post on Cloudy Nights, and I recommend that you do.
Humidity
Living in a very high humidity area will require more frequent cleaning of your mirrors. The water in the air is going to carry minerals, micro dust and dirt onto your mirror.
Since condensation and dew are a regular part of astronomy, it is normal for the water to carry dirt and dust to your mirrors. Try wiping the OTA and see if it is dirty. The same debris has been carried to a lesser extent to your mirrors.
Mice or Bugs
The worst case scenario is to take your scope out of storage only to find your mirror has been the home to mice or bugs. They will leave a mess that will be hard to clean up.
If you find that mice or bugs have been in your scope, start by removing the mirror and cleaning all the other parts of the telescope.
Soak the mirror in warm water in a sink lined with a towel. You may also use a few drops of blue Dawn in the water. Allow the mirror to soak for 30 minutes.
Inspect the mirror surface for corrosion, cracks, chips or other imperfections. If you notice any of these things, consider re-aluminizing the surface of the mirror.
This can be a home project if you are ambitious, but it can be done by professional shops all over the country.
Storage
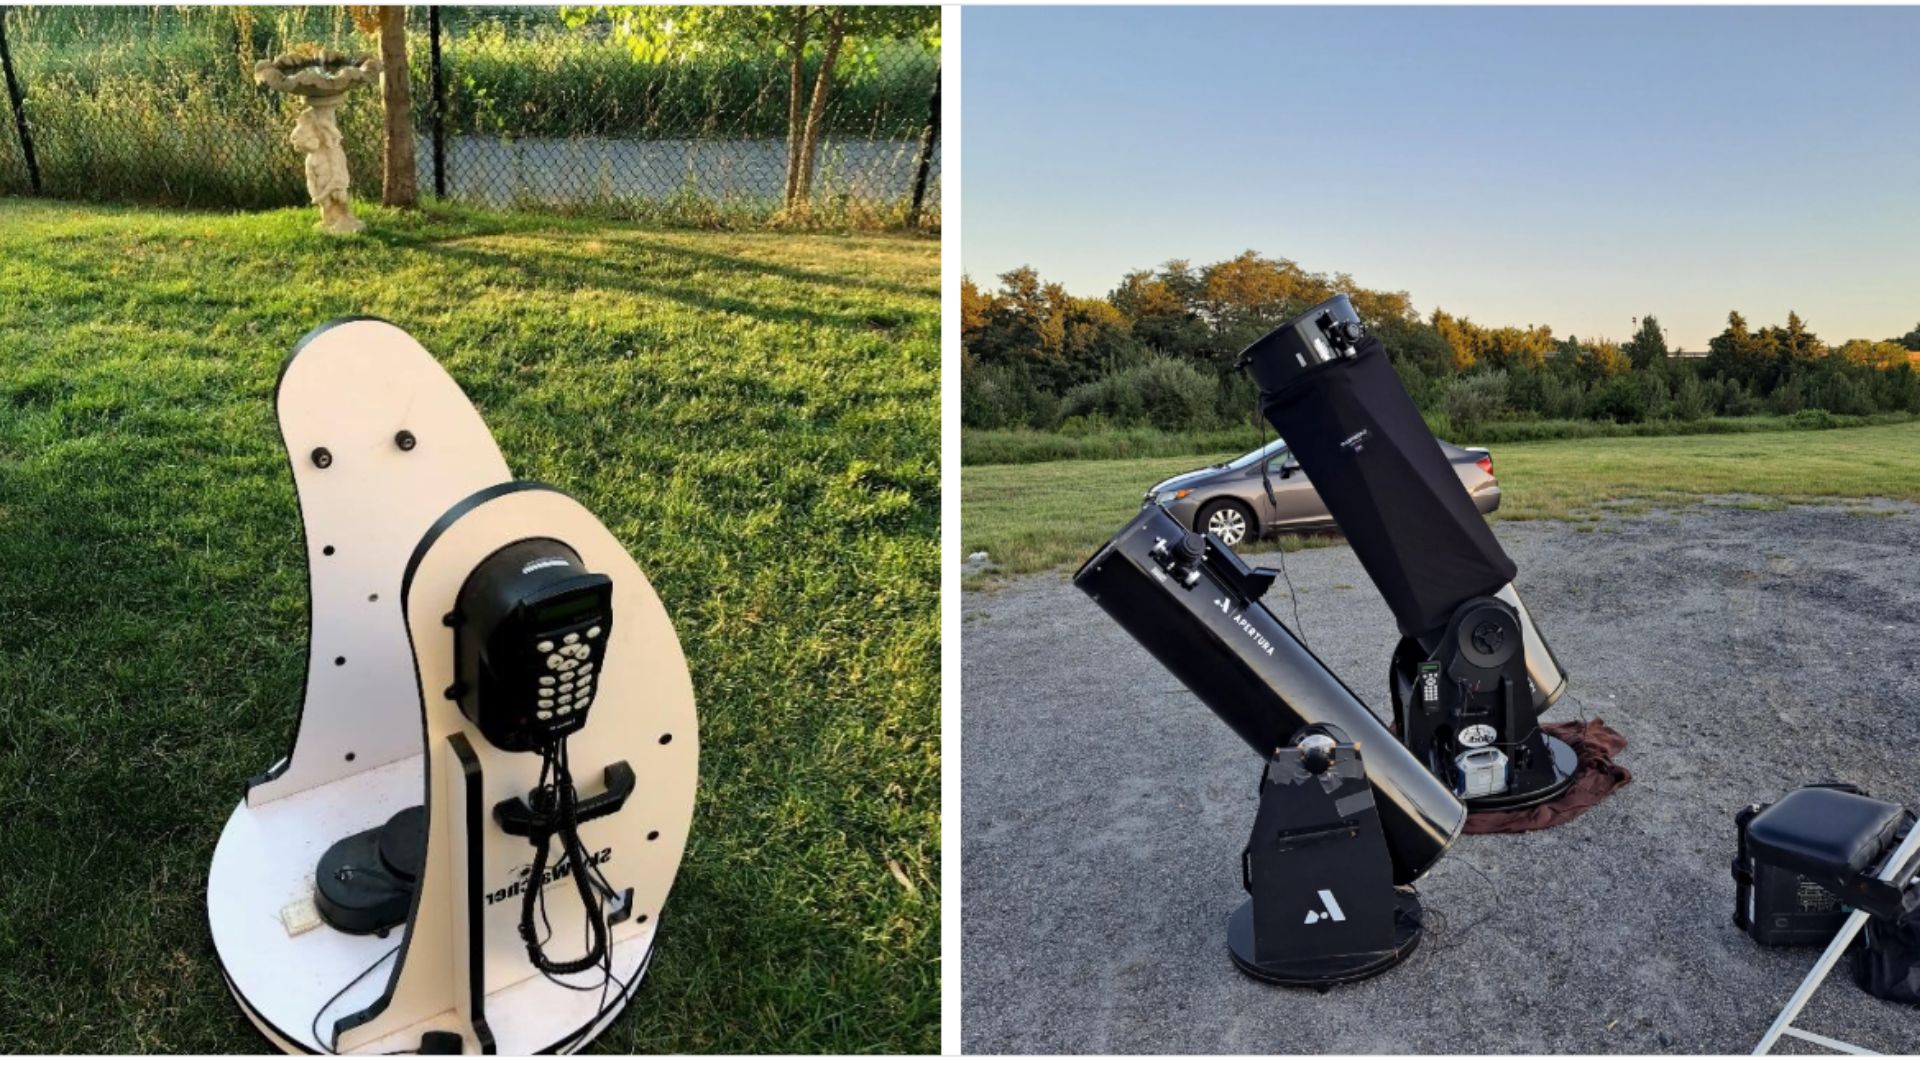
If you do not use your telescope often, store it with the mirror vertically.
Dust and dirt settle on flat surfaces, so storing a telescope with the mirror vertically will minimize the sediment.
Always store your telescope with the dust cap on. If you do not have a dust cap you can cover open OTAs with a shower cap.
Store your scope in its case. I felt that the cases for my Orion XX16G were WAY overpriced when I was buying them, but after 6 months of use I would buy them again if I had the choice. Custom cases are just so helpful and protective when you transport your scope frequently like I do.
Transporting your scope is a whole other topic, and you can read more about it in this post with pictures of how I transport my 16 inch in a Honda Civic.
Kem Wipes
Kem wipes are designed to clean optical glass.
I like to use these on my eyepieces, but they are not for cleaning mirrors. The reflective surface of telescope mirrors is on top of the glass and the rough surface of the wipe could disrupt the surface.
I like to keep KEM wipes in my setup so that I can use them to clean my eyepieces in the field.
Be careful with KEM wipes because they are not safe for all surfaces in every situation.
Why shouldn’t I clean my telescope mirror?
You will hear older astronomers in the hobby brag about not having cleaned their mirrors in 5 or even 10 years.
There is a deep belief that cleaning your mirror is for fools. Well, call me a fool.
Mirrors in telescopes are different from household mirrors because the reflective surface is on top of the glass. When you clean a telescope mirror you are cleaning the aluminum surface directly. Damage to that surface will impact the function of your telescope.
Those who recommend very infrequent cleaning believe that this will extend the life of your mirrors, but I am not convinced. Leaving dirt and grime on your mirrors could also eat away at the coatings. If you live in a highly polluted area, the concentration on your scope contains dissolved sulfuric acid and other substances that I do not want on my mirror.
I would argue that occasional cleaning of your mirrors done correctly is unlikely to damage your mirror and it may even extend the life of the surface.
Chips from hitting the side of the sink or a crack from dropping your mirror will destroy it and require a replacement.
A scratch will require recoating of the mirror surface, which is fairly inexpensive. These are not disasters.
Clean your mirror in warm water and allow it to dry, prepare your work surface and line the sink with a towel. Taking basic precautions is all that is necessary to clean a telescope mirror properly.
How to tell if your coatings are damaged?
A damaged mirror will not reflect light as well as a polished smooth surface. A damaged mirror will have circles or uneven places that cannot be cleaned off. A damaged mirror may also look like mold is growing on the surface that cannot be washed off.
A damaged mirror may also show the glass behind the coating showing through. If you can look through your mirror, the coating is no longer functioning.
You may notice that you are seeing circles or warped areas when observing with your telescope.
Inspect the mirror during the day to see if you see any obvious signs of the coating wearing off.
Start by cleaning your mirror carefully following the directions above, then wash it again. Inspect the mirror again and see if the issues have been resolved.
A telescope mirror can be recoated with a reflective surface and your telescope will function as good as new!
Inspect the secondary mirror to be sure it is not damaged. Improper storage can cause the coatings to degrade and if that is the case, they both will need to be recoated.
Coatings can be replaced and they are not cost prohibitive in most cases.
Can I get my telescope mirrors recoated?
After inspecting your mirrors you may find that the coating is beyond repair. You can start shopping for a new scope, because that is fun, but you can also get the mirror re-aluminized.
Telescope mirrors can be coated with a kit at home or taken or mailed to a shop that does it professionally.
The two big names in the game are Spectrum Coatings and Optic Wave Laboratories (OWL), they both have good reviews and they have both been in business for many years.
Plan to spend between $100 and $300 depending on the size of your mirror and the quality of the coating you select. You can see all the pricing for Spectrum here, and the prices for OWL here.
DIY and at home options require polishing and several steps and applications. Professional applications involve the use of a vacuum chamber to create a more durable surface.
How to clean my secondary mirror?
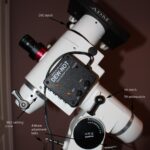
We have focused on cleaning your primary mirror, the large mirror at the back of your telescope. This mirror can be removed from your optical tube assembly (OTA) to be cleaned.
Your smaller, secondary mirror should not be removed from the telescope. Unless you are replacing the mirror, do not take off the secondary mirror assembly.
Your secondary mirror is less likely to be dirty because it is protected by the optical tube. A very dirty secondary mirror can be rinsed and cleaned carefully in place. Be careful not to drop anything onto your primary mirror when doing this.
I have used a KEM wipe on my secondary mirror, but I don’t think I can recommend that in good conscience. Removing a secondary mirror is a much bigger job if it needs to be recoated.
One of the astronomers in my group removed their secondary mirror and then had major collimation issues when they put everything back together. I hope he figured it out, but he never posted again in the group.