The finderscope is an important and often overlooked piece of equipment in a telescope kit. New telescope owners are faced with several questions regarding these devices:
How do I align the finderscope?
Why is the view through the finderscope backwards or upside down?
How do I use it to find objects?
Should I upgrade the one which came with my telescope?
Types of Finderscopes
For starters, we can ground finderscopes into two basic categories:
optical finders, and reflex sights.
Both are very common.
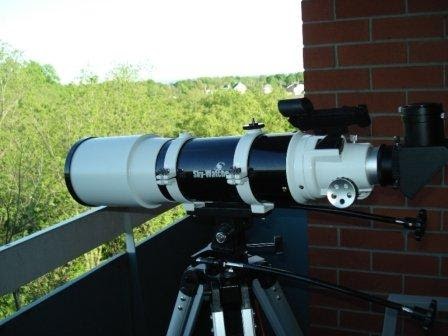
Optical finderscopes are essentially just miniature refracting telescopes with a built-in eyepiece providing a fixed magnification and field of view.
Like binoculars, their specifications tell you the magnification by the aperture in millimetres (e.g., 8×50).
Reflex sights, on the other hand, provide an unmagnified viewfinder with a red dot or reticle superimposed.
In this article, I’ll be focusing on optical finderscopes.
How Do I Align My Finderscope?
Locating objects of interest is a big challenge for newcomers to astronomy. Even pointing the telescope at a bright object like the moon or Venus can be difficult if the finderscope is not properly aligned with the main optical tube.
I always recommend getting it at least roughly aligned in daylight. To do this, you need to find an object far enough away for your telescope to focus on (quarter-mile or so should do the trick).
The object should also be small enough to allow for precise aiming; for example, the top of a highrise would be too large for this purpose, but the top of a telephone pole would be just about right.
Using your lowest-powered eyepiece, aim the telescope until the object is centred in the field of view. Then move to your finderscope and use the positioning adjustment screws to change the angle of the finder tube until it is also centred on the object.
Switching from telescope to finderscope, readjust until the views match as closely as possible.
You can always do additional adjustments as needed at night.
Now you are ready to get your scope under the stars!
Why is the view through the finderscope backwards or upside down?
Since a finderscope is just a mini telescope, the view through it will depend on the configuration of the optics.
Finderscopes, like telescopes, are designed to show an upside down image. They favor efficiency and allow as much light as possible to reach the eyepiece. Telescope images can be corrected, and some finderscopes also offer corrected images.
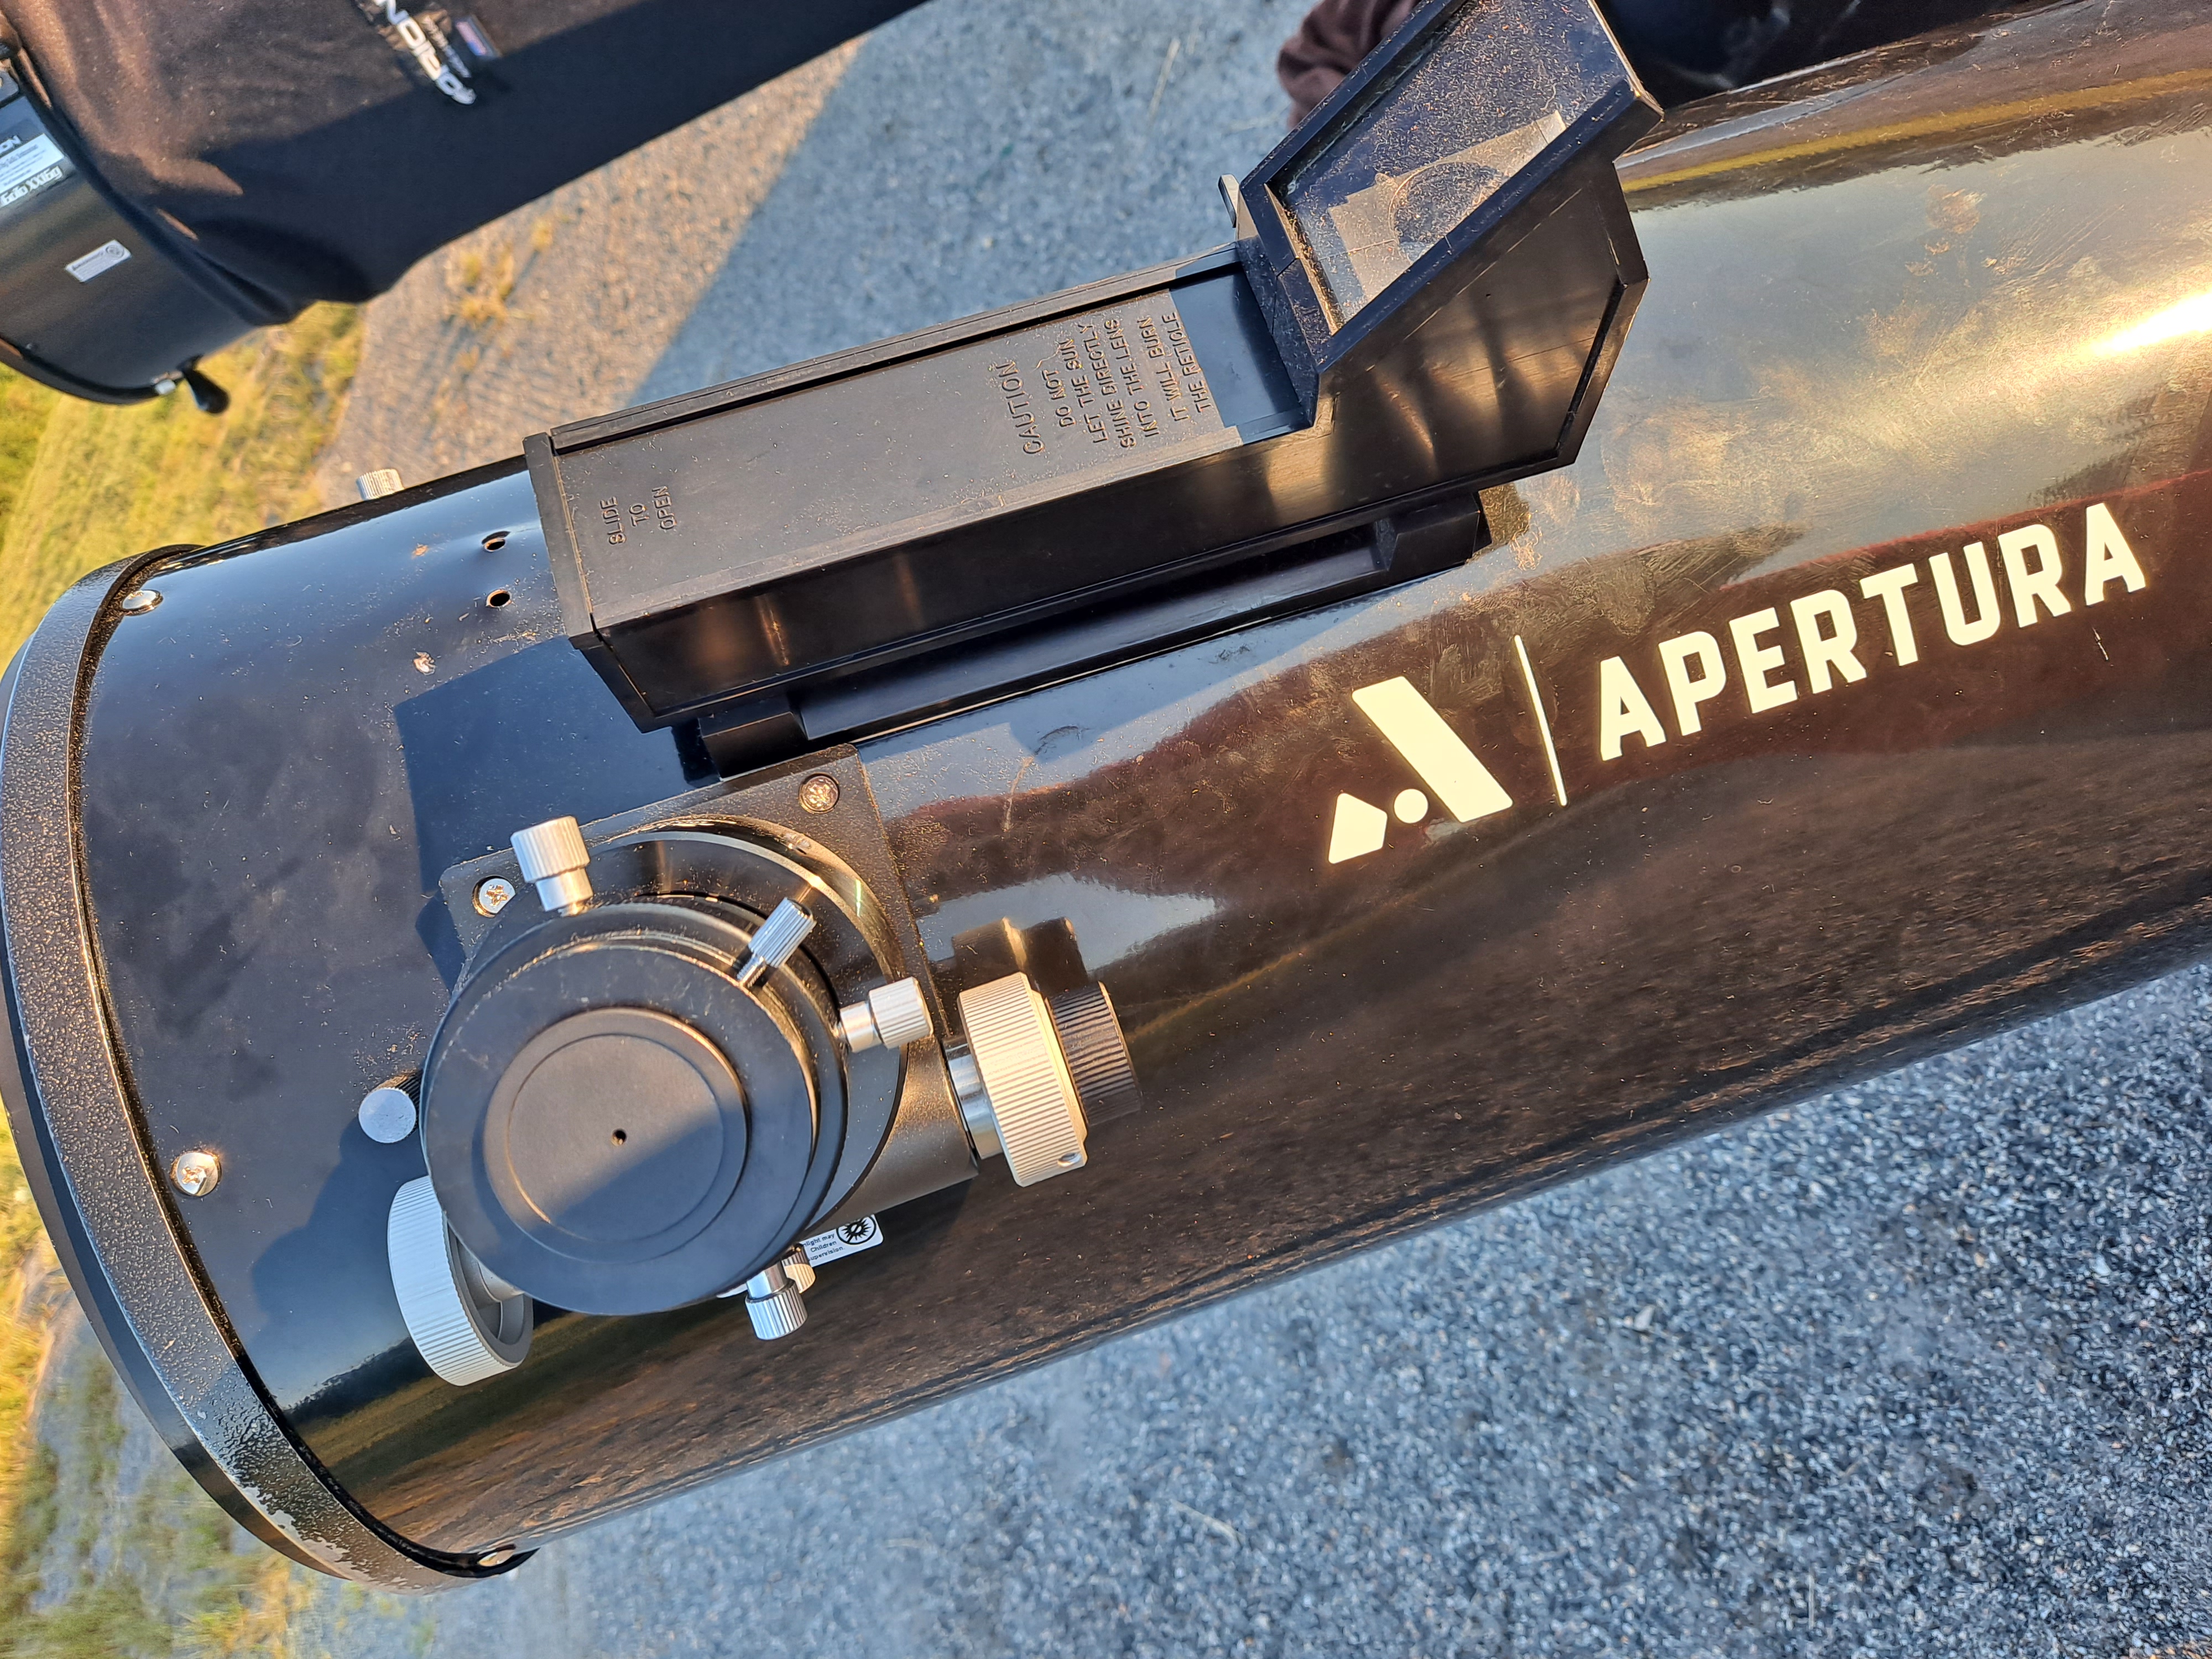
There are three main types of optical finderscopes, each providing a different orientation.
Straight-Through
As the name implies, these finderscopes have a straight optical path with no diagonal to change the angle of the view. The resulting image appears upside down.
This sounds like a nightmare to use but it is actually not so difficult. In fact, this view will match the view through a Newtonian reflector telescope.
Video game nerds will know this as “look inversion” of controller configuration: to move the view up and to the right, you point the scope down and to the left. Comparing to a star chart is simply a matter of rotating your chart 180 degrees.
Straight-through finders have the benefit of being natural to aim. Because you are sighting along the optical axis of the telescope, it is easy to tell where you are pointed in the sky. The downside of this is that it can be quite uncomfortable craning your neck to peer through the eyepiece, especially when your target is at a high altitude.
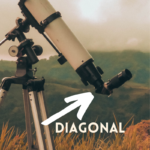
Right-Angle
This type of finderscope uses a built-in star diagonal to direct the light at a 90-degree angle. The benefit of this is a much more comfortable viewing angle, but it comes at a cost: regular right-angle finders present an image which is upright but mirror-reversed.
In my experience, this is the most difficult orientation to use, both in terms of aiming the telescope and comparing to star charts.
Even when used in conjunction with a telescope of the same image orientation, I’ve found this setup to be less than ideal, though you do get used to it.
Fortunately, there is another type available.
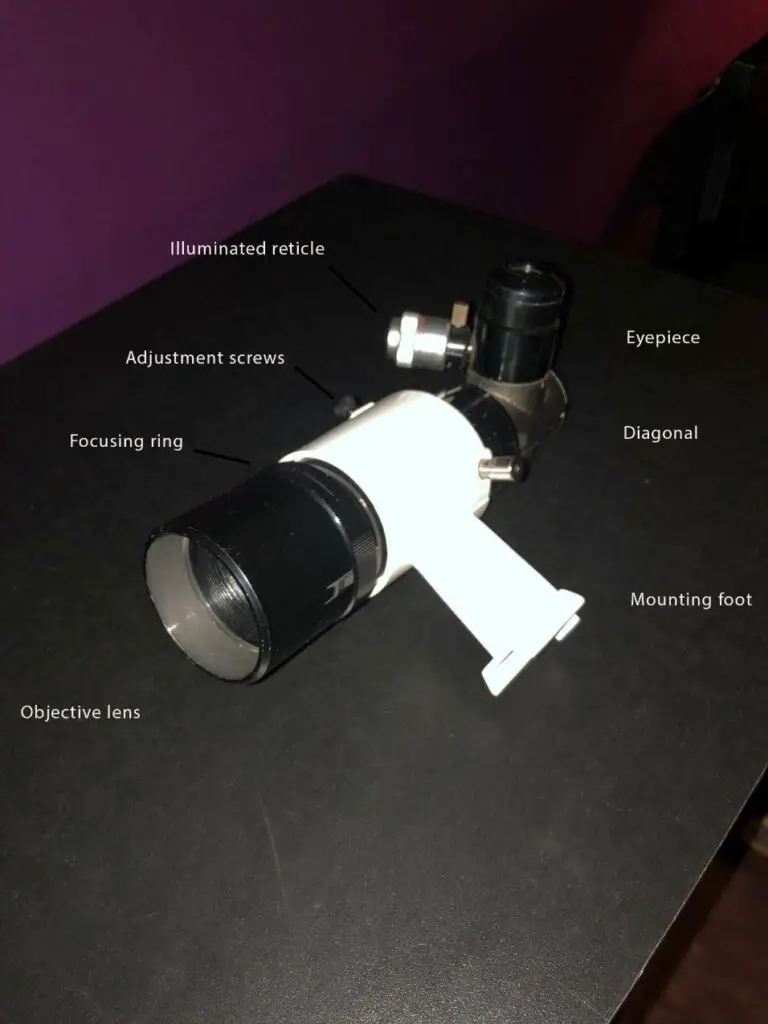
Right-Angle Correct Image (RACI)
These finderscopes use diagonals with Amici prisms to provide views correctly-oriented in both directions.
This allows for easy comparisons to star charts and makes aiming the telescope simple and intuitive. I used one of these finders with my XT8 reflector for many years and found hundreds of deep-sky objects with it.
If there is a downside to right-angle finders, it is that it can be hard to know exactly where your telescope is pointed in the sky. This is especially true when you are searching for an object with no bright stars nearby.
For this reason, a reflex sight such as a Telrad is useful to have in conjunction with an RACI, as the Telrad will get you into the vicinity of your target while the optical finder will get you zeroed in.
How do I find objects with my finderscope?
Finderscopes are useful mainly because they provide a wider field of view than your telescope. For comparison, imagine looking at the sky through a paper towel roll versus a drinking straw. The wider tube shows you more of the sky at once, which makes searching for things easier.
Finderscopes are essential for the technique we call star-hopping.
To star-hop you will need either printed star charts or a planetarium app on your phone.
Once you have selected an object which is visible from your location, identify the brightest star that is close to it. Aim your telescope at the star, and then refer to your chart to “hop” star by star to your target.
To prevent getting lost, keep checking your chart and matching up the star patterns with the view through your finderscope (remembering to take the finder’s image orientation into account).
Depending on the aperture of your finderscope and your sky conditions, you might be able to spot the target in the finder’s eyepiece. If not, look through your telescope’s lowest-powered eyepiece to see if you have got it.
Should I upgrade the finderscope which came with my telescope?
If you must ask this question, the answer is most likely “yes”.
Beginner telescopes often come with skinny little straight-through finders providing dim, narrow views of the sky. Anything smaller than 6×30 will probably not be of much help. On the other hand, it wouldn’t make much sense to put a large, heavy 9×50 RACI finderscope on a lightweight setup where balance will become a problem. In any case, a good-quality finder will be more pleasant to look through and provide sharper images than a cheap one.
If your scope came with a reflex sight, you might be tempted to replace it with an optical finder. This is a tougher call than it might seem.
Reflex sights have the advantage of showing exactly where your scope is pointed. Switching to an optical finder could lead to more frustration as you’re constantly panning around, trying to match the finderscope view to your star charts.
It comes down to preference, and what you’re accustomed to. For manually-driven telescopes, the combination of optical finder and reflex sight will always win in my book.