The first thing I bought after I decided to buy my Dobsonian was a Telrad. Everything I read convinced me that I would need one.
Telrads make using a manual Dobsonian telescope so much easier and more enjoyable. It will greatly improve your ability to locate objects accurately and quickly. Every time I use my manual Dobsonian telescope I use my Telrad. It can be used alone or in combination with a finderscope to get the most accurate result.
A Telrad will work with any Dobsonian telescope, but most come with a finderscope. Telrads do not provide any magnification and they are designed to help you locate objects quickly in the sky.
You will need batteries for your Telrad, so be sure to get them before you install and begin using it.
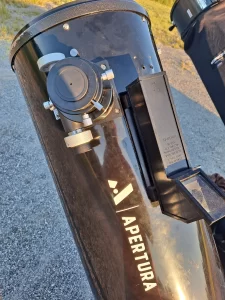
What does a Telrad do?
A Telrad gives you a preview of what you will see when you look through they eyepiece of your telescope. This makes it easier to find yourself in the sky. It has three concentric circles that appear on a piece of glass, so you can line up your telescope by looking through the glass. That is the preview of what you will see.
Without magnification it is easy to find the things you are already familiar with in the night sky, things like constellations or planets. These things all look much different when magnified. So using the Telrad will allow you to locate them, then view them with magnification through your scope.
If you want a few great targets for Fall, check out our favorites in this post.
A Telrad is a red dot finder that helps you easily locate objects in the sky. It has a dial to adjust the brightness of the red circles.
You do not need to put your eye up to it like you would with a finder scope, so it is easier to just glance up from your focuser. I love my Telrad for star hopping.
It is so much faster easier to use than a finderscope, you can get your targets faster and easier with your eyepiece.
It does fog up, so you may need a dew shield and riser. The riser also just helps with the position of the Telrad. This is a matter of preference.
How do you use a Telrad?
When you get your Telrad you will want to install it onto the scope.
First install batteries
When I first got mine I tried to test it in the closet in my house. It took me a few minutes to figure out the right angle to see the dot, but I was able to test it that way.
It comes with two adhesive strips that you can peel off the backing and stick it to your OTA (optical tube assembly) or upper tube assembly if you have a truss telescope.
It can also be installed with a Telrad riser, which is around $25. I wish I had gotten one to save my back from having to crouch in weird positions to see through the Telrad.
The first thing you want to do is to align the Telrad.
You do this by pointing your telescope at a reference object through your eyepiece.
I aligned mine with my neighbor’s door in the daytime. You can use any stationary object you can see like a light post.
Then you will adjust the knobs on the side of the Telrad to get the same object in the center of both circles.
This allows the Telrad to give you a quick preview of what you will see when you look through the scope.
Do I need a Telrad riser?
A Telrad riser is a device that lifts the Telrad away from the optical tube on a Dobsonian telescope. It makes it more comfortable to use the Telrad. They cost less than $30 and can be removed for transport or sale of your telescope.
Telrad risers can easily be improvised with a piece of wood and a few screws if you are handy.
You will need to play around with the placement of your Telrad and your Telrad riser.
If your scope came with an installed finderscope then you may want to leave it installed to make use of the manginfaction provided by the finderscope.
I chose to remove my finderscope and installed my telrad near the same place. If you wanted to you could even sell your finderscope to pay for the telrad.
Finderscope vs Telrad
The biggest difference between a finderscope and a Telrad is the magnification. The finderscope allows you to find things more precisely, but takes more skill to use.
I love the highly recommended beginner book, Turn Left At Orion and I bought it early in my learning of astronomy.
They give the instructions for what you should look for in the finderscope when you are trying to locate objects
Some objects, especially open clusters like the Double Cluster and the Pleiades look pretty good though the finderscope. When I do local astronomy outreaches I let kids look through the finderscope.
They offer a wider field of view than your telescope, with lower magnification.
I did not leave my finderscope installed, so I used my telrad when I was learning the sky.
It was plug and play, it was just so much easier, you do not have to get your eye right up to the device to use it. I did not have to change positions as often while observing when I used my Telrad.
The Telrad does not require screws to install, it can be installed anywhere without damaging the optical tube.
Finderscope
A finderscope offers 9×50 magnification, which is similar to a standard set of binoculars. They can range in magnification from 6-12 times magnification.
This can be difficult for beginners to identify things through the finderscope. Everything looks different when it is magnified, so it can be harder to find yourself in the sky.
I had an Apetura/GSO 9×50 finderscope and I thought the open clusters looked pretty cool. It was pretty easy to align, there were no problems with it, but I prefer the Telrad. It is just a bit less involved.
The RACI Finder, which comes with many telescopes out of the box, are 8×50 or 9×50. They are a right angle style finder, RACI stands for right angle correct image. They can be helpful to use when you are getting started with Turn Left at Orion.
There are some objects that you will see through the finderscope that you would otherwise miss with just a telrad, and you can use it for more precise navigation of the sky. If you choose to use Turn Left at Orion, it will describe in detail what you will see through your finderscope, so it can be easier to learn with that book and a finderscope.
Telrad
A Telrad is a zero magnification sight that is attached to the optical tube of your telescope. It is a big bulky, but it makes the sky easier to navigate.
It works by shining a set of three concentric circles onto a piece of glass. You look at the glass and aim the circles where you hope to explore the sky.
This seems simple, and it is and that is why it is so amazing.
By using a Telrad you get a preview of what you will see when you look through your scope. This makes it much more intuitive to use your telescope.
I really appreciate this clear explanation
Red Dot Finder
A red dot finder is very similar to a Telrad, it provides zero magnification.
They both help you align the sight with a red laser dot.
The differences are that they are smaller and round. The Telrad is a very big device to attach to a telescope.
I do not have a lot of experience with a red dot finder, the only one I have used is Orion’s red dot finder that came with my 18in truss tube scope.
It is not of very good quality, so I do not think I can really speak to its usefulness. I think it could be good, but I just don’t have enough experience to tell yet.
So, let’s move on to a device I have a lot of experience with, my High Point Scientific Telrad.
Is a Telrad worth it?
A Telrad is a lot more durable and much easier to use than the finderscope that came with my Apatura or the Red Dot Finder that came with my Truss Tube. I use my Telrad every time I bring out my manual dob.
I only recently got a goto telescope and I am about to buy a Telrad because I think it still has a place even with goto technology on my scope.
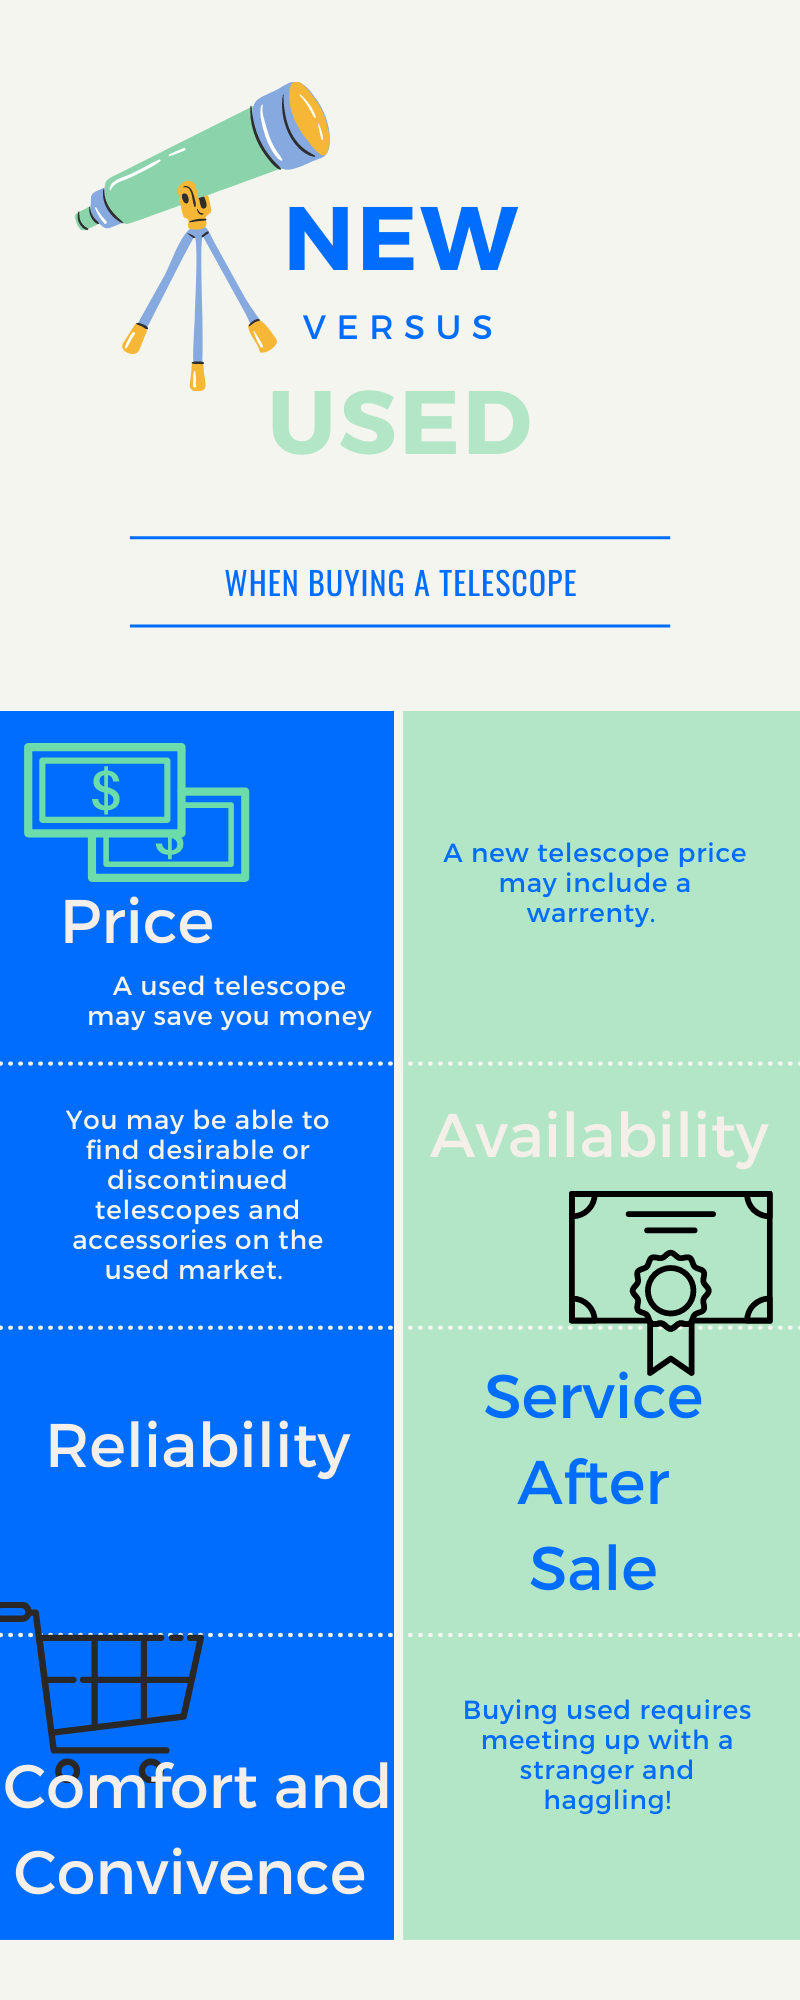
If you are looking at buying a used telescope, or wondering where to grab a great deal, check out our guide for buying a used telescope in this post by our amazing friend Mike.
Should I keep a finderscope if I have a telrad?
The telrad is the easiest and quickest sight for a telescope, but the finderscope still has a place.
I would recommend that beginners start with a telrad and get familiar with the sky.
When you become more familiar with how to use the Telrad, you may choose to do more precise location with a finderscope. You can get a zero magnification with the Telrad, then get more detail with the small amount of magnification with the finderscope.
Everyone I have talked to says, if possible, use both.
