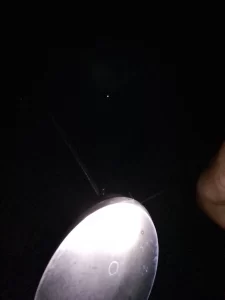
When you are first starting to observe, you may find that you are having trouble seeing in the night sky. One major cause of poor seeing is dew on your primary and secondary mirrors or eyepieces.
When metal and glass are brought outside into a very different temperature, they are quickly covered in condensation from the air. Condensation creates a thin layer over mirrors, eyepieces and any metal surfaces. This layer of water makes your image fuzzy and makes it impossible to focus.
When the temperature in your home is significantly different than the temperature outside, you will have dew accumulation.
This is the same as when condensation accumulates on a cold drink at a picnic, the difference in temperature causes water from the air to stick to the glass surface.
This will also happen to your telescope.
This dew or condensation makes it impossible to get clear views of the sky when the mirrors are covered in dew.
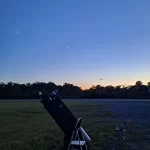
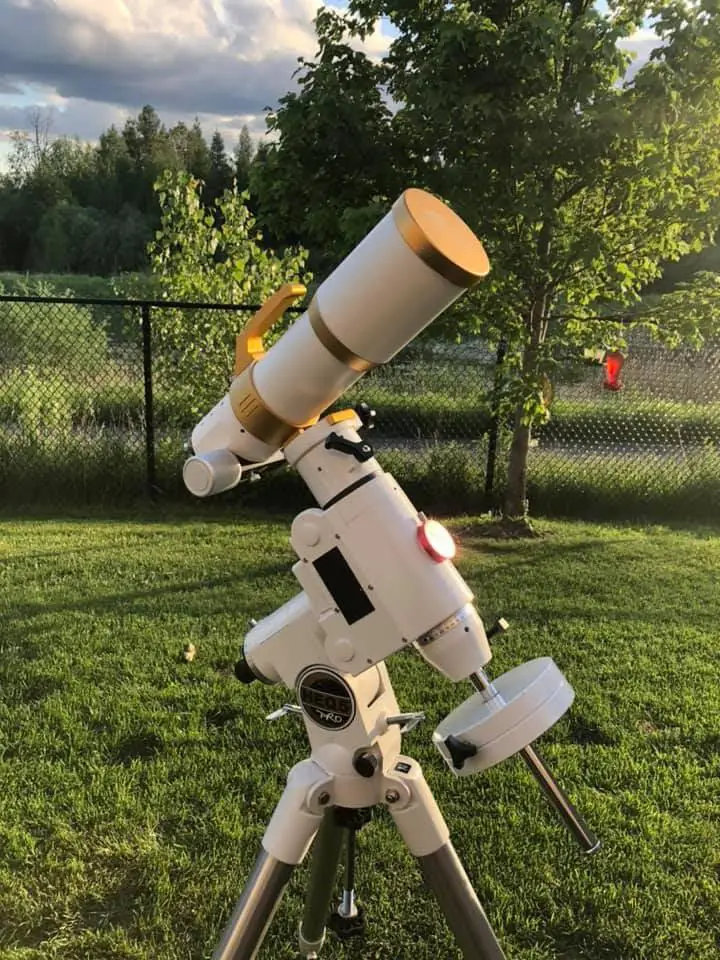
Telescope owners do several things to prevent this. The most important thing is to give your scope plenty of time to come to ambient temperature before they view.
That means taking the scope outside at least an hour before starting to observe.
I live in an area with high humidity, and this can be a big hobby killer. I have to have special equipment to keep my views clear.
This practice is called active dew control.
The first step to control dew is to give your scope plenty of time to come to the same temperature as the outside air.
As the temperature changes over the course of the night you may notice more dew accumulate. This is where things like dew shields, cooling fans, and dew heaters come in.
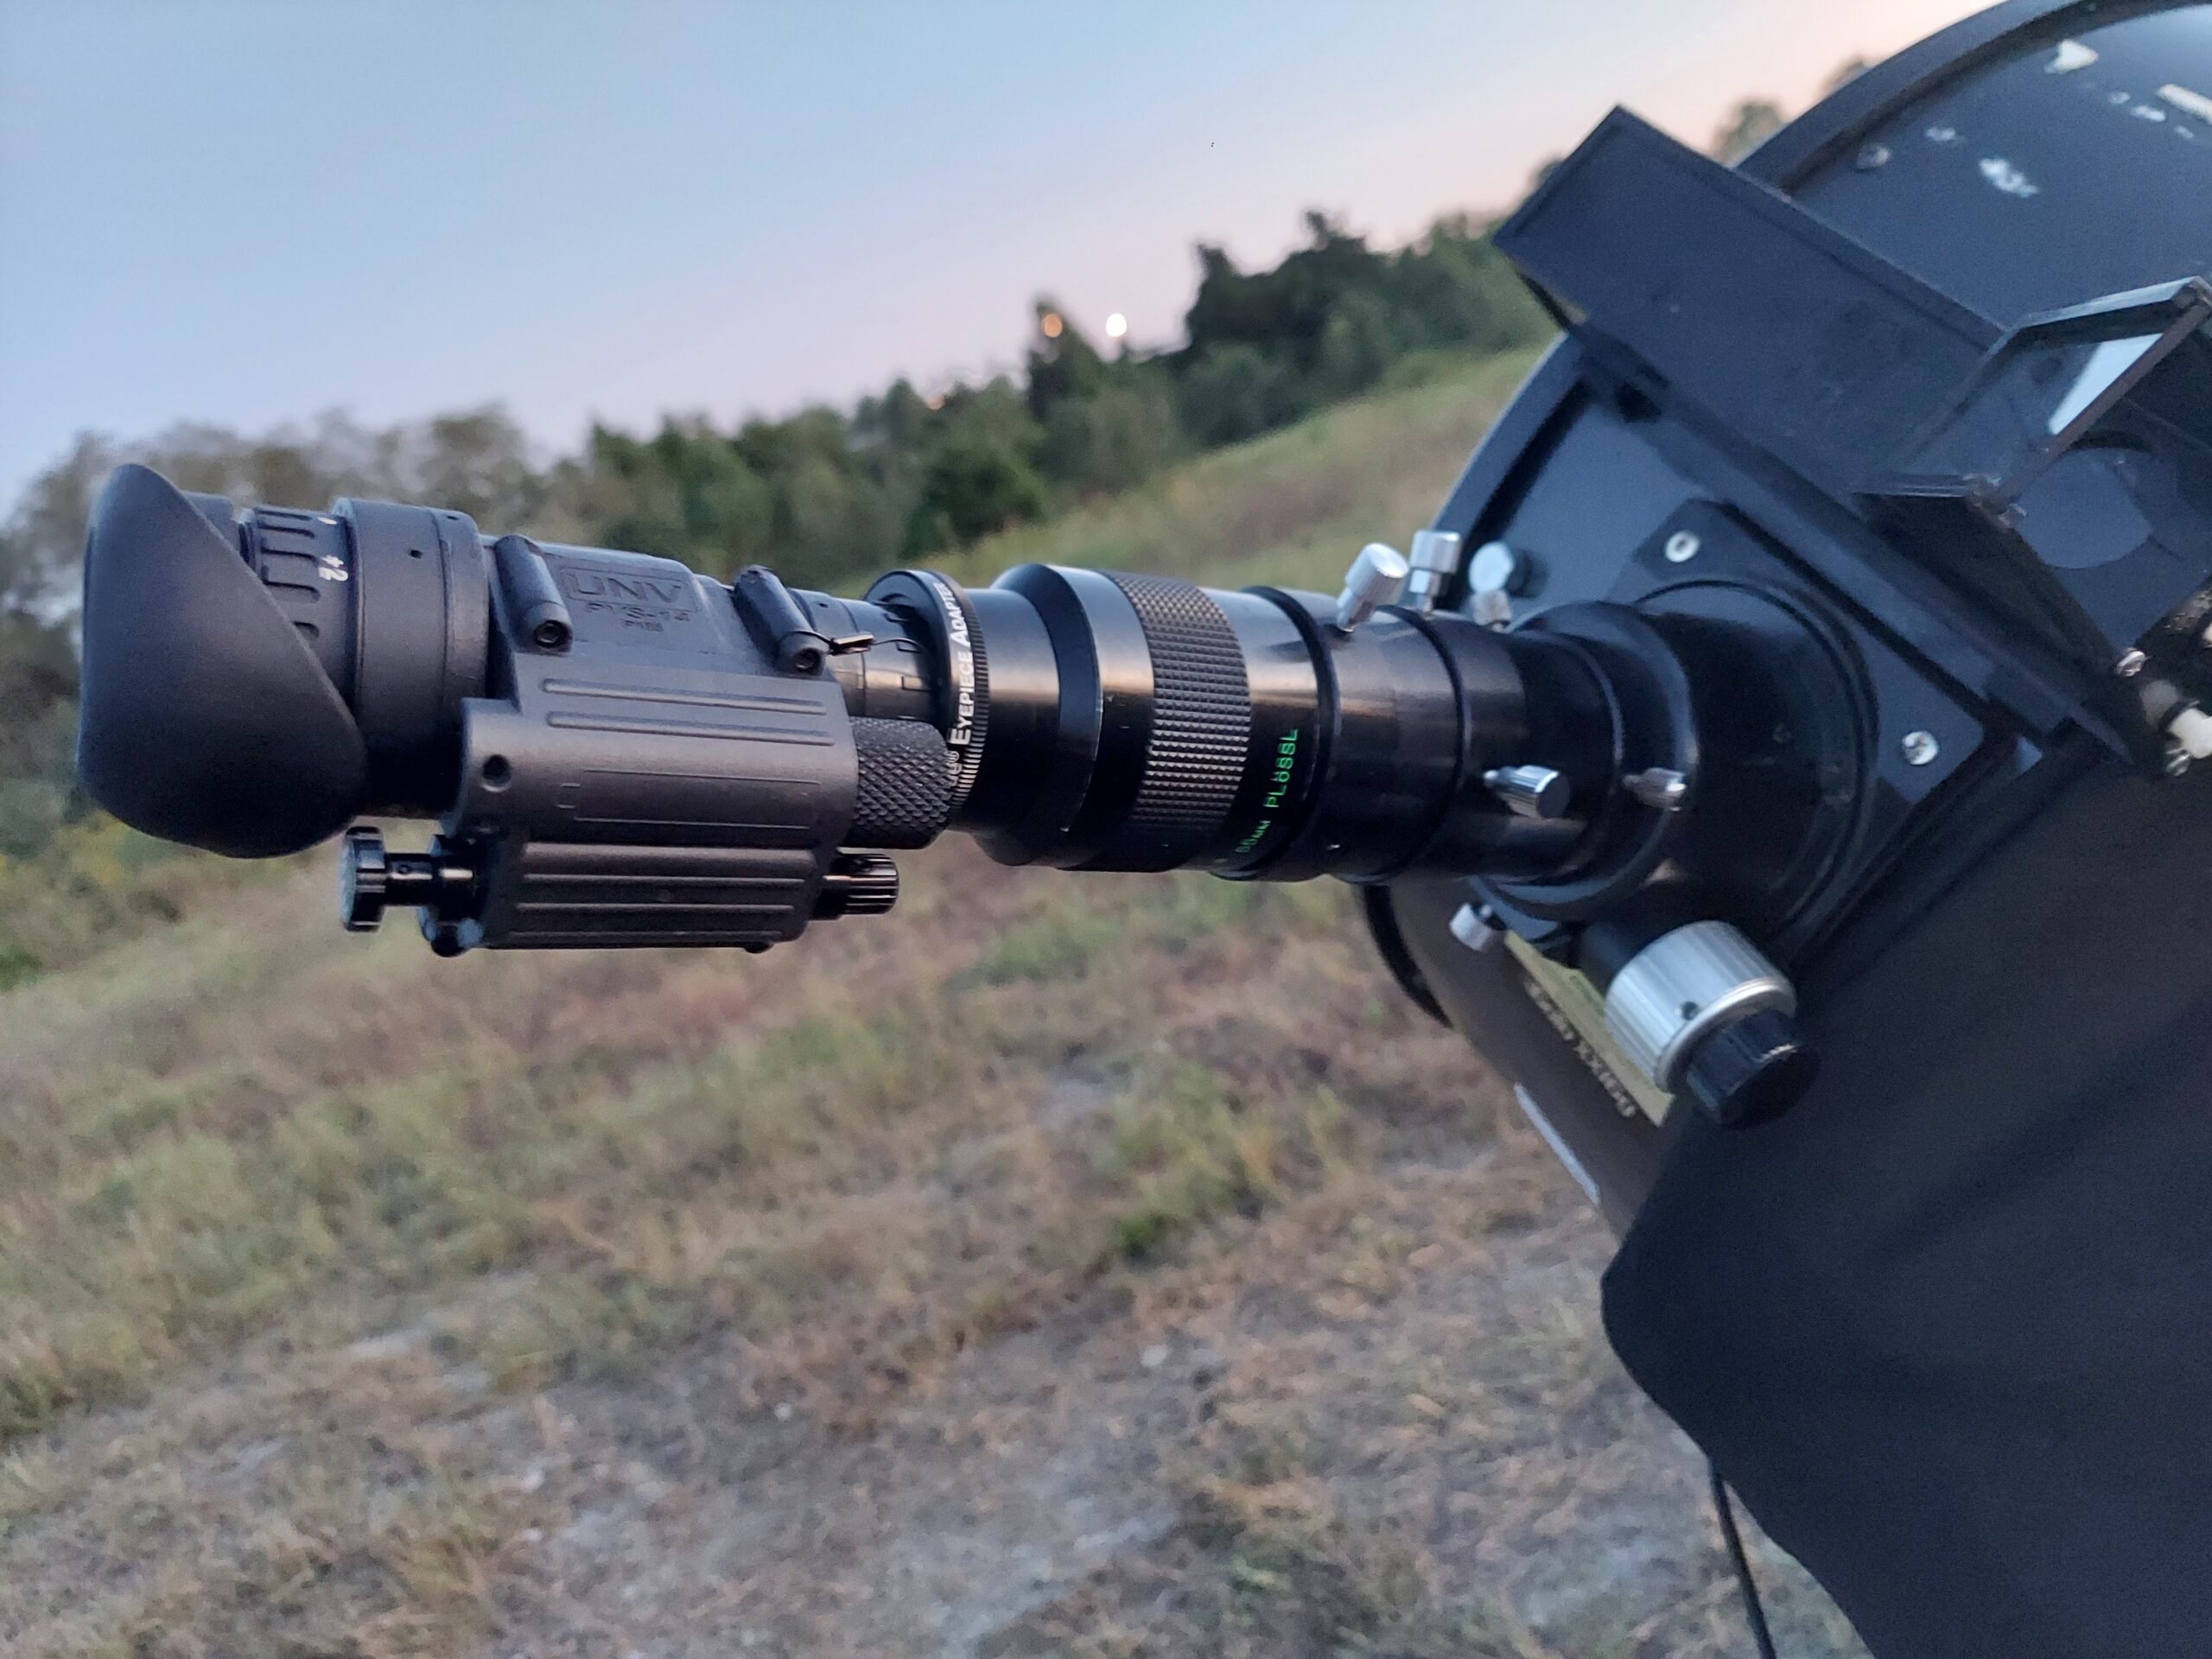
I have two dew heaters, one for my mirror and one for my eyepiece.
When you are bringing in your telescope after a night of observing, do not wipe dew from optical surfaces, like eyepieces and mirrors. You may choose to wipe down the other surfaces, like the outside of the optical tube, to get it all dry easier.
Keep the scope out of any cases or coverings until it is dry.
Recently I got my scope brought in from the car, put it in the house with the cases open. It took over 10 hours for all the dew to evaporate, but it did eventually evaporate.
A friend of mine recommended covering everything with a towel when not using it. He claimed that it would cut down on dew. I gave it a shot.
How do you acclimate a telescope?
The simplest way to acclimate your telescope is to bring it outside to your observing spot and give it 30 minutes to an hour to cool down or heat up to the ambient temperature.
The larger your telescope the longer it will take to come to ambient temperature. A good rule of thumb is to give yourself an hour to let your telescope acclimate.
Cooling fans also help the air circulate around the mirrors. This speeds up the initial acclimation.
You only need to turn them on when you first set up the scope, once the scope is acclimated you can turn off the fans. Their job is done and you will just be wasting your batteries.
Without cooling fans, it can take hours for a scope to acclimate.
After you have given your scope at least an hour outside to come to the same temperature as the air, you may need to add dew heaters to things like mirrors and eyepieces.
If you are a new telescope owner you can grab a box of Hot Hands, some people have success using rubber bands to hold them to the scope. This will warm up the scope faster and will keep the scope closer to ambient temperature.
What is ambient temperature?
Ambient temperature is the temperature of the air.
When you are observing the ambient temperature is the temperature outside in your observing location.
I use AstroSpheric to check the weather when I am planning to observe. I always look at the temperate and the dew point. If these numbers are close together it will be difficult to keep the dew off my scope.
I like to look for at least ten degrees difference.
When you are looking at your weather app, you may want to watch how quickly the temperature is changing during the hours you will be observing.
Rapid temperature changes make for lots of dew. This can be combatted with eyepiece warmers, and dew heaters which keep the mirrors and eyepieces at a stable temperature.
I have been disappointed by the performance of my eyepiece heater.
I grabbed an inexpensive lens warmer on Amazon because my area is so humid. It just cannot keep up.
My dew heater is also struggling to stay connected to the battery, luckily my father in law is an electrician, so we are ordering some parts to make it a bit more effective.
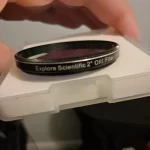
Where I live, this kind of equipment is necessary to enjoy the hobby, so I am upgrading to Thousand Oaks.
What is active dew control
Active dew control is what astronomers call the use of tools to keep your scope at optimal temperature for viewing. Dew collecting on eyepieces or mirrors make observing very difficult if not impossible.
Cooling fans are the first tool most astronomers use to help their scope acclimate quickly. They attach to the scope behind the primary mirror and help the air circulate.
If the air is not moving it will act as an insulator keeping the scope at the temperature it was when you brought it out. The fans break up this air, and move the warmer or cooler air off the mirrors.
After the scope is acclimated you may choose to use dew heaters.
You will only use a dew heater on your secondary mirror in a Dobsonian. The optical tube acts as a huge dew shield. It prevents the temperature from changing rapidly, because it uses air as an insulator.
Eyepiece warmers can be more important because you will be switching out eyepieces through the night. They are smaller and more susceptible to rapid temperature change and therefore dew accumulation.
This is super frustrating.
Do I need cooling fans on my telescope?
Cooling fans speed up acclimation by moving air more quickly around the mirror. They are not necessary for every telescope in every situation. They add weight and complexity to your set up. You can accomplish the same functions of an installed cooling fan with a simple household fan.
Large telescopes are manufactured with cooling fans installed.
You may choose to upgrade your cooling fans after a few months of observing if it is necessary in your area.
I live in an area with high humidity and rapidly changing temperatures.
The cooling fan was a big source of frustration with my first scope. It came with a cheap battery pack that required 8 AA batteries and it kept failing. The batteries drained so quickly and it was always a worry when I went to set up to observe.
My current setup requires 8 C batteries, but I am planning to replace that cooling fan with 3 muffin fans. These fans are less expensive, more powerful and they will do the job.
The fan that came on my scope stopped working, the electrical connections failed quickly with my frequent transporting of the telescope.
There are several reasons to avoid having a cooling fan.
Cooling fans add weight and the need for electricity to your telescope set up.
If you do not have cooling fans, you can use a household fan to do the same job. Set up the fan close to your scope and turn it on while your scope acclimates.
The air will be less directed, but it will reduce the time required to acclimate your scope. Be careful to direct the fan in such a way as to not blow dust and debris onto your fan.
Can I avoid dew altogether?
After you have bought all the gear, you may find that dew is still a frustrating problem when trying to observe.
If you are a homeowner with a good view of the night sky, you may consider building an outdoor observatory.
This is a huge, costly project, but it could be worth it for you if you observe frequently, struggle with dew problems, have the space and skill to build the structure.
This gorgeous backyard observatory will surely leave you feeling the money leaving your pockets.
There are some kits that are available for those who aspire to have a full backyard setup. They range in price between 7-8k all the way to over 40k.
If you choose to build an unheated observatory you will find that the scope is rarely more than 2 degrees off of ambient.
There, problem solved.