Finderscopes can be blurry for a few reasons and it is usually a simple fix.
Finderscopes can be blurry as a result of dew acclimation or being out of focus. If these things are not causing the blurry image you may be seeing trapped dirt and moisture or coma. In rare cases you may find that you have a manufacturer defect that cannot be fixed.
I have listed these reasons in the order that I think is most likely to be causing your blurry finderscope.
Go through the list and eliminate each possible reason for the blurry scope, then move on to the next one if the issue is still not resolved.

Dew
Dew accumulates on glass and metal when you bring it outside if the temperature of the scope is very different from the temperature of the air.
The principal is the same as condensation that forms on a cold drink. Moisture from the air attaches to the surface and forms water droplets.
You may notice small water droplets on the optical glass of your finderscope. This dew is worse in some conditions than others. Your geographical location also has a big impact on how much dew you experience.
You can start by using a dew shield, which is a plastic, foam or cardboard sleeve that fits around the finderscope and makes it harder for dew to reach the optical glass.
If you are finding that you are regularly battling dew I recommend the Thousand Oaks Dew Heater Strip/Band. These velcro covered heating elements heat the finder and make it difficult for dew to form on the surface.
These dew strips do require electricity to run, so if that is not already part of your setup you may want to try using Hot Hands. We have tried that with mixed results, you can read about our experience in the linked article.
Out of Focus
Finderscopes are often delivered out of focus.
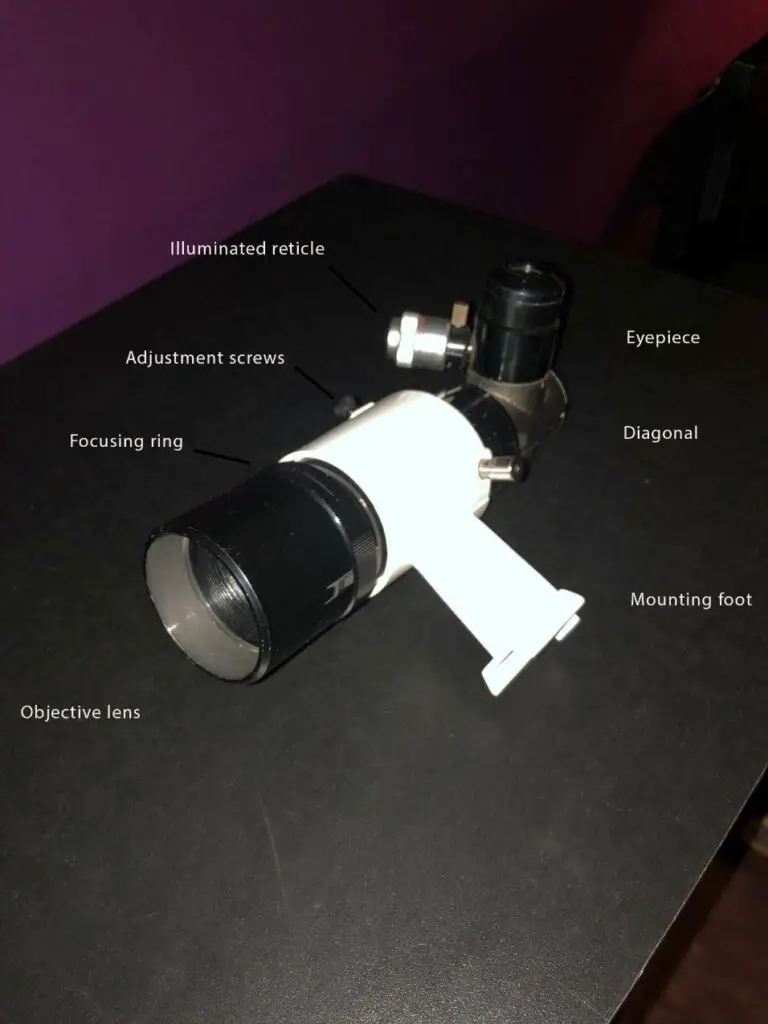
You can adjust the focus to suit you by moving the objective lens. I recommend that you do this during the day by focusing on a distant object. This will be easier than trying to figure it out in the dark while trying to focus on a star.
You can adjust the focus by loosening the lock ring located behind the objective lens. Then thread the objective lens in and out until you are happy with the image, then tighten the locking ring.
You should not have to focus your finderscope regularly. If you find that your finder is coming out of focus, contact the manufacturer and let them know what you are experiencing. The problem may be specific to your brand and model of finderscope.
If you find that you don’t have enough room inward or outward to reach focus make sure that the locking ring is completely loosened and that you have all the components correctly assembled. If you still cannot reach focus, it is time to call the manufacturer, a replacement may be in order.
Trapped Dust or Moisture
Once you have ensured that dew is not the problem and the outside of your finder is dry you may find that there is some dust or moisture that has become trapped in between the glass in your finder.
A good finderscope should not allow dust or moisture to enter the body of the scope, but if you have an older finderscope or one that has not been properly cared for you may find that a cleaning is necessary. This should not be necessary as regular maintenance.
In the Orion Manual they say that you can use any quality lens cleaner and cloth to clean your finderscope, so be sure to have your tools ready. Zeiss Lens cleaning products are well respected and available everywhere (affiliate link).
If you are about to take apart your finder be sure you have a clean place to lay out each component in the order that you remove them.
Spray the cleaning solution onto your cloth and gently clean each optical surface being careful not to scratch any surfaces.
Once you are happy that all the glass is clean you can put the pieces back together.
Coma

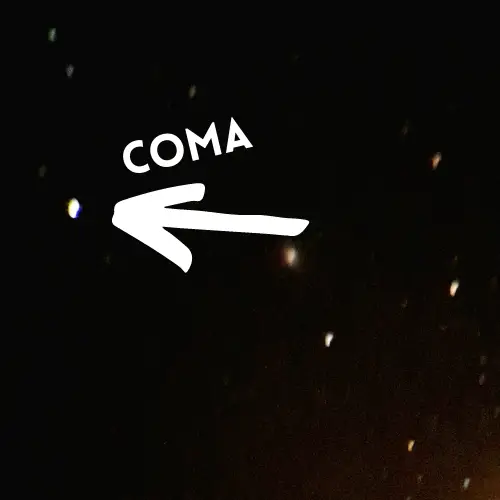
When looking through your finderscope you may find that the center of the field of view is crisp but around the edges seems blurry or out of focus.
This is called Coma and it is a result of the bending of light to create the image. This is just part of how the finder works and cannot be corrected.
Finderscopes are tools used to locate objects for observing with your main telescope so there is no need to correct the coma you are seeing in the finder, just switch to the telescope.
Coma can be fixed on a telescope with a coma corrector like a Paracorr.
Different astronomers have different levels of tolerance for Coma. If it bothers you with your finderscope I highly recommend that you switch to a Telrad. These alternatives to finderscopes use zero magnification so you will not experience any coma using a Telrad.
Spacer or Lock
There is a very small chance that you have a spacer or lock that is making focus impossible to achieve with your finderscope.
If you have tried to achieve focus but have not been able to reach it you may need to add a spacer to the finderscope.
This would be a very involved DIY project and it would be the result of a manufacturing error, so incredibly rare.
If you have a homemade finderscope or something very custom this may be an issue.
Customer Service
When you are contacting the company where you purchased your finderscope, they may walk you through the same troubleshooting process we covered here.
They are usually very knowledgeable and helpful and they may be able to help you correct the issue without needing a replacement.
I have had a wonderful experience each time I have had to call customer service, so do not hesitate to call if you purchased the finderscope directly from a company.
If this is a second hand piece of equipment you may even try reaching out to the seller. Finderscopes may need to be focused just for your eyes. If you find the finderscope is blurry it may have been perfectly crisp for the seller.


