Astrophotographers tend to hate the moon. As a major light source in the night sky, the moon washes out faint objects such as galaxies and nebulae. Many of us don’t even bother taking our equipment outside if the moon is too bright.
Astrogphotography is possible during the full moon if you choose the right targets and camera settings. Start by choosing a bright target that is far from the moon. Use an appropriate filter and shoot in narrowband. You will still need to remove the gradient in post processing to get the best possible images.
The astronomy community generally recommends against shooting in bright conditions like light pollution or bright phases of the moon. However, there are still ways to shoot astro-images during a full moon if you are willing to work around certain limitations.
In this article we’ll look at the problems the moon poses for astrophotography and some possible solutions to them.
I think we miss a lot of great time at the eyepiece if we wait for perfect conditions.
Why is a full moon bad for astrophotography?
This might seem self-evident, but it is still worth asking: just what is so bad about the moon anyway?
The most obvious downside to a bright moon is that it brightens the sky. If you are viewing or photographing faint objects, a dark sky is what you want. This is because the object must be brighter than the background sky for you to see it.
Even if the object is visible, some of the fine detail may be lost if the sky is not sufficiently dark.
If you’ve ever tried observing the Andromeda Galaxy from the city, you’ll know what I mean; only the bright core is visible.
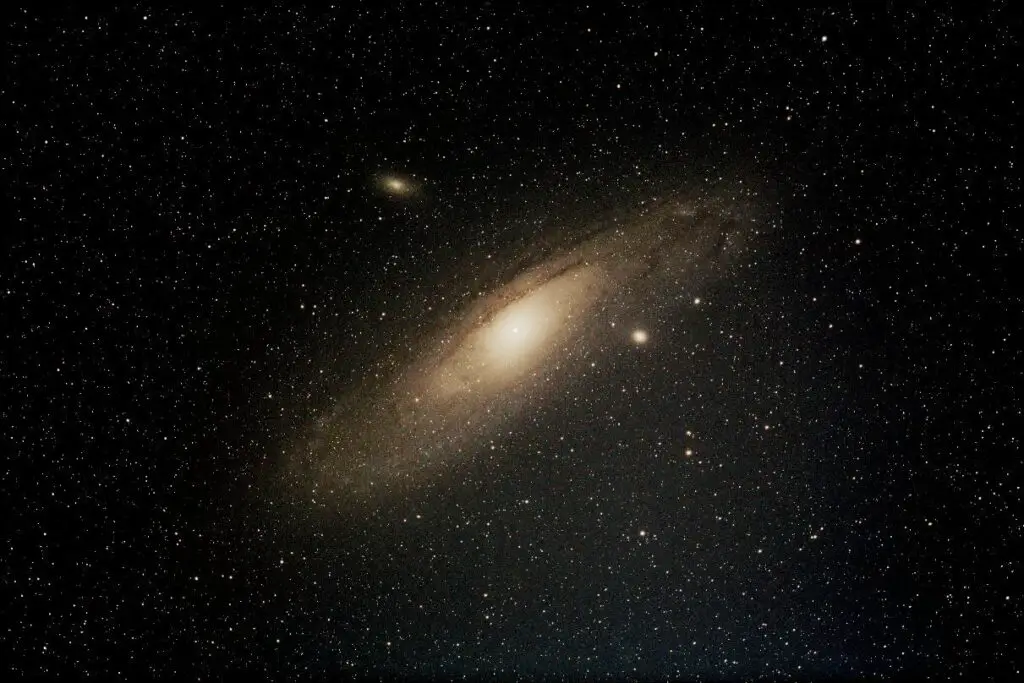
As we’ll discuss shortly, there are ways to work around the moon’s glare, such as imaging bright objects like globular clusters, or shooting away from the moon. But even then, you are still faced with the issue of gradients.
Wikipedia describes image gradients as “a directional change in the intensity or color of an image.”
In astrophotography, gradients are usually caused by urban light pollution or bright moonlight. They impact the background of your image, causing one side of the image to be significantly brighter than the other.
You might not notice the gradient in your sub-exposure but they show up readily in post-processing, and are a pain to deal with.
How to Work Around the Moon
If you can’t bear the thought of wasting a clear night on account of the moon, here are a few ways to minimize its impact.
Shoot Bright Targets
A full moon is probably not the best time to try for the Witch Head Nebula or the Triangulum Galaxy.
Fortunately, there are many brighter targets which will stand out against a brighter background sky. This would be a perfect opportunity to pop in your barlow lens and try some planetary photography.
- Planets
- Open Clusters
- Globular Clusters
- Double Stars

Check out M11, M13, or M5 for starters.
Try keeping the exposures short and take lots of them for stacking, which will make it easier to separate your target from the background sky.
Aim Away from the Moon
Use a planetarium app to select a target which is in the opposite part of the sky from the moon. The more distance between your target and the moon, the better.
The light of the moon will not be as noticeable the further away you aim from the moon.
Invest in a Filter
These days, urban astrophotographers rely heavily on light pollution filters. There are many types available and selecting the correct one can be a challenge.
In moonlight, so-called duo-band, tri-band, or quad-band filters seem to be most effective. These filters pass specific wavelengths of light while aggressively blocking unwanted signals.
Though such filters are generally intended to deal with manmade light pollution, the right one can be useful for shooting emission nebulae, particularly those with strong hydrogen-alpha emissions, such as the North America and California nebulas. They are less helpful on objects with strong OIII emissions, like the Ring or Veil Nebula.
The L-eXtreme from Optolong is one of the most popular choices but there are others on the market.
Be sure to read manufacturer’s descriptions as well as product reviews to ensure you are getting a filter suitable for your imaging goals.
Don’t expect much improvement from broadband filters such as the L-Pro or CLS filters, as they generally won’t block enough moonlight to be useful.
If you live in a generally light polluted area consider if a light pollution filter could be helpful in normal observing conditions.
Shoot in Narrowband
Narrowband imaging is a more specialized type of astrophotography in which you isolate specific wavelengths of light from an object one at a time, to combine them in post-processing.
First you need the right equipment: a monochromatic astro-camera and a set of narrowband filters for starters.
This type of imaging is more complicated (and expensive) than shooting with a DSLR, but the results can be stunning. They are a wonderful luxury for the hobby photographer.
Narrowband imaging also opens moonlit nights for astrophotography, if you select the correct targets for the filters you are using.
Exterminate the Gradient
No matter how you approach moonlit astrophotography, you’ll still probably have to battle a bad gradient at some point.
The best way to tackle this is in post-processing.
Photoshop has a plugin called Gradient Xterminator which might be worth looking at. I like to use Gradient Fill layers and then experiment with various blending methods to try to cancel out the unwanted glare.
There is also a great technique for creating an artificial “flat frame” which you can then subtract from your final image. You can find a tutorial on this method here:
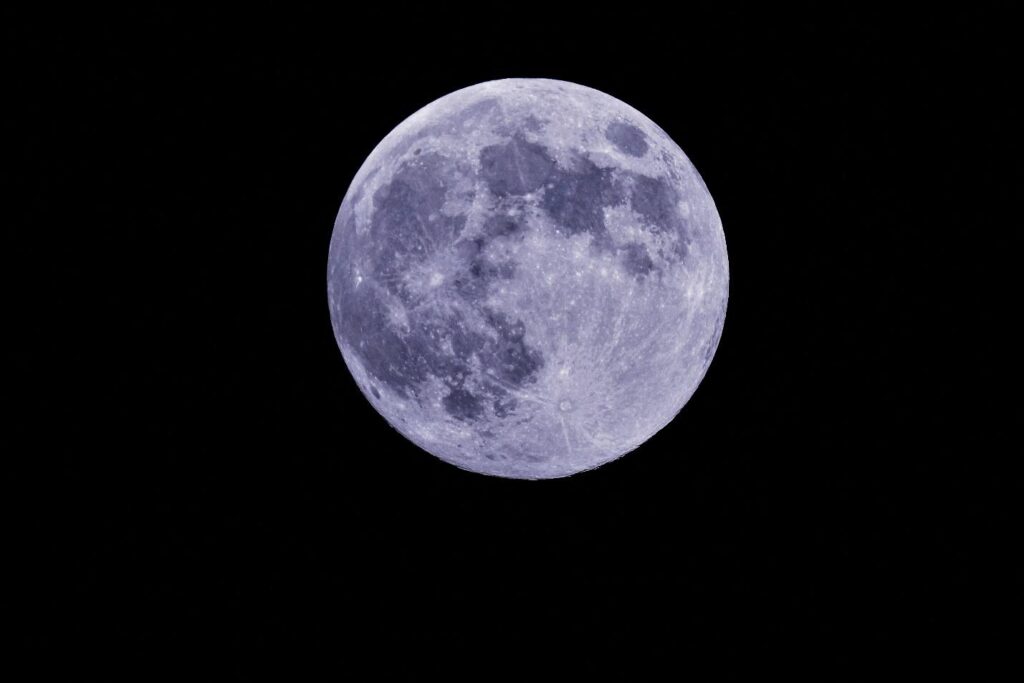
Shoot the Moon!
If you can’t beat it, join it.
The full moon doesn’t get enough credit in astronomy circles, if you ask me.
It may not show craters and mountains as clearly as in other phases, but there is still a wealth of impressive detail to explore:
Bright uplands
Dark maria
Brilliant craters
and the scars of debris from long-ago impacts
Play around with different exposures. Shoot a video for stacking and see how much detail you can bring out in post-processing. Maybe even try a mosaic.
