Of all the different facets of amateur astronomy, the science of optics can be the most perplexing.
There is no perfect optical system, and when you combine the various lenses and mirrors involved in a telescope kit, optical aberrations will occur. One such aberration is called vignetting.
Vignetting is a simple concept but can have complex causes. The term is sometimes also used incorrectly to refer to stopping down the aperture of a telescope, which adds to the confusion.
In this article we’ll find out what vignetting is, describe the different causes of vignetting, and discuss what steps you can take to mitigate vignetting if it becomes a problem.
What is Vignetting?
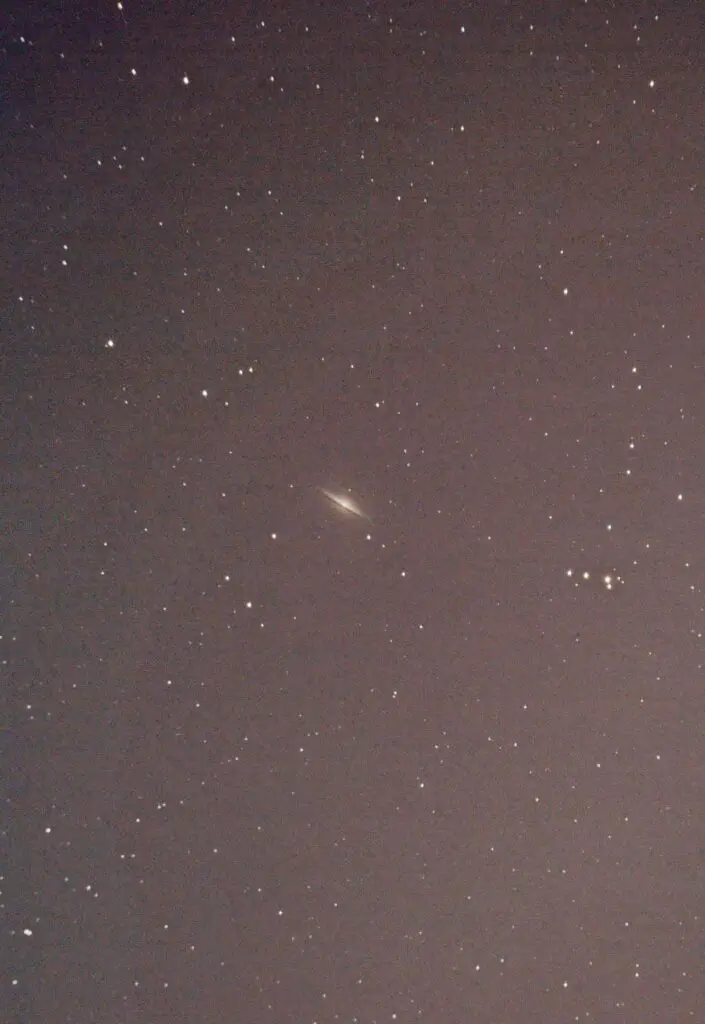
In optics, vignetting is the loss of brightness toward the edge of the field of view. It appears most readily in photographs, though under certain circumstances you might notice it visually too.
Wide-angle camera lenses and telescopes with fast focal ratios are especially susceptible to vignetting.
Vignetting can appear in different ways, depending on your setup. It may cause the very corners of your image to appear dark, or it might create a dark or discolored circle around the periphery of your image.
It becomes more obvious during post-processing, for instance when performing curves adjustments, when subtle differences in background brightness values become more pronounced.
Visually, vignetting is not as much of a concern. Stars near the edge of the field may appear marginally dimmer than in the center but you are more likely to notice other edge-of-field aberrations such as coma or astigmatism.
What Causes Vignetting?
In short, vignetting occurs when the entire field of view (technically the image plane) is not evenly illuminated. It is typically caused when light rays entering the optical system at an angle are partially blocked before reaching the outer part of the image plane or camera sensor. It will also occur when the image circle from your telescope is too small to fully illuminate your camera sensor.
Vignetting can be divided into three types:
Optical vignetting
Also known as aperture vignetting, this occurs when light rays entering the telescope at an angle do not have access to the full aperture.
This happens because a telescope with a fast focal ratio, or a wide-open camera lens, has a large aperture relative to its focal length.
When viewing such an optic at an angle, you can easily see how the aperture is reduced by the length of the optic, as in the images below.


The left image shows the aperture of a telescope viewed head-on. The right image shows the same aperture viewed from an angle. You can see how light approaching from an angle will be partly cut off, causing vignetting.
Note that this is not the same thing as having the aperture “stopped down”. That is, you will not lose overall image brightness from aperture vignetting, but only brightness at the edges of the image.
In fact, stopping down the aperture is one way to get rid of aperture vignetting.
When the aperture is narrow relative to the focal length, oblique light rays can still access the full aperture.
In astrophotography, stopping down the aperture is not recommended as it creates a slower focal ratio, leading to longer exposure times. Therefore, when shooting with a fast telescope or camera lens we must accept vignetting as unavoidable and deal with it in post-processing.
The best way to do this is by shooting flat calibration frames. A flat frame is an evenly illuminated image, shot at the median brightness value of your camera. They can be shot using a tablet or other screen with a blank background or using specialized “flat panels”.
Some photographers shoot them against the early morning sky, using a white tee shirt over the aperture to diffuse any slight gradients.
The idea is that the flat frame will only show vignetting (and the shadows of any dust particles on your sensor).
Image stacking software can then calibrate your image with the flat frames, removing the vignetting.
The difference is tremendous.
Mechanical Vignetting
A similar but different type of vignetting, mechanical vignetting is caused by an extension or accessory blocking some of the oblique light rays from reaching your camera sensor.
This can be a dew shield or lens hood which is too long, a stack of filters, or a filter holder which was not designed for the lens.
Mechanical vignetting is also likely to occur in Schmidt Cassegrain telescopes when certain focal reducers, diagonals, wide-angle eyepieces, or large-format camera sensors are used. This is mainly because the internal baffling through which the light cone must pass is smaller than the camera sensor or eyepiece field stop, or the accessories extend the light path to the point where the baffle blocks the edges of the field.
In all these cases, the solution for mechanical vignetting is to use accessories which are properly matched to the optical system. In some cases, such as using a focal reducer with certain SCTs, vignetting may be unavoidable, and will need to be cropped out of the final image.
Natural Vignetting
A certain amount of vignetting is inherent to every lens design; there is a mathematical relationship between the angle from which light approaches the image plane and the degree to which light “falls off” from the center.
This effect is more pronounced in fast focal ratios with their steeper light cones. Other than stopping down the aperture, which we don’t want to do, the fix is again to use flat calibration frames during post-processing.
Artificial Vignetting
We might also call this “intentional vignetting”, as it is an effect which is sometimes added to photos during post-processing.
This is usually done for aesthetic reasons, such as directing the viewer’s focus to the center of the image, or to create a vintage look.
I can’t think of any scenario where you would want to add vignetting to an astrophoto.

Do You Really Need to Take Flat Frames?
If you are shooting astrophotos with a wide-angle lens or a telescope with a fast focal ratio, flat frames are a must. They will get rid of vignetting, producing an evenly illuminated image that is much more pleasing to the eye. When shooting at long focal lengths or with small camera sensors, you might be able to skip them.
When shooting with a DSLR or other camera with a large-format sensor, flat frames are practically a must, perhaps even more so than dark or bias frames. Click here for more info on calibration frames.


