Collimation can be frustrating for beginners, but it is quick and easy once you get the hang of it.
Correct collimation will give you the best performance from your telescope and the best images from your equipment.
Collimation is the process of adjusting your mirrors or lenses to align them perfectly with one another.
1. When You First Use the Telescope
When you first get your telescope, whether it is new or used you should be sure to check and correct the collumation.
Telescopes that have been shipped or need some assembly when they are delivered will almost certainly require some adjustments.
When buying a used telescope you can ask the previous owner what they know about the collimation history of the scope and ask if they can demonstrate the process for you.
2. When You Transport the Telescope
If you travel to dark sky areas you should give yourself plenty of time to check and adjust collimation when you arrive.
Transportation can cause screws to vibrate loose and change the position of the mirror slightly.
Travel does not always affect collimation, but you should check it.
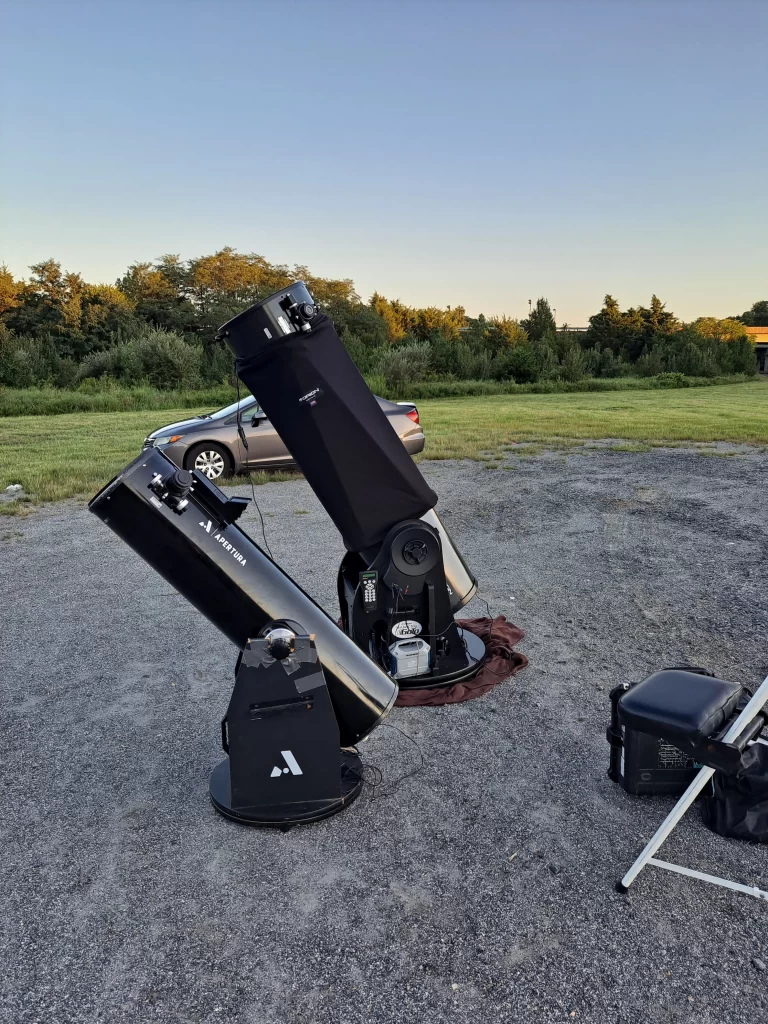
This summer I brought my telescope on a 800 mile road trip in my very bumpy skoolie and when I assembled the scope I was shocked to see that I only needed minor adjustments to collimation!
3. When You Install Bob’s Knobs
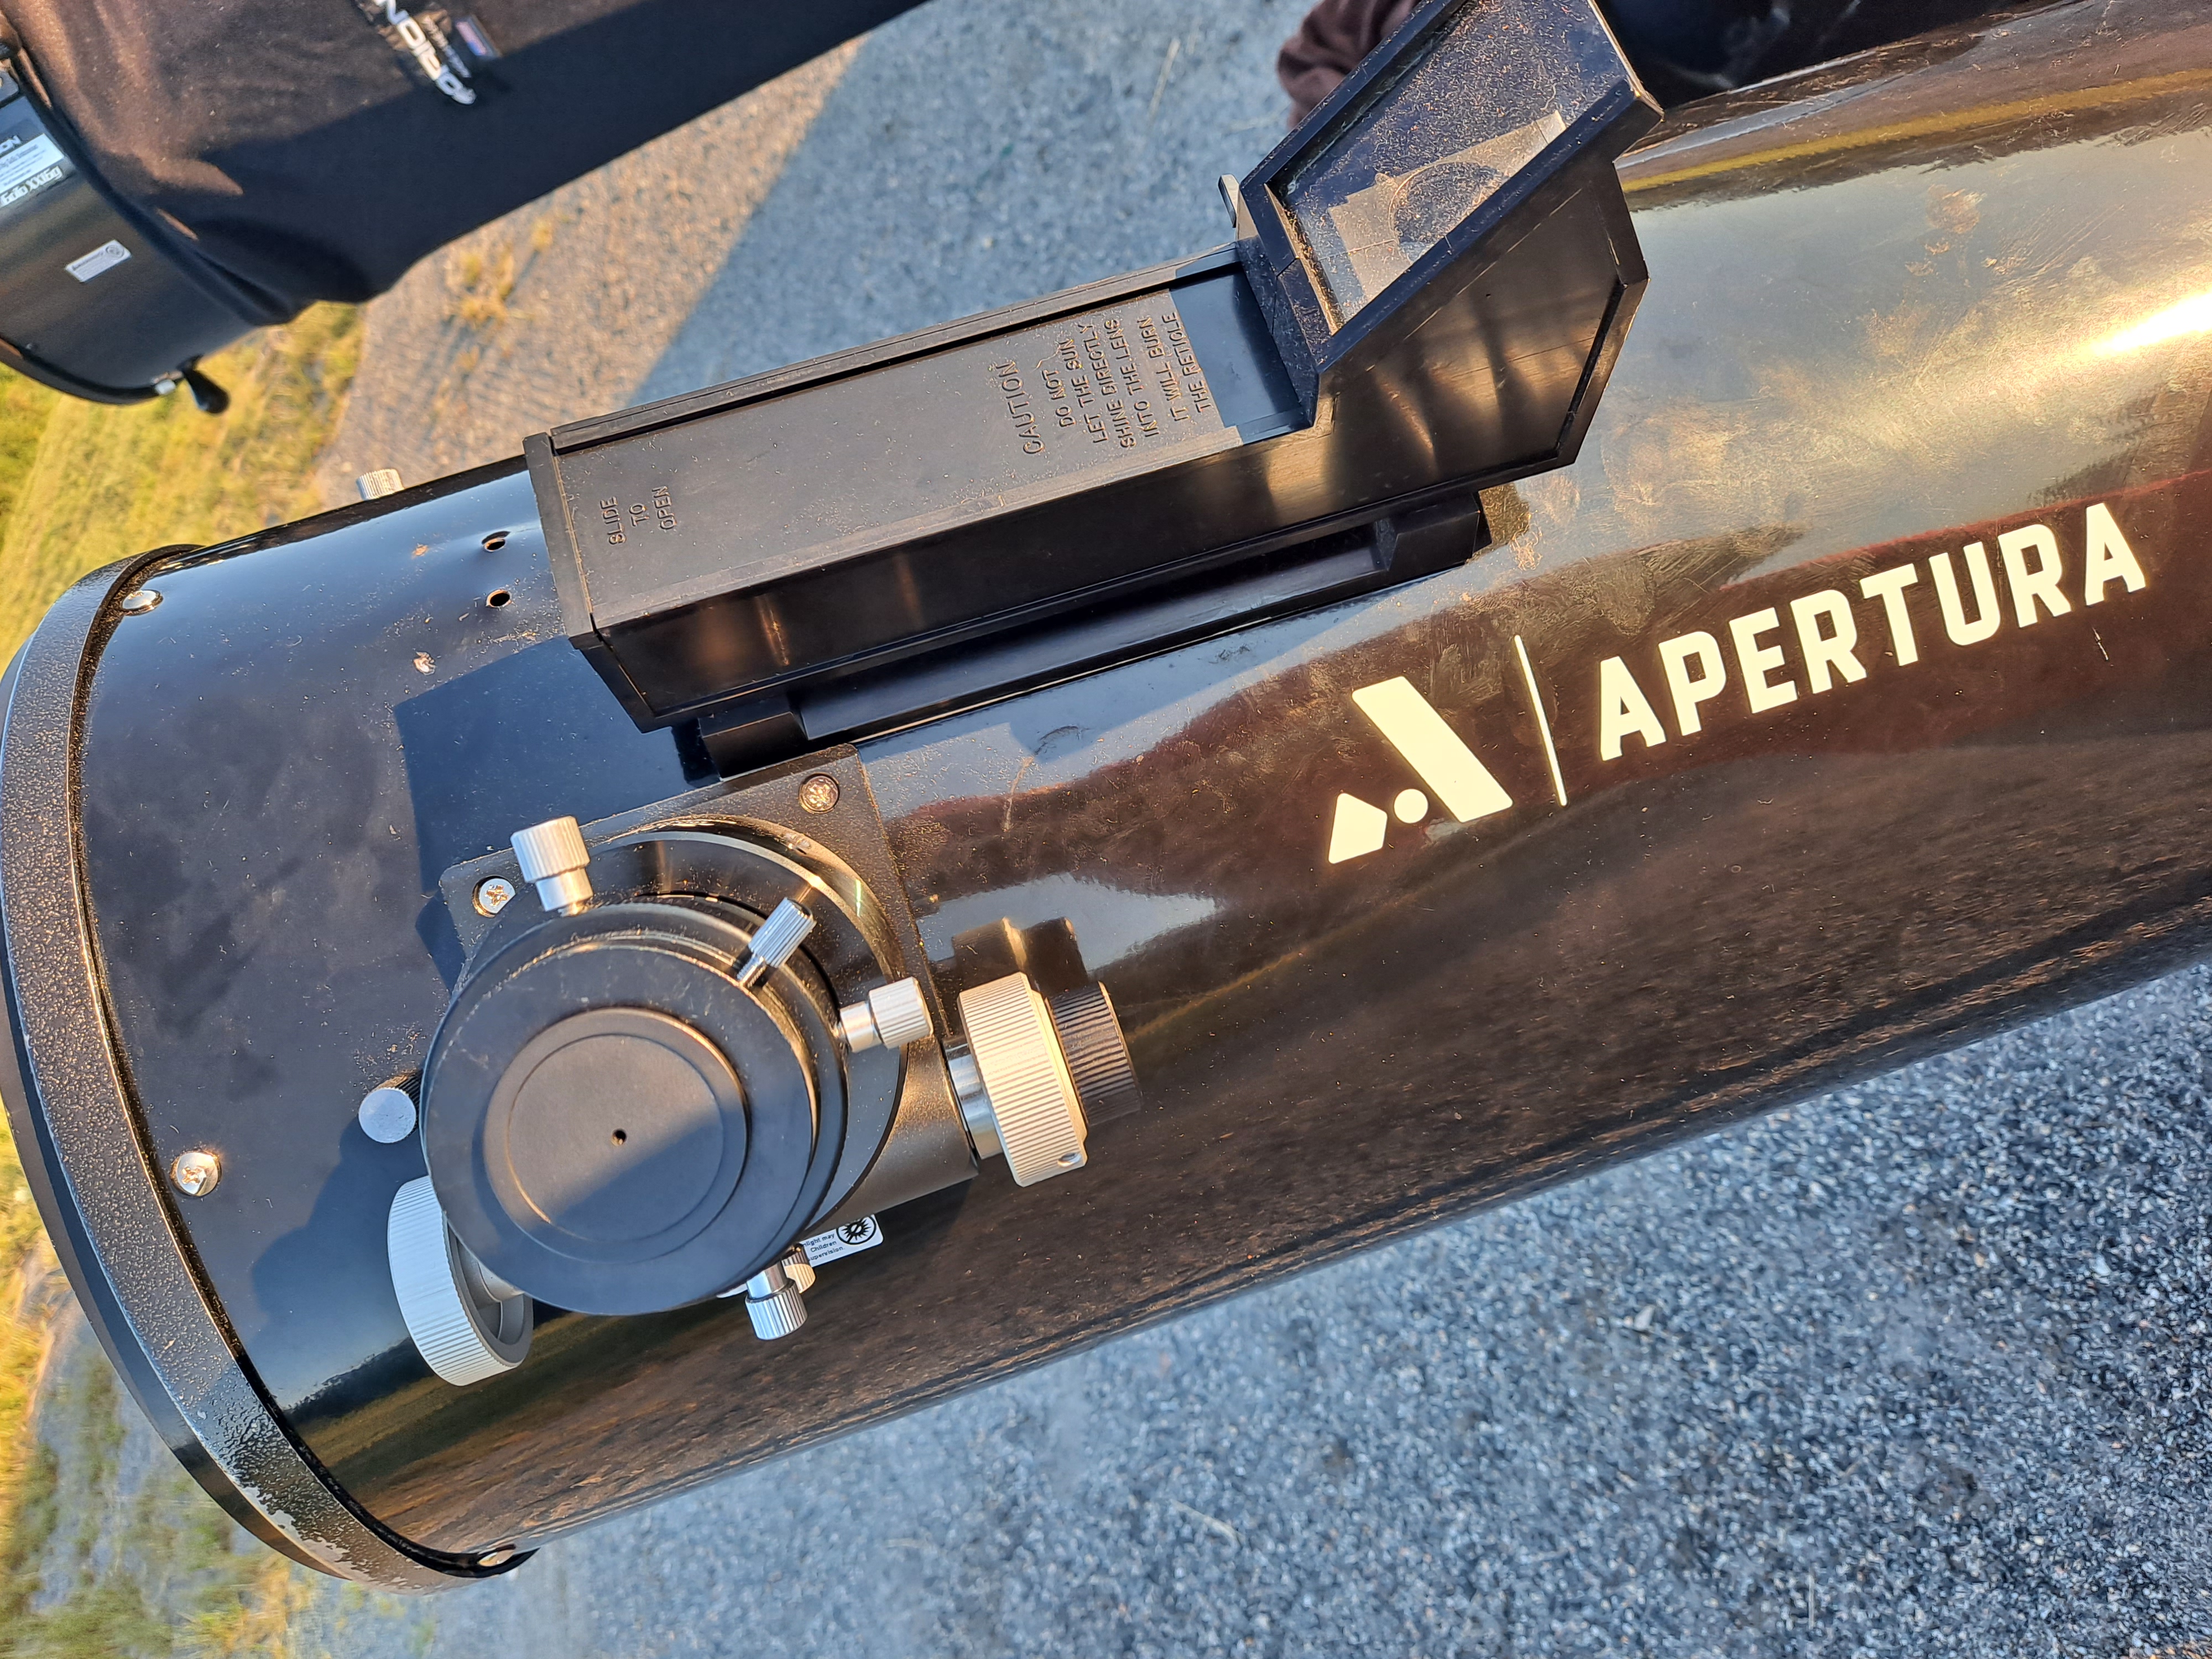
I highly recommend Bob’s Knobs for Dobsonian telescopes, they make the process of collimation much easier.
Bob’s knobs replace the screws behind your primary mirror so changing them will change the position of the mirror and require adjusting collimation.
4. When You Clean the Mirrors
Mirrors do not need to be cleaned very often. I hear a lot of stories about astronomers who have not cleaned their mirrors in 5 years or more.
They argue that the potential damage to the mirror is not worth a slight improvement in views. You can read my opinion on washing mirrors in the linked article.
When you clean your telescope mirrors you have to remove it from the optical tube and you will have to collimate the scope.
5. When the Telescope Images Are Not Clear
If you notice that your images are not as crisp as they used to be you should check the collimation.
There are other reasons that you may have lower quality views, but collimation is a good place to start seeing if you can make improvements.
6. Every 3-6 Months
Even if you have an ideal telescope storage situation in an unheated garage and you can roll your big dob out onto your nice dark driveway, still you should go ahead and collimate your telescope every so often.
It just takes a minute, and it could drastically improve your views. Why would you not want to have the best views?
If the telescope has just been sitting there for a while due to poor weather conditions,I’d still check on it every once in a while.
If it has been stored in less than ideal conditions check collimation more frequently.
7. If you Cannot See Through the Scope
If you cannot see anything through your telescope, your scope may be really out of whack.
Maybe your secondary mirror isn’t lined up and angled correctly to the focuser.
Check to make sure you’re not missing any collimation screws or locking screws from the back of your primary mirror.
This has happened to me a few times. They were in the bottom of my carrying case.
Obviously check to make sure all dust caps and lens covers are off of eyepieces and scopes. If you have checked collimation, removed dust caps and you still cannot see out of your telescope check these other things.
8. Every Time You Assemble a Truss Tube
Truss tubes have a reputation of not holding collimation quite as well as solid tubes.
When you are assembling your telescope there are many small adjustments that can throw off your collimation.
Each time you assemble your truss tube you should check the collimation as part of your set up.
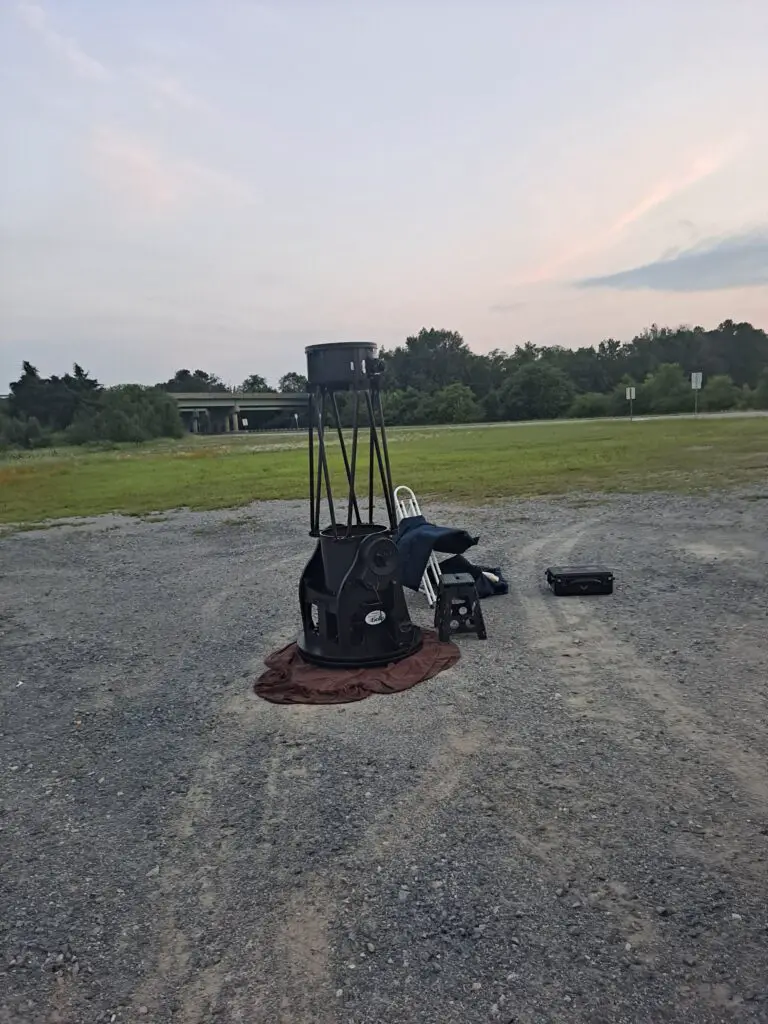
That being said, I took my astronomy skoolie about 2,500 miles to Missouri and back to Virginia and when I assembled my 16in truss tube with my 2 in Hotech laser collimator it only required a slight adjustment.
I looked at the crosshairs on the Hotech and it was perfectly centered! I couldn’t believe it.
I am still glad I checked.
9. When You Install a Dew Heater on Your Secondary Mirror
Any time you are moving or adding anything to either mirror it has the potential to change the position of the mirrors slightly.
When you are installing a dew heater it is the same idea as when installing Bob’s Knobs.
You’re messing with the secondary mirror and that could throw off collimation. I wrapped an R-sky brand heater around my secondary. It didn’t really mess it up, but again, I was glad I checked I like to be sure.
How to Test Collimation on a Telescope
You can check the collimation of your refractor or reflector telescope by performing a star test.
Perform a star test by selecting a bright star and a high power eyepiece. Focus on the star and get as close to perfect focus as possible, get it as pinpoint as you can.
Next, purposely defocus the star by turning your focuser knob one way.
The star should look like a donut.
Check the rim of the donut,and make sure the middle of the circle is concentric. The doughnut should be the same thickness all the way around.
Now turn your focuser the other direction and get it out of focus again, and see if the donut circle is centered.
If it’s not, you need to collimate.
If you are looking for a very simple collimation tutorial you can find one for Dobsonian reflector telescopes in the linked article.
When it comes to refractor telescopes, they need to be collimated much less frequently, but they still need collimation from time to time.
Refractors are collimated in the factory during manufacture, but if the telescope is dropped, stored improperly for a long time, or not working as well as it once was then you may look into collimating the scope.
With a refractor it involves using a collimation eyepiece and slightly adjusting screws on your optical tube.
