Telescopes do not have crosshairs in most cases, however there are certain eyepieces and finder scopes that are designed with them.
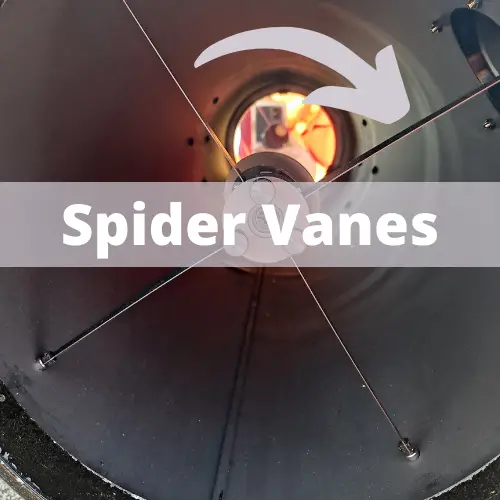
Crosshairs that you see through your telescope are almost definitely the spider vanes. Spider vanes are the plastic or metal pieces that hold the secondary mirror in place in reflector telescopes. If your scope is extremely out of focus, not collimated or you are not using an eyepiece, these spider vanes will be visible.
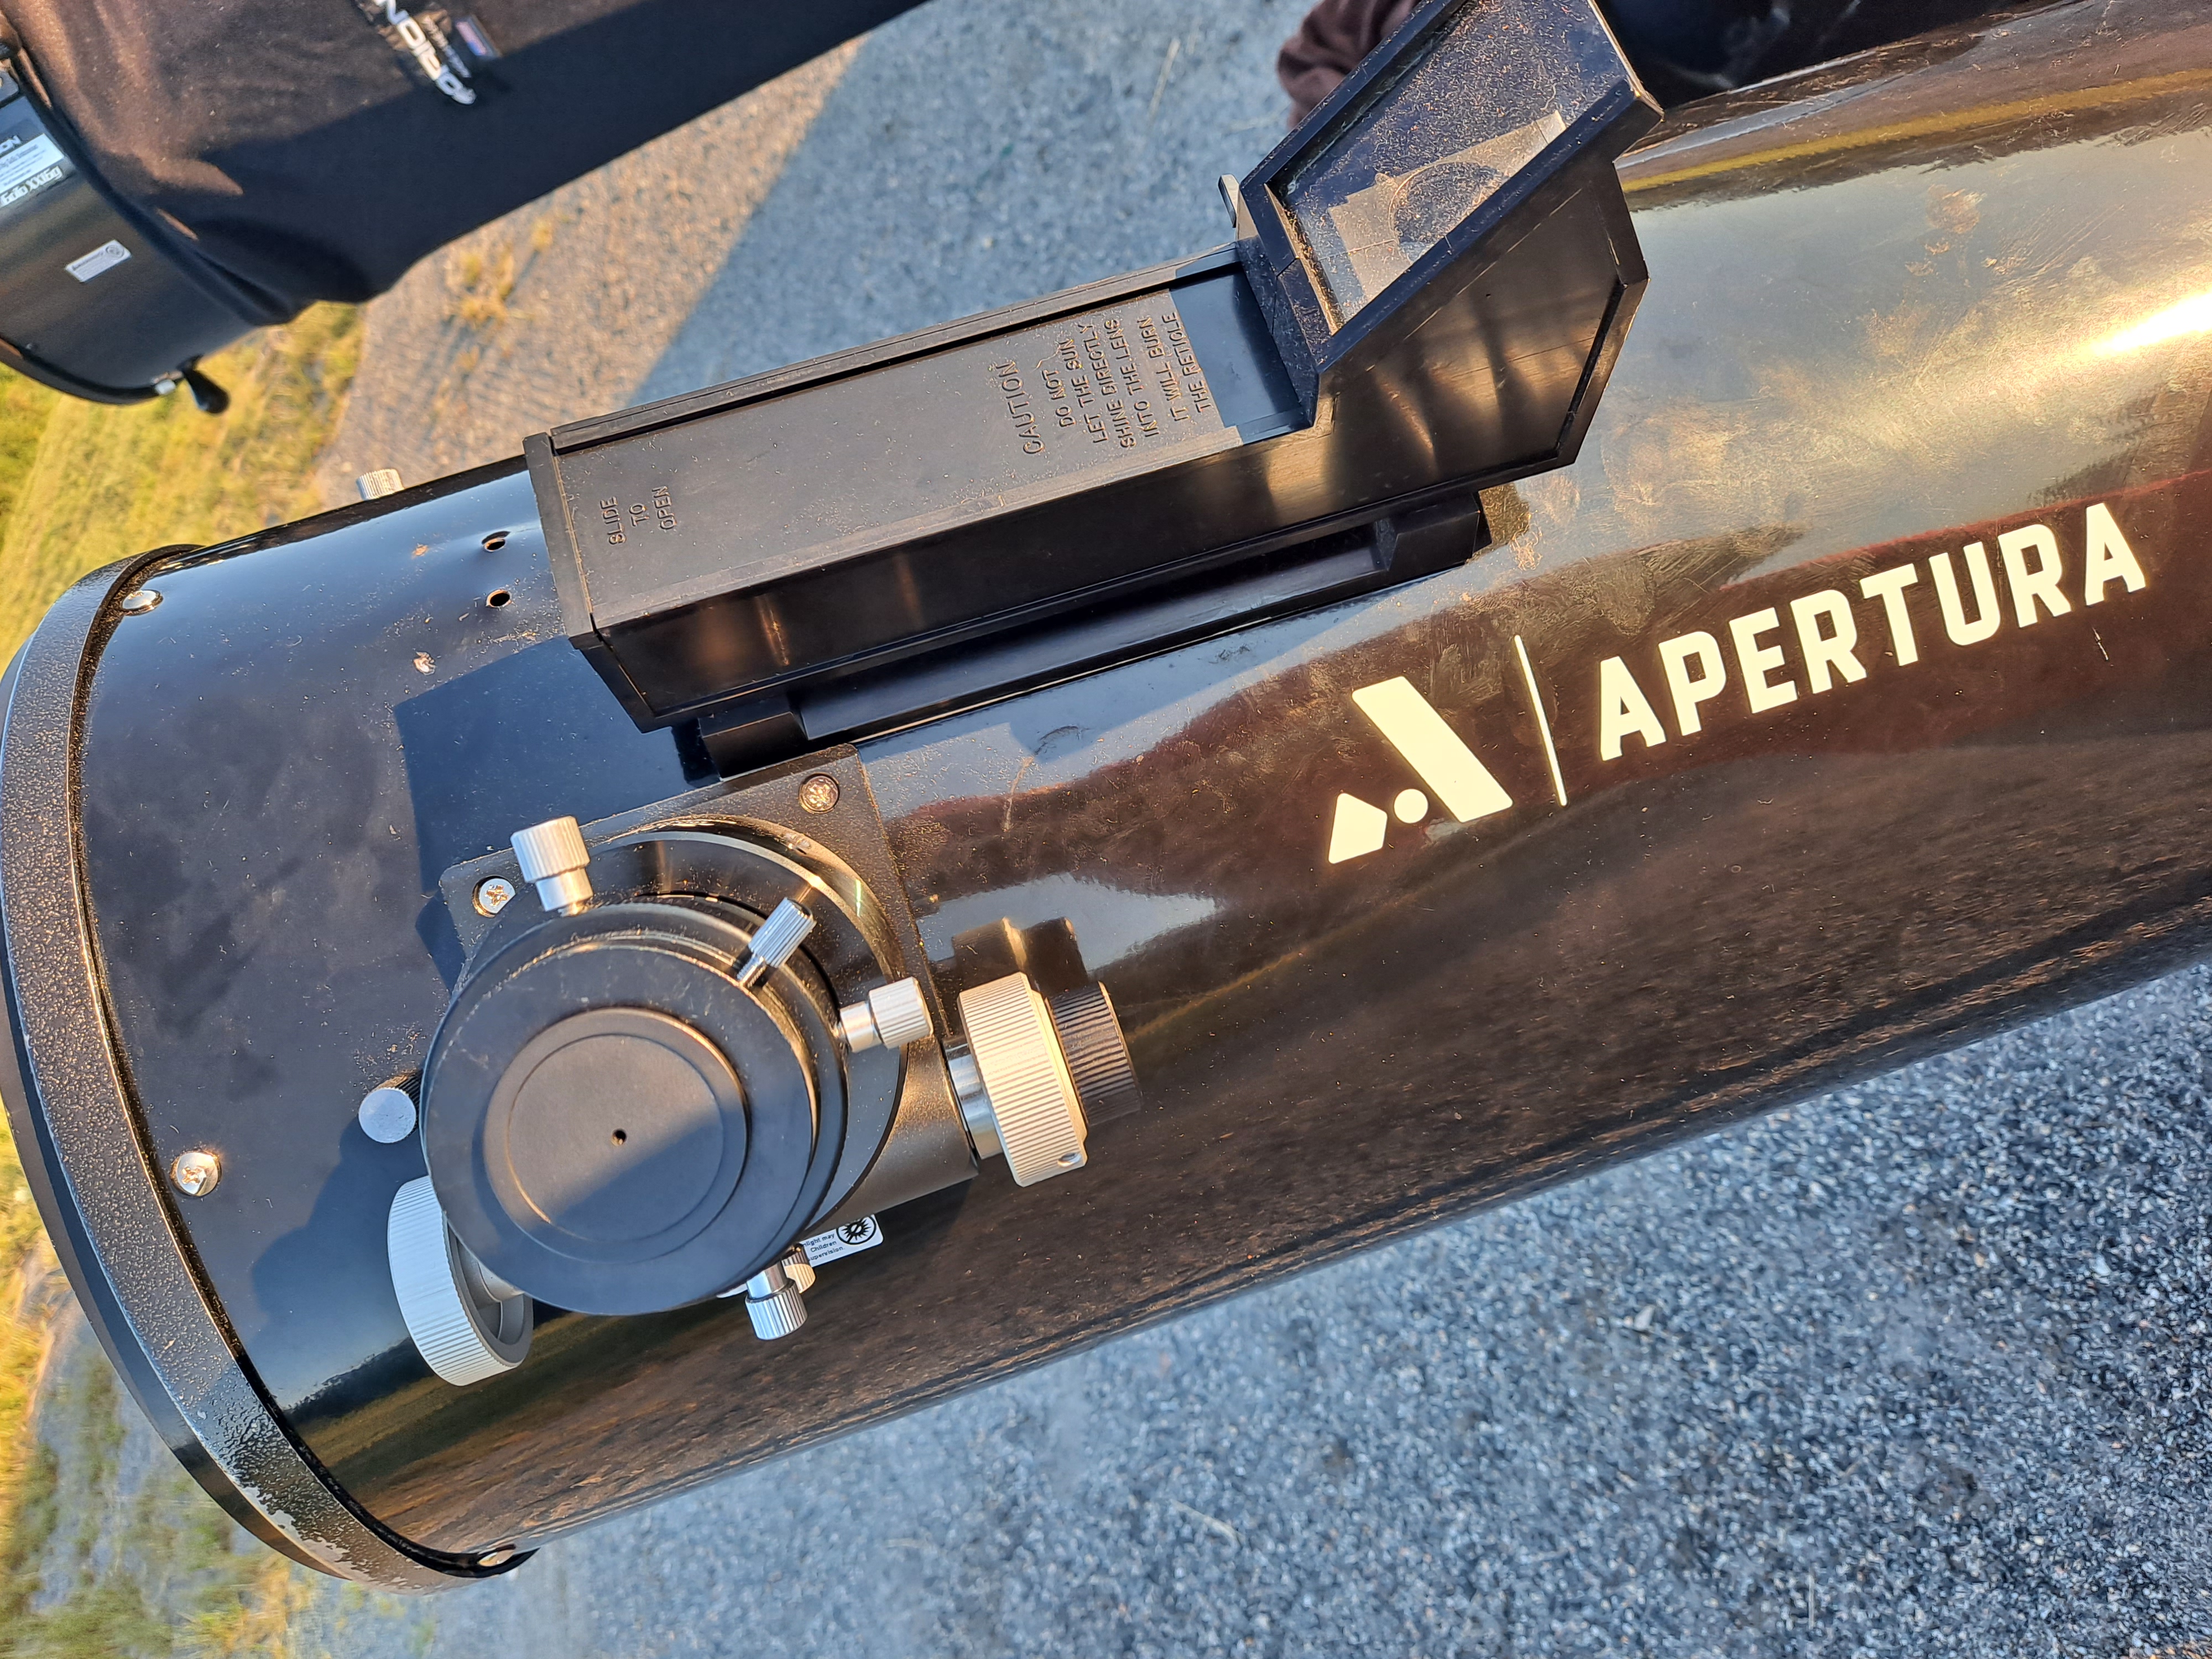
Dobsonian telescopes are a type of reflector telescope, they collect and focus light with two mirrors. One mirror is in the end of your telescope and covers the whole surface of one end, this is the primary mirror. The secondary mirror is attached to the scope with four supports called spider vanes. These look like crosshairs.
These are the spider vanes, they hold the secondary mirror. They look like crosshairs.
Focus
If you see only crosshairs in your telescope and you cannot make out much of the night sky, you may be out of focus.
Find the focusing knob, usually close to the eyepiece. Turn the focusing knob until your image is clear. You can do this during the day by trying to focus on any distant object like a far off building or streetlight down the street.
Stars through your telescope should look like pinpoints, if they are blurry blobs then you are out of focus.
Start by installing your lowest power eyepiece, that will be the one with the highest number printed on it. This will give you the lowest magnification, and it is the easiest one to achieve focus.
For example, my lowest power eyepiece is a 30mm, and this gives me 60x magnification. My highest power is 4.5mm, which gives me 400x magnification, it is only used very rarely.
If you cannot achieve focus on your telescope it may be impossible if your scope is not collimated.
Collimation
If this is your first time using your telescope and you can only see the spider vanes, you may need to collimate your telescope.
Collimation is the process of aligning your primary and secondary mirrors to perfectly reflect light to the eyepiece. This can be done with or without tools.
Collimation is a skill to learn and it may take a few tries to get it right.
We discuss collimation in depth in this post that also includes a video explaining the process with a laser collimator.
I used my first telescope for a long time before it was perfectly collimated and I did not know the difference, so close enough is good enough. You will learn and get better at it.
Eyepiece
If you see the whole mirror and the spider vanes (or crosshairs) when you are looking through your telescope, you probably do not have an eyepiece installed.
Eyepieces are inserted into the focuser, or hole in the side of the telescope. They magnify the image that you are viewing. If you do not have one in you are just seeing the sky reflected in the secondary mirror with no magnification.
You need an eyepiece to use a telescope
I hope to grab a picture to illustrate next time I set up my scope.
Telescope Accessories That Have Crosshairs
When I first heard the question about crosshairs, my first thought was that they must have an illuminated reticle, or they are talking about a finderscope.
Some telescope accessories have crosshairs intentionally, these are used for centering an object in your telescope.
Finderscope
My 9×50 Raci finderscope had crosshairs, and many other finderscopes do as well. This is because finderscopes are designed to help you center an object in your telescope.
If your finderscope has crosshairs, they are there intentionally, but if you would prefer something without crosshairs you could use a red dot finder, or my favore, a Telrad. These zero magnification tools allow you to align your scope with objects in the night sky in a very intuitive way. I love my telrad, and you can find out more about it here.
Illuminated Reticle
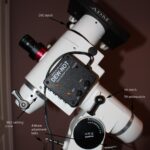
Many scopes come with an eyepiece called an illuminated reticle. These are battery powered eyepieces that have an adjustable red light that allow you to align your telescope when you start a night of observing.
These are used with GoTo telescopes so that you can align the technology with your current location.
These small eyepieces have crosshairs to help you get a more precise alignment so that you have more reliable tracking and location with your GoTo.
If you are having trouble with your GoTo and tracking, check the list in this post.
Why Telescopes Do Not Have Crosshairs
Centering is not always the best way to view objects in the night sky. Your eyes have an arrangement of cone and rod cells with the greatest concentration of cones in the center of your eye. The cones are less sensitive to light than rods.
You can see dim objects more clearly with your rods which are located at the edges of your vision. You can use this to your advantage when observing dim objects with your telescope.
Averted vision is when you observe an image on the edge of your file of view. To do this, position the object you hope to observe in the center of your eyepiece, and focus on a bright star at the edge of the telescope’s field of view. Don’t move the scope, move your eyes.
This takes practice and feels awkward at first, but it is a good trick to know. Read more about averted vision and night vision in this post.
Why Can’t I See Through My Telescope?
If you are still not able to see clearly through your telescope there are a few other things that you should check.
Dust Cap
Dust caps are large plastic covers that keep dust and dirt from entering your telescope. They usually have one or two holes in them.
Dust caps should be completely removed for observing.
The holes in the dust cap can be used as a focal stop, which would significantly limit the amount of light allowed into the telescope. This can be used when observing the sun (with the correct protective filters) or moon.
Mirrors
Look at your mirrors to make sure that they are not obstructed by something that has fallen into your telescope.
Mirrors that are excessively dusty or dirty may obstruct views and should be cleaned carefully.
Start by blowing air over the mirrors to remove any loose dust or dirt. If they need further cleaning contact the manufacturer for their recommendations.
Filters
Check to see if you left a filter on one of your eyepieces, this may be making your views very dark.
Filters are designed to block out some light or certain types of light to bring out the details of the objects you are observing. If you are unintentionally using a filter your image will just appear dim.
Filters look like small disks that screw on to threaded eyepieces.
Eye Relief
Your eye needs to be the right distance from the optical glass on the eyepiece. This distance is called eye relief.
If your eye is too close or too far from the eyepiece you will not be able to see much, if anything through the telescope.
This is also called “kidney bean” because the objects can look very distorted or warped if your eye is not the correct distance from the eyepiece.
Eye relief is different with different eyepieces. Some eyepieces come with an eye cup or folding eye cup that is designed to make observing more comfortable and a bit adjustable to account for differences in individual vision.
Exit Pupil
Exit pupil is calculated by dividing eyepiece focal length by the focal ratio of your telescope. This is a measure of the amount of light allowed into the eyepiece.
If your exit pupil is too small you may not be able to see clearly through a telescope.
This is not a concern in most cases, but I thought it belonged in this article because it is something to take into consideration.
Exit pupil problems are much more evident under a light polluted sky, so you could try traveling to a dark site and see if that helps.
Exit pupil should be limited to 5mm as you age, because your pupil is not able to expand beyond that measurement.
